
Dust settling on freshly painted surfaces is more than an inconvenience for quality control managers across European automotive refinishing shops. Cleanliness in your spray booth directly shapes finish quality and shop reputation, making effective dust protection a non-negotiable foundation for any operation. By combining well-maintained filtration, strategic use of multi-layer protective films, and vigilant climate control, you can safeguard every paint job from costly contamination and inefficient rework.
Table of Contents
- Step 1: Prepare the Booth With Effective Dust Protection
- Step 2: Install Multi-Layer Protective Films Correctly
- Step 3: Manage Airflow And Booth Climate For Maximum Effect
- Step 4: Inspect And Maintain Booth Cleanliness Regularly
Quick Overview
| Main Idea | Explanation |
|---|---|
| 1. Maintain Clean Booth Environment | Regular cleaning and proper dust protection systems are crucial for achieving high-quality paint finishes. |
| 2. Regularly Inspect Filters | Weekly filter inspections are vital to ensure airflow remains consistent and to prevent dust contamination. |
| 3. Proper Installation of Protective Films | Correctly applying multi-layer films seals dust out and protects freshly painted surfaces from contaminants. |
| 4. Manage Airflow Effectively | Establishing balanced airflow is essential to preventing dust recirculation and maintaining a clean working environment. |
| 5. Establish a Maintenance Routine | A structured maintenance routine can help catch potential issues early, ensuring consistent paint quality and equipment longevity. |
Step 1: Prepare the Booth with Effective Dust Protection
Your spray booth’s cleanliness directly impacts paint quality. Before you spray a single drop, you need to establish a solid foundation that keeps dust and contaminants away from freshly painted surfaces.
Start by understanding what you’re protecting against. Dust comes from multiple sources: residual overspray particles, floor debris, airborne contaminants, and even microscopic fibers from previous jobs that linger in booth corners. Your goal is to create a sealed environment where none of these reach your work.
Assess your current booth setup.
Look at your booth’s existing infrastructure. Check whether you’re working with a waterwash system, which naturally minimizes dust through water circulation, or a dry spray booth that relies on filters and collection systems. Both can work excellently when properly maintained.
The critical difference lies in how each system handles overspray. Waterwash booths pull spray residue into water columns, preventing dust recirculation. Dry systems capture particles through distribution plates and filter networks. Understanding your setup helps you choose the right protective strategy.
Here’s a comparison of waterwash and dry spray booth systems to help you select the best dust protection approach:
| System Type | Overspray Control Method | Dust Contamination Risk | Maintenance Frequency |
|---|---|---|---|
| Waterwash Booth | Spray residue captured by water columns | Lower if water managed well | Requires regular water checks |
| Dry Spray Booth | Filters and distribution plates | Higher if filters neglected | Filters checked and changed often |
Install and inspect your filtration system.
Filters are your first line of defense against airflow problems that create dust contamination. Clogged or dirty filters cause uneven air circulation, leading to dead zones where dust accumulation occurs and compromises paint finish quality. More than that, damaged filters force your booth fans to work harder, shortening equipment lifespan and driving up energy costs.
Inspect intake and exhaust filters weekly. Replace them when they show visible dust buildup or when airflow feels restricted. A clean filter maintains even air distribution across your booth, preventing dust recirculation and protecting your finish.
Seal all entry points and surfaces.
Dust protection requires physical barriers. Cover booth walls, floors, and ceilings with protective films that trap particles before they settle on fresh paint. Pay special attention to corners, seams, and edges where dust tends to concentrate.
Your booth should have:
- Protective wall coverings that extend from floor to ceiling
- Floor protection that handles high-traffic areas
- Sealed joints and transitions between booth sections
- Covered vents and air intake areas (except active circulation zones)
Plan your workflow layout.
Position your spray operation to minimize dust generation from nearby activities. Keep part staging areas separate from active spray zones. This prevents dust from disturbed materials from drifting into your booth during critical paint application phases.
Clean air pathways through your booth create consistent pressure differentials that naturally push contaminants away from sprayed surfaces rather than allowing them to settle.
Pro tip: Establish a daily pre-shift booth inspection routine that takes 15 minutes. Check filter condition, verify protective film integrity, and confirm ventilation is running at proper speed before your first paint application. This simple habit catches contamination sources before they ruin your work.
Step 2: Install Multi-Layer Protective Films Correctly
Installing protective films correctly transforms your booth from merely clean to genuinely dust-free. A poorly installed film creates gaps and wrinkles that allow dust to settle on freshly painted surfaces, undoing all your preparation work.
The key is understanding how multi-layer films work. Each layer serves a specific purpose: the first captures large particles, middle layers filter fine dust, and the backing layer prevents seepage. When installed properly, these layers work together seamlessly.
Prepare your surfaces before installation.
Your booth walls, floors, and all protected surfaces must be clean and dry before film application begins. Any dirt, moisture, or debris trapped under the film creates weak points where dust can escape and contaminate your work.
Wipe down all surfaces with a lint-free cloth. Pay special attention to corners, edges, and any textured areas. Moisture is the enemy of adhesion, so allow surfaces to dry completely before proceeding.
Start with the floor and work upward.
Begin your installation at the lowest point of your booth. Unroll your protective film across the floor, starting from one end and moving gradually forward. Smooth out wrinkles as you go, pressing the film firmly against the floor surface to ensure proper adhesion.
When you reach the walls, overlap your floor film slightly onto the wall base. This overlap prevents dirt from creeping underneath at the vulnerable floor-to-wall junction. Proper surface preparation and installation techniques create enhanced adhesion that reduces particulate contamination across your entire booth environment.
Apply wall films with careful attention to seams.
Wall films require a different technique than floor protection. Position your first roll at the top of your booth wall, then gradually unroll downward while smoothing away air bubbles. Use a plastic squeegee or soft brush to press the film firmly against the wall surface.
When installing multiple rolls, overlap seams by at least 2 inches. This overlap zone must be pressed firmly to create an airtight seal. Gaps at seams allow dust to bypass your entire protective system, so spend extra time here.
Your installation should include:
- Wall coverage from floor to ceiling without gaps
- Overlapped seams pressed firmly for airtight contact
- Protective coverage around all corners and edges
- Floor film sealed at the base of every wall section
Seal problem areas and transitions.
Pay special attention to corners, booth entry points, and areas where different film sections meet. These transition zones are where dust most frequently finds entry points into your booth. Use additional film strips or specialized sealing tape to reinforce these critical areas.
Test your seals by moving your hand along joints and edges. You should feel consistent contact between film and surface with no hollow spots or separation.
Multi-layer protective films only work when every square inch creates a continuous barrier against dust infiltration.
Pro tip: Install films during low-traffic booth times or at the end of your shift, then allow at least 2 hours for adhesive curing before resuming spray operations. This patience ensures maximum adhesion strength and prevents premature peeling that defeats your dust protection efforts.
Step 3: Manage Airflow and Booth Climate for Maximum Effect
Airflow is the invisible force that separates dust-free finishes from disappointing defects. Without proper air management, your protective films and filters become useless because dust still finds its way onto wet paint through inadequate ventilation patterns.
Think of your booth’s airflow as a protective envelope. When managed correctly, it creates pressure differentials that push contaminants away from your spray zone. When neglected, it allows dust to swirl unpredictably through your booth.
Establish consistent minimum air velocities.
Your booth needs adequate airflow to remove flammable vapors, dust, and overspray particles. OSHA ventilation standards specify minimum air velocities for spray finishing operations to optimize the booth environment and reduce dust accumulation effectively.
Check your booth’s current airflow speed using an anemometer. Most automotive refinishing booths require 60 to 100 feet per minute at the spray zone. If your measurements fall below these targets, you have a serious contamination risk.
Balance intake and exhaust flow rates.
Your booth operates best when intake air slightly exceeds exhaust air, creating positive pressure that forces contaminants outward. An imbalanced system allows outside air to be drawn inward, bringing dust directly into your booth.
Measure both intake and exhaust airflow at multiple points. They should be nearly equal, with intake slightly higher. If exhaust dominates, you’re creating negative pressure that defeats your entire dust control strategy.
Consider recirculation ventilation options.
Modern booths can recirculate a portion of exhaust air after filtration, reducing energy consumption while maintaining air quality. This approach vents some exhaust and recirculates the remaining filtered air, which allows you to achieve dust-free results with lower overall operating costs.
Recirculation systems work best in climate-controlled facilities where you can maintain consistent temperature and humidity.
Your airflow management should address:
- Consistent velocity across the entire spray zone
- Balanced intake and exhaust rates
- Proper duct sizing to prevent turbulence
- Regular filter inspection to maintain flow efficiency
Manage temperature and humidity levels.
Dust particles behave differently at various humidity levels. High humidity causes dust to clump and settle faster. Low humidity keeps particles suspended longer, increasing contamination risk.
Maintain humidity between 45 and 55 percent. Temperature should stay between 65 and 75 degrees Fahrenheit. These conditions optimize both dust behavior and paint curing characteristics.
Monitor booth conditions continuously throughout your shift. Use calibrated hygrometers and thermometers positioned at spray height to capture accurate readings.
Use this summary to optimize your spray booth climate for dust-free results:
| Parameter | Target Range | Reason for Range |
|---|---|---|
| Air Velocity | 60–100 ft/min | Removes dust and overspray |
| Humidity | 45–55% | Reduces airborne dust persistence |
| Temperature | 65–75°F | Promotes optimal paint curing |
| Pressure Balance | Slightly positive intake | Keeps outside dust from entering |
Airflow without climate control is like having a shield with holes in it. You need both working together to achieve truly dust-free results.
Pro tip: Run your booth ventilation system for 15 minutes before starting spray operations and maintain airflow during entire shifts. This practice keeps the booth pressurized and prevents dust from accumulating during idle periods, ensuring your first painted part achieves optimal surface quality.
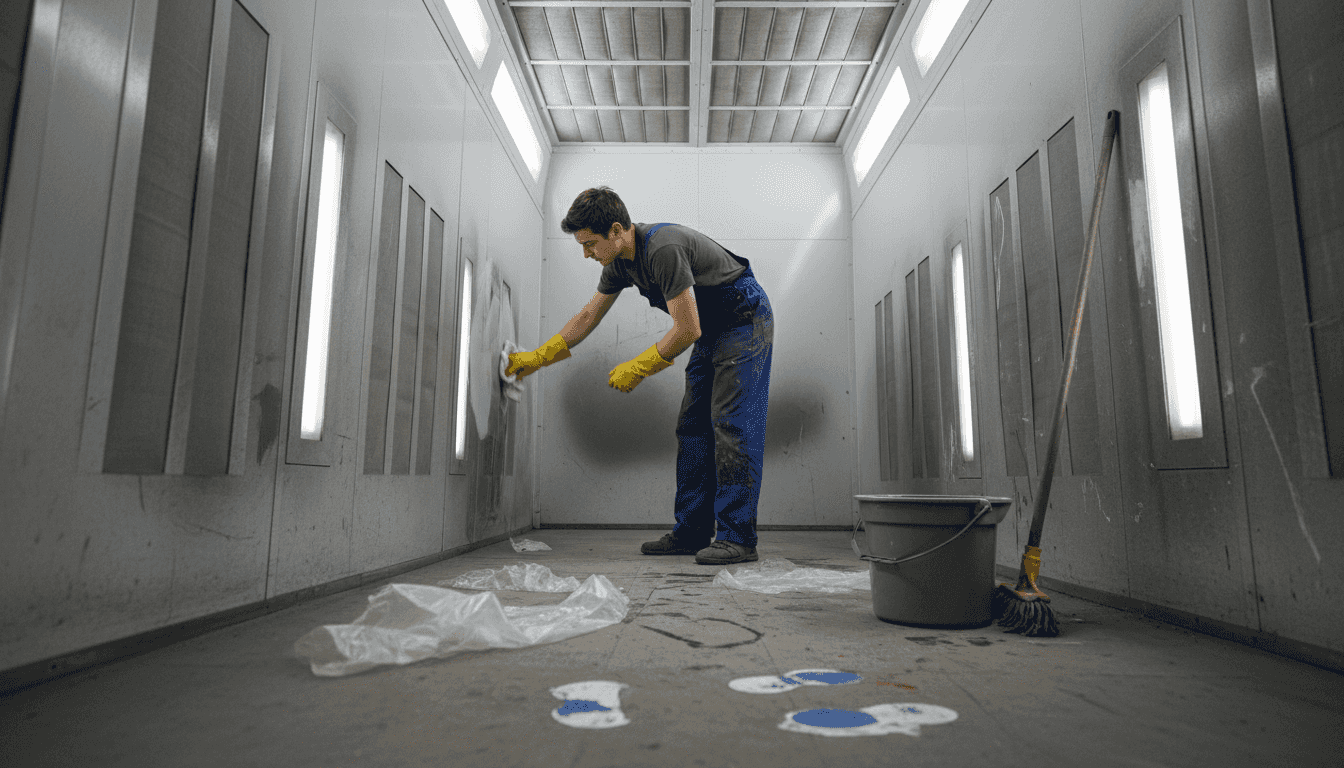
Step 4: Inspect and Maintain Booth Cleanliness Regularly
Regular maintenance is what separates shops that consistently deliver flawless finishes from those plagued by dust defects. Your booth won’t stay clean on its own. Dust accumulates constantly, filters clog gradually, and protective films develop wear that goes unnoticed until it ruins a paint job.
Establish a maintenance schedule and stick to it. Daily checks catch problems early. Weekly deep cleaning prevents buildup. Monthly inspections identify equipment issues before they compromise quality.
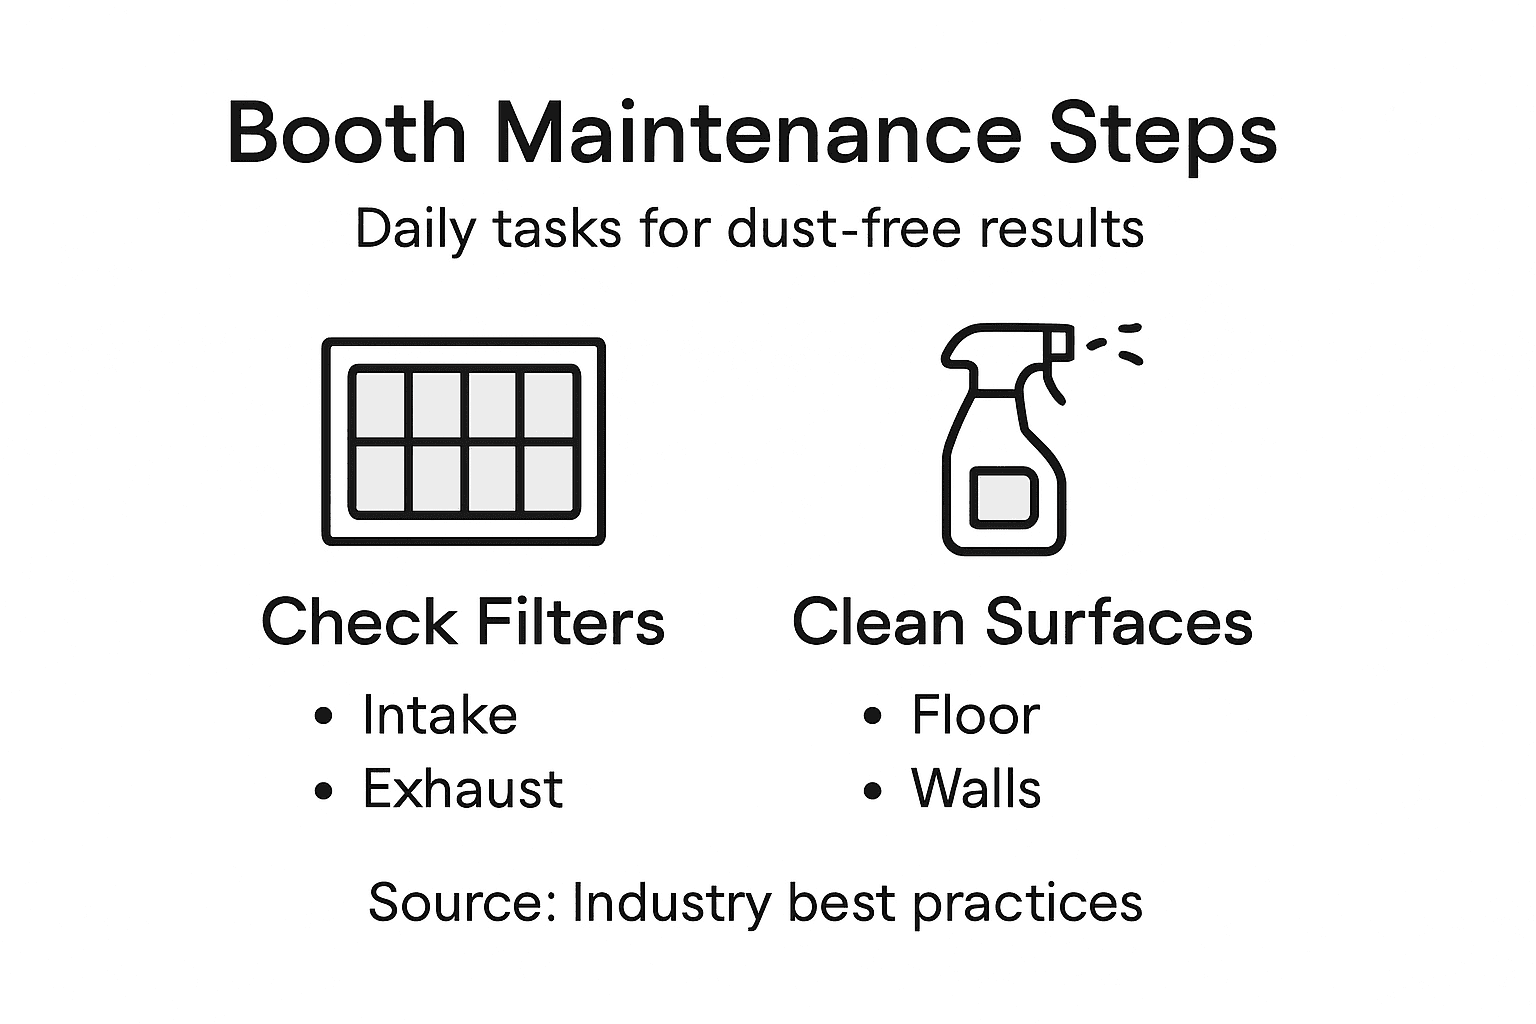
Inspect filters at the start of every shift.
Your filters are the frontline defense against dust contamination. Check both intake and exhaust filters visually before you begin spraying. Look for visible dust accumulation, discoloration, or damage that indicates replacement is needed.
A clogged filter forces your booth fans to work harder, reducing airflow and allowing dust to recirculate. Routine inspection and maintenance of spray booth filters prevents dust buildup that compromises airflow and finish quality while extending equipment life.
Replace filters on a strict schedule.
Don’t wait for filters to look dirty. Replace them based on operating hours, not appearance. Most automotive refinishing operations benefit from replacing intake filters every 2 to 4 weeks and exhaust filters every 4 to 6 weeks, depending on booth usage intensity.
Keep detailed replacement records. Track when filters went in, how many hours the booth ran, and any airflow issues you noticed. This data helps you predict future replacement needs accurately.
Clean booth surfaces daily.
Dust settles on every surface in your booth. Before each shift ends, sweep the floor thoroughly and wipe down walls and shelving with lint-free cloths. Pay special attention to corners and edges where dust accumulates most.
Remove overspray residue from protective films. Dried paint buildup creates rough surfaces that generate additional particles. Clean films maintain proper adhesion and function as intended.
Your daily maintenance routine should include:
- Visual filter inspection and replacement assessment
- Floor sweeping and surface wiping
- Overspray residue removal from booth surfaces
- Ventilation system verification and noise/vibration checks
Monitor protective film condition.
Inspect your protective films weekly for tears, peeling, or separation from surfaces. Small damage accelerates into larger problems that allow dust to bypass your entire protection system.
Repair minor tears immediately using additional film strips and specialized sealing tape. Replace entire film sections when damage exceeds 6 inches or covers critical spray zone areas.
Establish hazardous waste disposal protocols.
Proper filter and overspray disposal prevents hazardous waste accumulation and reduces fire hazards associated with combustible dust. Store used filters in sealed containers away from ignition sources and dispose of them according to local regulations.
Maintenance today prevents defects tomorrow. Fifteen minutes of daily upkeep saves hours of remedial work and keeps your reputation strong.
Pro tip: Create a laminated daily booth checklist posted near your entrance and have your team initial it after completing inspections. This simple accountability measure ensures maintenance doesn’t get skipped during busy periods and creates documentation proving your commitment to dust-free operations.
Achieve Truly Dust-Free Spray Booths with Advanced Protective Films
Optimizing your spray booth for dust-free results requires more than just proper airflow and frequent maintenance. As discussed, challenges like dust infiltration through seams, inadequate filtration, and imperfect surface protection can ruin your paint finish. Your goal to establish a sealed, contaminant-free environment matches exactly what Dust Free Film specializes in. Their multi-layer electrostatic booth wall and floor protectors are designed to eliminate dust particles by providing a durable, heat-resistant, and static-free barrier that fits perfectly in high-traffic industrial painting spaces.
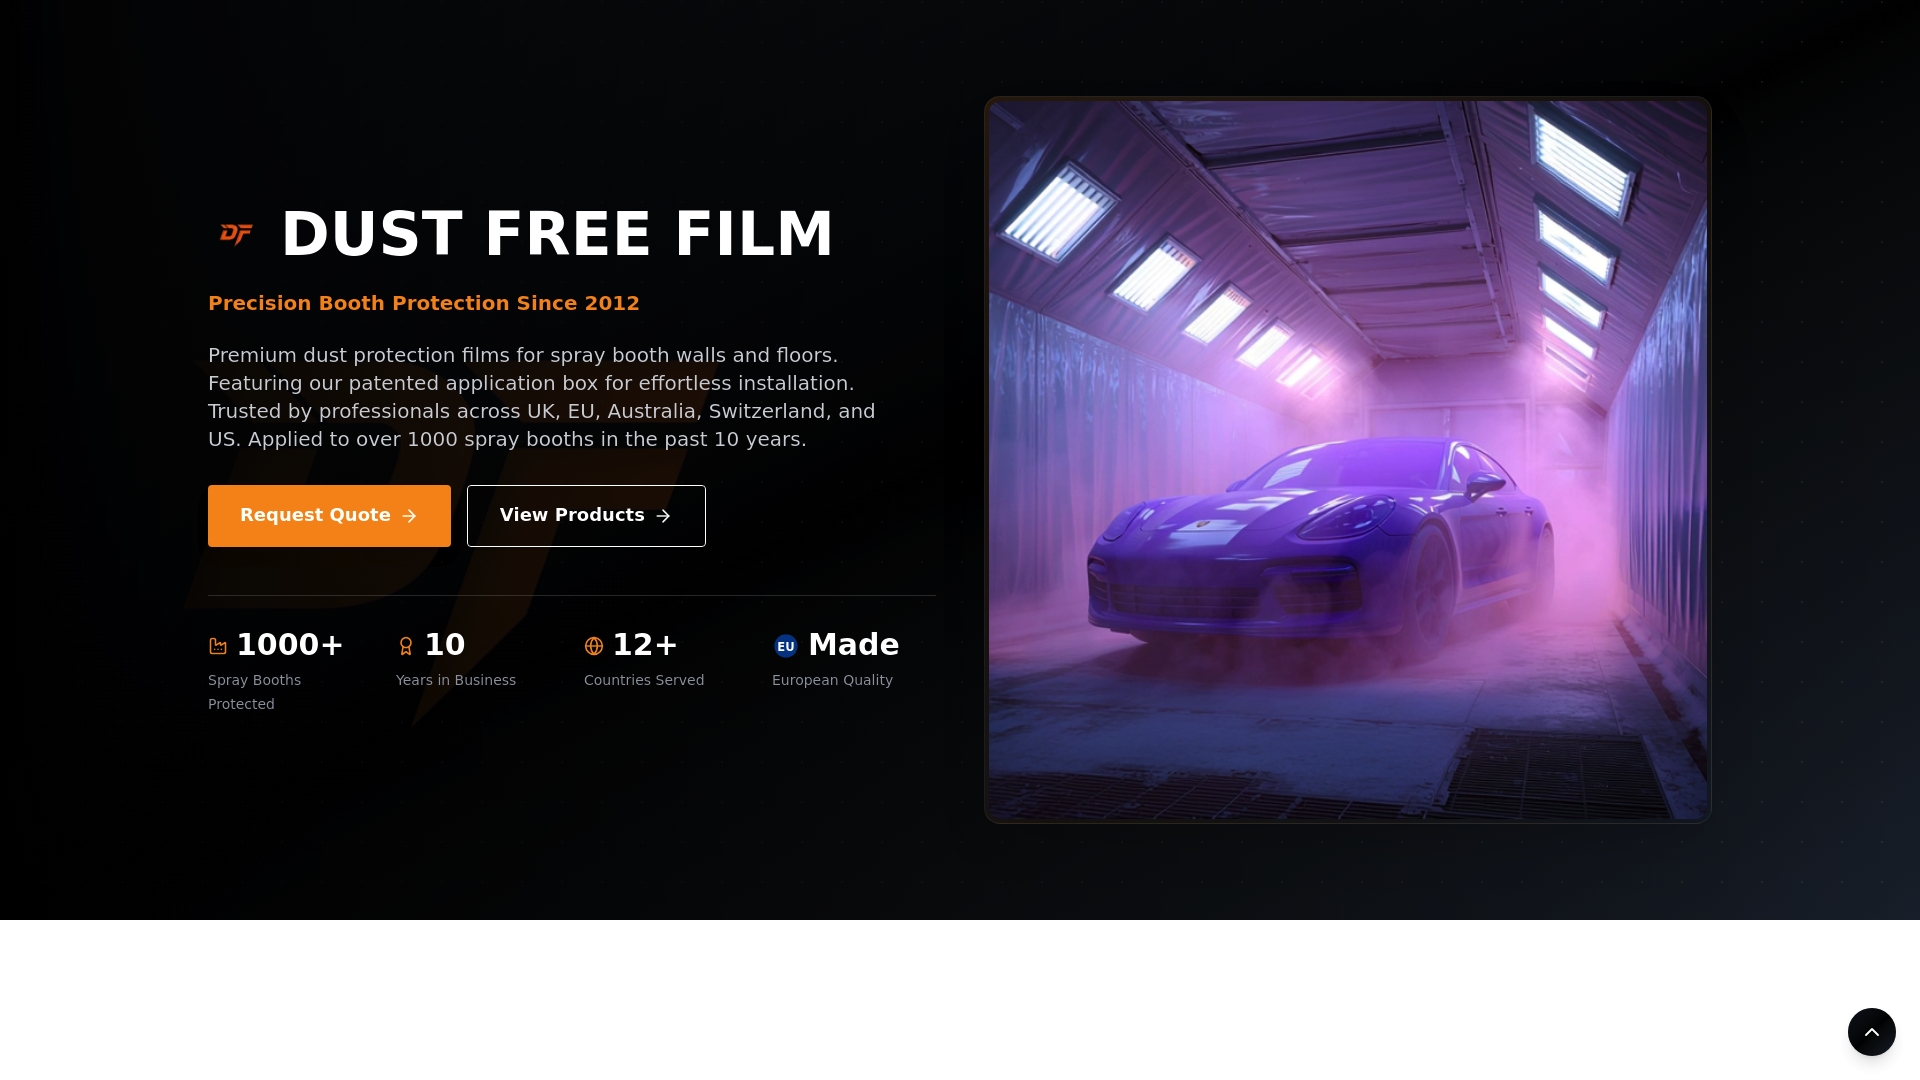
Take control of your booth’s cleanliness today by upgrading to top-quality protective films proven to reduce downtime and maintenance headaches. Explore their patented application systems for fast and bubble-free installation that guarantees long-lasting adhesion. Visit Dust Free Film now to discover custom configurations and bulk buying options tailored precisely for auto body shops and industrial spray painting operations committed to superior finish quality.
Frequently Asked Questions
How can I improve dust protection in my spray booth?
To improve dust protection in your spray booth, start by sealing all entry points and surfaces with protective films. Also, regularly inspect and maintain your filtration system to ensure it efficiently captures dust and pollutants.
What is the best approach to installing protective films in a spray booth?
The best approach is to prepare surfaces by cleaning them thoroughly before applying the films. Install the floor film first, then the wall films, ensuring that seams are overlapped by at least two inches to create an airtight seal.
How do I manage airflow in my spray booth to reduce dust contamination?
To manage airflow, establish consistent air velocities between 60 to 100 feet per minute in the spray zone and ensure that intake airflow slightly exceeds exhaust airflow. This positive pressure keeps contaminants from being drawn into the booth while effectively pushing dust away from painted surfaces.
What should I regularly check during my spray booth maintenance routine?
During your maintenance routine, regularly check the condition of your filters, clean all booth surfaces, and inspect the protective films for wear. Establish a daily checklist to ensure these tasks are completed, helping to maintain a dust-free environment.
How can I control temperature and humidity in my spray booth?
Control temperature and humidity by keeping them within the optimal ranges of 65 to 75 degrees Fahrenheit and 45 to 55 percent humidity. Continuously monitor these levels using calibrated hygrometers to ensure ideal conditions for paint application and dust behavior.
When should I replace filters in my spray booth?
Replace your intake filters every two to four weeks and exhaust filters every four to six weeks, regardless of their appearance. Keeping a strict replacement schedule helps prevent airflow restrictions and ensures consistent paint finish quality.
Recommended
- Spray Booth Maintenance Checklist for Superior Results
- Master Dust-Free Spray Booth Workflow for Flawless Results
- Why Maintain Clean Spray Booths for Superior Results
- Spray Booth Preparation Steps for Dust-Free Painting Results
- Lasertechnik für Industrie: Schritt-für-Schritt zur perfekten Anwendung – Laserdienstleistungen
- 7 tipologie di sistemi di controllo materiali per aziende efficienti