
TL;DR:
- Contamination from dust, chemicals, and environmental sources can cause paint defects and adhesion issues. Controlling all points from substrate cleaning to booth environment maintenance is essential for defect-free finishes. Regular inspection, proper procedures, and systematic system management prevent costly rework and ensure high-quality results.
Paint contamination is defined as the presence of foreign particles, chemical residues, or environmental debris that disrupts coating adhesion, film formation, or surface appearance. Knowing how to reduce paint contaminants is the single most impactful skill a professional painter can develop. Defects like fish eyes, orange peel, and specks trace back to contamination at one of three points: the substrate, the environment, or the process itself. Controlling all three simultaneously is the only approach that produces consistent, rework-free results.
What are the main sources of paint contaminants?
Paint contaminants enter the process through more routes than most painters account for. Identifying each source is the first step toward eliminating paint defects before they appear on the finished surface.
Airborne particles are the most visible threat. Dust, fibers, and metallic particles circulate in any spray booth with inadequate filtration or compromised airflow. Even a brief door opening during application can introduce enough debris to ruin a clear coat.
Chemical contaminants cause the most stubborn defects. Silicone contamination causes over 90% of fish eye defects. Silicone migrates from waxes, polishes, skin oils, and certain shop rags. Sanding over a silicone-contaminated surface grinds it deeper into the substrate, making it harder to remove with each pass.
Iron fallout is a persistent threat that washing alone cannot address. Brake dust and rail dust deposit microscopic metal particles that embed in clear coats and primers. These particles are invisible until they oxidize and cause surface pitting or adhesion failure.
Moisture and oil contamination from compressed air lines cause craters and adhesion loss. Any unfiltered air supply introduces water vapor and compressor oil directly into the spray pattern.
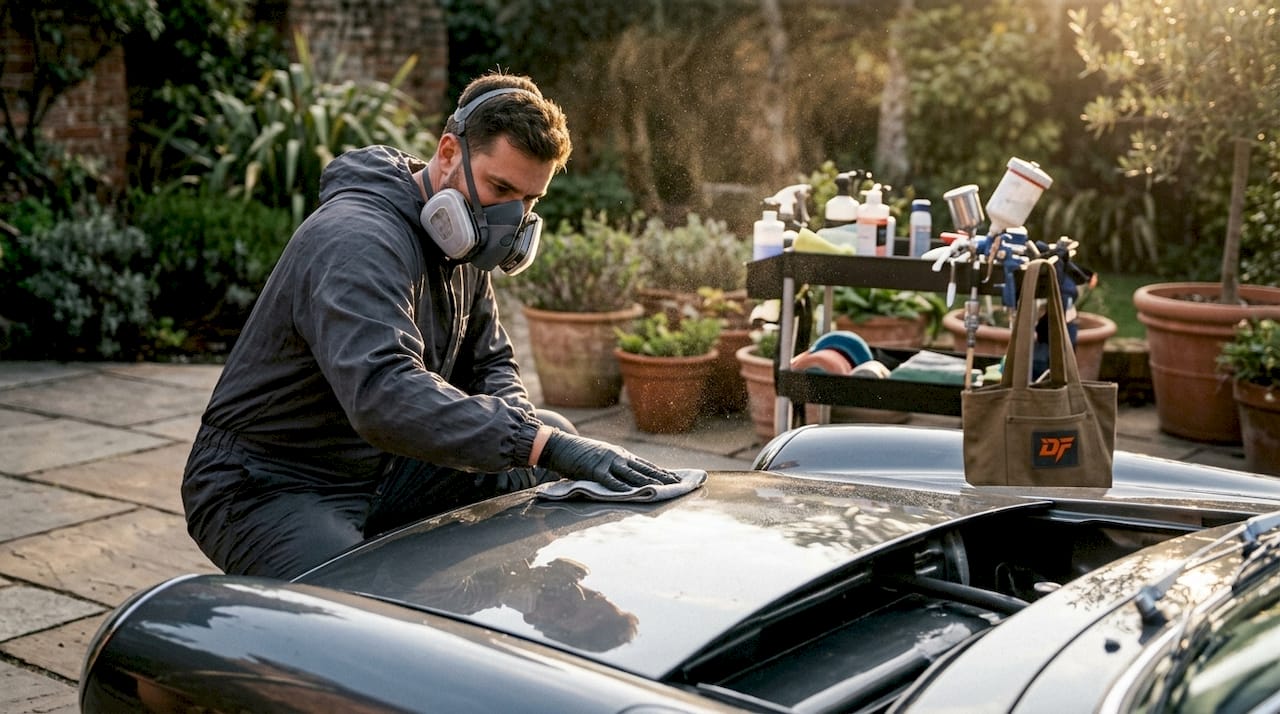
Personnel and clothing are underestimated contamination vectors. Synthetic fabrics generate static and shed fibers. Skin oils transfer silicone and grease to surfaces on contact. Clean suits and nitrile gloves are not optional in a professional environment.
The contamination sources by defect type:
- Fish eyes: Silicone, wax residue, skin oils
- Orange peel: Poor substrate wetting, incorrect viscosity, temperature swings
- Specks and nibs: Airborne dust, fiber shedding, dirty filters
- Adhesion failure: Iron fallout, moisture, chemical residue
- Cratering: Oil from compressed air, moisture contamination
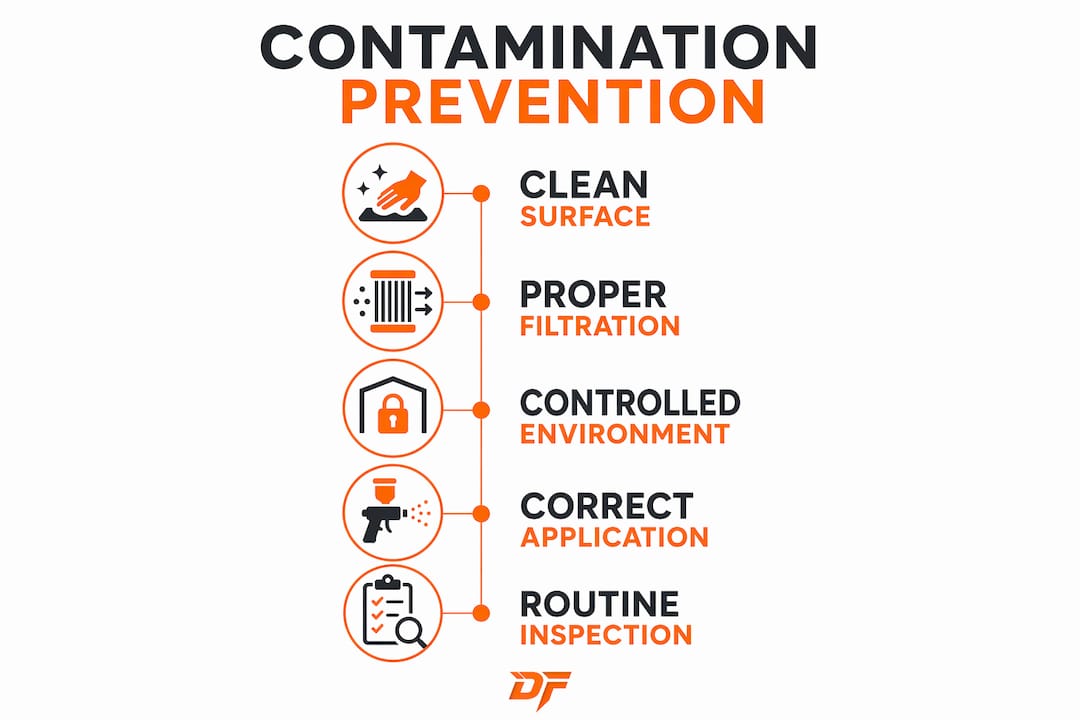
How to prepare surfaces and environment to minimize paint contaminants
Surface preparation and environmental setup determine whether contamination enters the process at all. Cutting corners here forces rework at the most expensive stage.
Surface decontamination sequence
Follow this sequence every time, without exception:
- Wash the substrate with a pH-neutral automotive soap to remove loose dirt, road film, and water-soluble residues.
- Apply a chemical iron remover before any mechanical treatment. Iron fallout removal must precede clay bar treatment to avoid dragging embedded metal particles across the clear coat and causing micro-marring.
- Clay bar the surface after iron removal to lift bonded contaminants that washing cannot reach.
- Solvent wipe with a panel wipe or isopropyl alcohol solution to remove any remaining oils, wax traces, and fingerprints. Wipe in one direction only. Never scrub back and forth.
- Tack cloth the surface immediately before spraying to capture any airborne particles that settled during prep.
Environmental controls
| Control | Specification | Purpose |
|---|---|---|
| Intake filter micron rating | 190-micron for primers, 125-micron for basecoats, 80-micron for clear coats | Match filtration to coat type |
| Booth airflow direction | Downdraft or crossdraft, consistent velocity | Carry overspray away from the panel |
| Temperature | Manufacturer-specified range, typically 65–75°F | Maintain proper flash-off and flow |
| Humidity | Below 60% relative humidity | Prevent moisture contamination |
Micron ratings for paint filters must match the application phase. Over-filtering wastes material without improving quality. Under-filtering lets particles through that ruin the finish.
Pro Tip: Replace intake and exhaust filters on a fixed schedule, not just when airflow feels reduced. Pressure drop across a clogged filter is gradual. By the time you notice it, contamination has already entered the booth.
Booth wall and floor protection films reduce the amount of contaminated debris that recirculates during spraying. Dustfreefilm’s multi-layer electrostatic films trap particles at the wall surface rather than letting them re-enter the airstream. This is one of the most direct ways to prevent paint contamination at the source.
What process controls during paint application reduce contaminants and defects?
Application technique and process parameters directly control whether contaminants become embedded defects or stay manageable.
Flash-off time is non-negotiable. Rushing between coats traps solvents under the film. Trapped solvents cause solvent pop, blistering, and surface roughness that mimics contamination. Monitoring flash-off times alongside temperature uniformity and viscosity produces consistent finishes. Each of these variables affects how the coating flows and levels before it sets.
Atomization pressure affects particle size and surface texture. Too low a pressure produces large droplets that create orange peel. Too high a pressure generates overspray that dries before reaching the panel, landing as dry specks. Set atomization pressure to the paint manufacturer’s specification and verify it with a test panel before production spraying.
Film thickness management prevents solvent entrapment. Applying coats that are too thick traps solvents and creates internal stress in the film. Apply multiple thin coats with proper flash-off between each pass.
Compressed air quality requires active management. Install water separators and oil filters on every air line feeding spray guns. Check them daily. A single contaminated air supply can introduce oil craters across an entire job.
- Verify viscosity at the start of every batch using a flow cup.
- Monitor ambient temperature and humidity before and during application.
- Keep spray gun distance and angle consistent to maintain uniform film build.
- Never spray over a surface that has not been tack-clothed within the last 15 minutes.
Pro Tip: Run a test spray on a piece of scrap material at the start of each session. This catches gun contamination, pressure issues, and viscosity problems before they reach a production panel.
What are the key tools and inspection techniques to identify paint contaminants early?
Early detection prevents minor contamination from becoming a full respray. The right inspection sequence catches defects at the stage where they are cheapest to fix.
Detection methods compared
| Method | What it finds | When to use |
|---|---|---|
| Visual inspection under raking light | Nibs, dust, orange peel, fish eyes | After each coat, before cure |
| Surface feel test (gloved hand) | Embedded particles, texture irregularities | After final cut and polish |
| SEM/EDS analysis | Elemental composition of contaminant | Root cause investigation |
| FTIR spectroscopy | Chemical identity of residue | Identifying silicone, oil, or polymer contamination |
Analytical tools like SEM/EDS and FTIR are the standard for root cause analysis in industrial coating defect investigations. These techniques identify whether a defect comes from silicone, iron, moisture, or a formulation issue. That distinction determines whether the fix is a process change, a material change, or a cleaning protocol update.
Raking light inspection is the fastest and most practical tool for in-booth use. Hold a focused light source at a low angle to the panel surface. Dust nibs, orange peel, and fish eyes become immediately visible before the coating cures fully.
Random Forest predictive models now give high-volume operations a data-driven edge. Machine learning models achieve an R² of 0.94 in predicting paint defects from process parameters, enabling real-time adjustments before defects appear. That level of accuracy means operations can shift from reactive rework to proactive process correction.
Remediation versus prevention is a practical decision. Surface nibs from airborne dust can be cut and polished after cure. Fish eyes from silicone contamination require stripping and respraying. Additives that mask fish eyes do not solve the underlying contamination. They delay adhesion failure. Stopping, cleaning, and respraying saves labor and produces a better result than masking the defect.
How to implement ongoing contamination prevention in painting operations
Sustained contamination control requires systems, not just individual good habits. One-time fixes degrade without maintenance schedules and trained personnel.
Routine maintenance schedules are the backbone of a clean operation. Filters, booth walls, floors, and spray equipment all have defined service intervals. Skipping one cycle creates a compounding problem. Maintaining booth cleanliness through scheduled filter replacement and tack cloth use before each job reduces particulate contamination risk measurably.
Worker training and cleanroom discipline determine whether protocols actually get followed. Train every technician on contamination sources, proper gowning procedures, and the correct sequence for surface prep. Discipline around clean suits, glove use, and booth entry procedures is as important as any equipment investment.
Surface protection post-application reduces how quickly a finished surface picks up new contaminants. Ceramic sealants keep surfaces slick against bonding contaminants, lowering the frequency and intensity of decontamination needed between jobs.
Key ongoing prevention practices:
- Replace intake filters on a calendar schedule, not on visual inspection alone.
- Log all defect occurrences by type, location, and shift to identify patterns.
- Conduct monthly booth audits covering walls, floors, lighting, and airflow.
- Use dust-free painting practices as the baseline standard for every job, not just high-value work.
- Review process data from quality control logs to catch drift before it becomes a defect trend.
Documentation and traceability close the loop. When a defect batch occurs, process records let you identify whether the cause was a filter change, a material lot, a temperature deviation, or a personnel issue. Without records, every defect investigation starts from zero.
Key Takeaways
Reducing paint contaminants requires controlling the substrate, the environment, and the application process simultaneously. No single fix replaces an integrated system.
| Point | Details |
|---|---|
| Sequence surface decontamination | Apply iron remover before clay bar to prevent micro-marring from embedded metal particles. |
| Match filter micron to coat type | Use 190-micron for primers, 125-micron for basecoats, and 80-micron for clear coats. |
| Control flash-off and temperature | Monitor flash-off times and ambient conditions to prevent solvent entrapment and orange peel. |
| Use analytical tools for root cause | SEM/EDS and FTIR identify contaminant chemistry, directing the correct corrective action. |
| Maintain schedules, not just reactions | Replace filters and clean booths on fixed intervals to prevent contamination before it occurs. |
The part most operations get wrong
The most common mistake I see in professional painting operations is treating contamination as a finishing problem rather than a process problem. Painters reach for fish eye eliminator additives, sand and respray, or blame the paint supplier. The root cause is almost always upstream: a silicone-contaminated rag used during prep, a filter that was two weeks overdue for replacement, or a compressed air line with no oil separator.
Sustainable defect reduction comes from controlling the entire thermal and environmental cycle, not only spraying technique. I have watched operations invest in expensive spray equipment while running a booth with degraded intake filters and no wall protection. The equipment cannot compensate for a contaminated environment.
The operations that consistently produce clean finishes share one trait: they treat contamination control as a system. Every step from substrate arrival to final cure has a defined protocol, a responsible person, and a documented check. High-tech tools like predictive models and FTIR analysis add real value, but they work on top of that foundation. Without the foundation, they just give you faster data on why your defect rate is not improving.
My honest advice: audit your contamination sources before you buy anything new. Walk your process from raw substrate to finished panel and ask where contamination can enter. You will find at least three points that cost nothing to fix.
— Dust
How Dustfreefilm supports contamination control in your booth
Controlling airborne contamination at the booth level is one of the highest-leverage changes a professional operation can make.
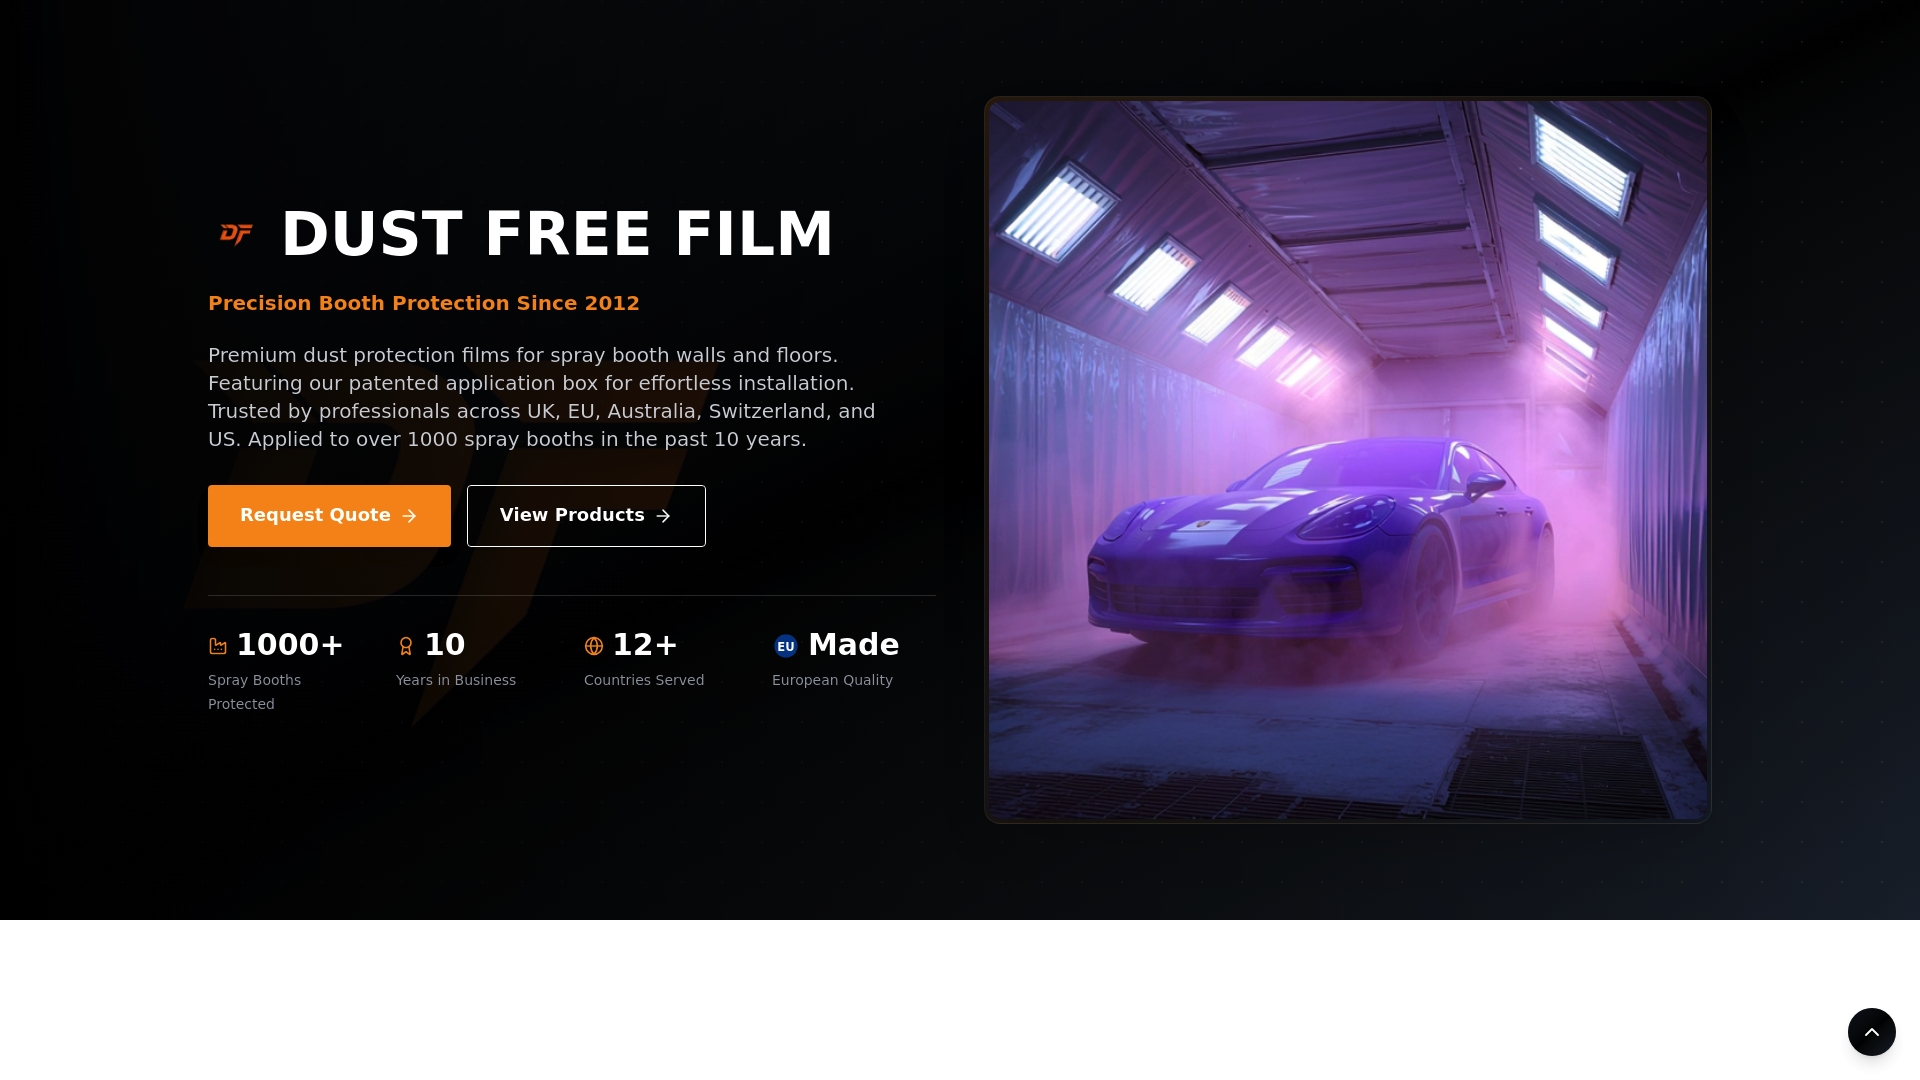
Dustfreefilm has manufactured premium dust protection films for spray booths since 2012, serving automotive refinishing shops and industrial painting facilities across multiple countries. Their multi-layer electrostatic booth wall and floor films trap airborne particles at the surface rather than letting them recirculate during spraying. The patented dispenser system allows fast, bubble-free installation, so booth prep does not slow down production. For operations looking to reduce booth contamination at the source, Dustfreefilm offers custom configurations and bulk purchasing options. Contact Dustfreefilm directly to find the right protection setup for your facility’s volume and layout.
FAQ
What causes fish eyes in automotive paint?
Silicone contamination causes over 90% of fish eye defects. The source is typically waxes, polishes, skin oils, or contaminated shop rags that were not fully removed before painting.
What micron filter should I use for clear coat?
An 80-micron filter is the correct choice for clear coat application. Using a coarser filter allows particles through that will be visible in the finished surface.
How do I remove iron fallout before painting?
Apply a dedicated chemical iron remover before any clay bar treatment. Chemical decontamination must come first to dissolve embedded metal particles. Claying over iron fallout drags the particles across the surface and causes micro-marring.
Can machine learning help reduce paint defects?
Yes. Random Forest models predict paint defects with an R² of 0.94 using process parameters, enabling real-time corrections before defects form on production panels.
How often should spray booth filters be replaced?
Replace filters on a fixed calendar schedule, not based on visual inspection. Airflow drops gradually as filters clog, and contamination enters the booth well before the pressure loss becomes noticeable.