

TL;DR:
- Proper surface preparation, environmental control, and thorough inspection are essential for durable industrial coating systems. Skipping steps like stripe coating or exceeding pot life can lead to early failure, despite using high-quality materials. Continuous documentation and adherence to specified procedures significantly increase coating longevity and performance.
The industrial coating application process is a systematic series of steps designed to deliver durable surface protection and consistent finish quality across industrial assets. Mastering this process requires more than selecting the right paint. It demands precise surface preparation to SSPC-SP10 / Sa 2½ standards, multilayer coating systems with total thickness of 240–400 µm depending on corrosivity category, and strict environmental controls at every stage. Technicians who follow this process correctly protect assets against corrosion, chemical exposure, and UV degradation for years. Those who cut corners typically see delamination, pinholes, or premature failure within months.
What are the essential prerequisites for a successful industrial coating application?
Surface preparation is the single most reliable predictor of coating system longevity. Process over product choice determines whether a coating lasts five years or twenty. No coating chemistry compensates for a poorly prepared substrate.
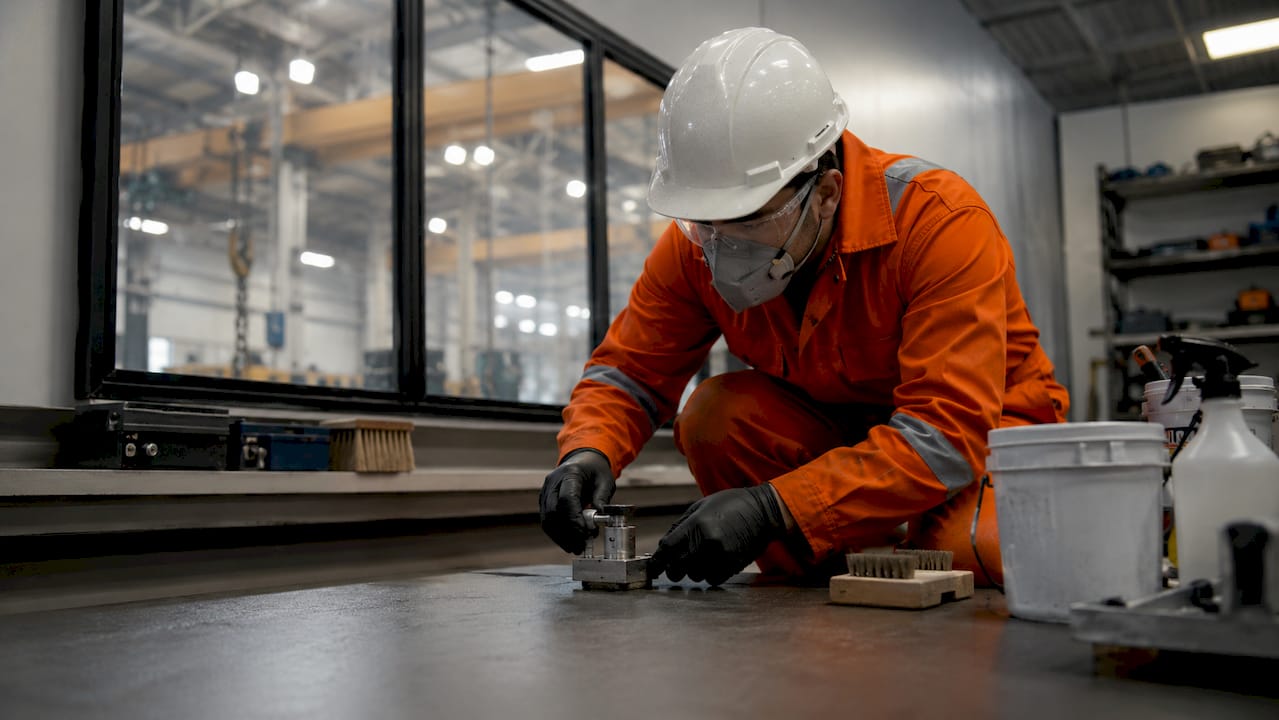
Surface cleanliness and anchor profile
The substrate must reach SSPC-SP10 / Sa 2½ cleanliness before any primer touches it. This standard requires the removal of nearly all mill scale, rust, and contaminants, leaving only light staining on no more than 5% of the surface. Abrasive blasting is the preferred method for achieving this grade at scale. Mechanical alternatives like power tool cleaning or the Bristle Blaster work on localized areas or maintenance projects where blasting is impractical.
Anchor profile requirements fall between 60–100 µm Rz, measured with a surface profile gauge or replica tape. This profile gives the primer mechanical grip. Without it, even a correctly mixed, correctly applied primer will fail adhesion testing.
Environmental control before and during application
Substrate temperature must stay at least 3°C above the dew point throughout the application window. Applying coatings when substrate temperature is near or below the dew point causes moisture condensation on the surface. That moisture layer prevents proper adhesion and leads to premature delamination regardless of coating type.
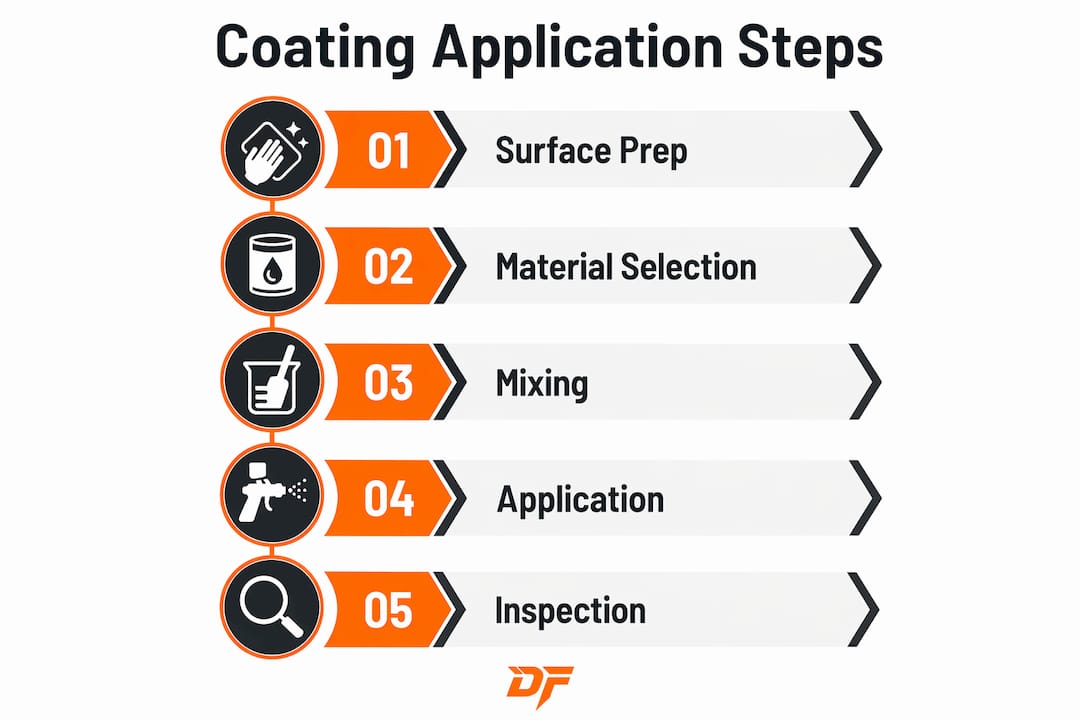
Monitor ambient temperature, relative humidity, and dew point continuously with a calibrated psychrometer or digital climate meter. Record readings at the start of each shift and at regular intervals during application.
Pro Tip: After blasting, coat the substrate within 2–4 hours to prevent flash rust. In humid environments, reduce that window further and check the surface visually before applying primer.
Required materials and documentation
Before application begins, confirm the following are on hand:
- Calibrated wet film thickness (WFT) combs and dry film thickness (DFT) gauges
- Mixing equipment sized to the batch volume, including drill mixers and calibrated scales
- Personal protective equipment (PPE) including respirators rated for the coating chemistry in use
- Inspection logs for environmental readings, mixing records, and application windows
- Technical Data Sheets (TDS) for every product in the system
Documentation is not optional. Quality control audits and warranty claims both depend on traceable records.
How to select and prepare industrial coatings for application?
Multilayer coating systems work because each layer performs a distinct function. Selecting the wrong product for a layer, or skipping a layer entirely, compromises the entire system. Understanding types of industrial coatings and their roles within a system is a prerequisite for correct selection.
Multilayer system structure
A standard protective system for corrosion categories C4 and C5 per ISO 12944 consists of three layers:
- Zinc-rich primer (60–80 µm): Provides cathodic protection by sacrificing zinc ions before the steel corrodes. This layer sets the anchor profile requirement for the system.
- Epoxy intermediate (100–150 µm): Delivers adhesion, chemical resistance, and barrier protection. Epoxy builds film thickness efficiently but chalks under UV exposure, making a topcoat mandatory.
- Polyurethane topcoat (50–80 µm): Provides UV protection and gloss retention under sunlight exposure. Without this layer, the epoxy intermediate degrades within one to two seasons of outdoor exposure.
The combination of epoxy and polyurethane is not interchangeable. Epoxy provides the chemical resistant backbone; polyurethane provides long-term weather resistance. Using only one layer in an outdoor C5 environment is a specification error.
For guidance on maximizing asset life through correct system selection, the corrosivity category of the operating environment is the starting point.
Mixing protocols and pot life
Always follow the TDS for mix ratios, induction times, and pot life. Epoxy coatings have a defined pot life, typically 30–60 minutes at 20°C, after which viscosity increases and film formation quality drops. Mixing beyond pot life produces a coating that looks normal but will not cure correctly.
Pro Tip: Mix only what you can apply within 75% of the stated pot life. In hot weather, pot life shortens significantly. Reduce batch sizes accordingly and keep mixed material in shade.
| Layer | Typical DFT | Primary Function |
|---|---|---|
| Zinc-rich primer | 60–80 µm | Cathodic protection |
| Epoxy intermediate | 100–150 µm | Barrier and chemical resistance |
| Polyurethane topcoat | 50–80 µm | UV protection, gloss retention |
Different formulations of the same coating type may require different anchor profiles or application techniques. Always consult the TDS before finalizing your surface prep specification. The primer drives substrate requirements; the topcoat chemistry does not change what the substrate needs.
What are the main coating application techniques and how do you execute them?
Coating application techniques in industrial settings include spray, dip, brush, roll, and thermal spraying. Each method suits different substrates, geometries, and production volumes. Spray application is the most common industrial method because it delivers consistent film thickness across large surface areas at production speed.
Step-by-step spray application
- Set up and calibrate equipment. Select the correct spray tip size for the coating viscosity. Airless spray systems typically use tips in the 17–21 thou range for epoxy intermediates. Set pressure to the manufacturer’s recommended range and test spray pattern on a test panel before production application.
- Apply stripe coats first. Stripe coats on edges, welds, bolts, and crevices must be applied before the full coat. These areas receive less film build during full-coat application due to geometry. Stripe coating is a mandatory quality control step, not optional.
- Apply the full coat. Maintain a consistent gun-to-substrate distance of 30–45 cm. Overlap each pass by 50% to avoid holidays. Keep the gun perpendicular to the surface and move at a steady pace. Varying speed or angle creates uneven film thickness.
- Measure WFT immediately. Use a WFT comb on the wet film within seconds of application. Compare the reading against the target WFT calculated from the product’s volume solids percentage. Adjust gun speed or pressure if readings fall outside the target range.
- Control recoat intervals. Recoat intervals must be controlled and recorded to maintain adhesion between layers. Applying the next coat too early traps solvents; applying it too late may require mechanical abrasion to restore adhesion.
Other industrial paint methods
Dip coating covers complex geometries completely and works well for high-volume production of small parts. Its limitation is drainage control. Excess material pools at drain points and creates runs or uneven thickness. Roll and brush application suit maintenance work and touch-up on large flat surfaces. Thermal spraying applies metallic coatings like zinc or aluminum at high temperatures and is used where conventional liquid coatings cannot meet the performance requirement.
Masking protects surfaces that must remain coating-free, such as machined faces, threads, and bearing seats. Use masking tape rated for the cure temperature of the coating system. Remove masking before the coating fully cures to avoid tearing the film edge.
How to inspect and verify coating quality during and after application?
Inspection is not a final step. It runs in parallel with application at every stage. Catching a defect during application costs minutes to fix. Catching it after full cure costs days and significant rework expense.
Key inspection methods
- WFT measurement: Take readings immediately after each coat using a WFT comb. Calculate the expected DFT using the product’s volume solids. WFT and DFT are related but not identical; solvent evaporation reduces film thickness during cure.
- DFT measurement: Use a calibrated magnetic gauge on ferrous substrates after each coat cures. Record readings at a minimum of five points per square meter. Flag any reading below the minimum specified DFT for the layer.
- Salt contamination testing: Use the Bresle patch method to measure soluble salt levels on the blasted surface before priming. Salt contamination testing identifies chloride levels that cause osmotic blistering under the coating film.
- Surface profile verification: Confirm anchor profile with replica tape or a profilometer after blasting and before priming. A profile outside the 60–100 µm Rz range requires re-blasting or mechanical correction.
Pro Tip: Log every inspection result with a timestamp, location reference, and the name of the inspector. This record becomes the quality file for the project and supports warranty claims if coating performance issues arise later.
| Inspection Parameter | Method | Acceptance Criterion |
|---|---|---|
| Surface cleanliness | Visual per SSPC-SP10 | Sa 2½ minimum |
| Anchor profile | Replica tape / profilometer | 60–100 µm Rz |
| Salt contamination | Bresle patch | Per TDS or project spec |
| DFT per layer | Magnetic gauge | Within specified range |
Common defects and corrective actions
Delamination results from poor surface preparation, application outside climate windows, or exceeding pot life. The corrective action is mechanical removal of the failed area, re-blasting to Sa 2½, and reapplication. Pinholes form when solvent escapes too quickly or when the coating is applied too thin. Stripe coating vulnerable areas and maintaining correct film build prevents most pinhole failures. Poor surface preparation and inappropriate environmental conditions are the primary causes of coating failure, not the coating chemistry itself.
Key Takeaways
A successful industrial coating application depends on surface preparation quality, correct system selection, and continuous inspection at every stage of the process.
| Point | Details |
|---|---|
| Surface preparation drives outcomes | Achieve SSPC-SP10 / Sa 2½ and 60–100 µm Rz anchor profile before applying any primer. |
| Multilayer systems are non-negotiable | Zinc primer, epoxy intermediate, and polyurethane topcoat each perform distinct functions that cannot be combined or skipped. |
| Environmental control prevents failure | Keep substrate temperature at least 3°C above dew point and document conditions throughout application. |
| Stripe coat before full coat | Apply stripe coats to edges, welds, and crevices before the full coat to prevent corrosion initiation at vulnerable points. |
| Inspection runs throughout, not at the end | Measure WFT, DFT, and salt contamination at each stage and record all results in a traceable quality file. |
What I’ve learned after years of watching coating projects fail
The most consistent pattern in coating failures is not a bad product. It is a good product applied under bad conditions by a crew that skipped the documentation step. I have seen zinc-rich primers from reputable manufacturers fail within a season because the substrate was blasted on a humid morning and primed four hours later without a flash rust check. The coating looked fine on day one. By month six, the rust was visible.
The second pattern is stripe coat avoidance. Technicians under time pressure skip stripe coats on welds and bolt heads because those areas are small and the full coat “covers them anyway.” It does not. Film build on sharp edges is always lower than on flat surfaces, and corrosion initiates at exactly those points. Stripe coating adds 20–30 minutes to a job. Rework costs days.
My practical advice: treat the TDS as a legal document, not a suggestion. The pot life, induction time, recoat window, and climate limits are not conservative estimates. They are the conditions under which the manufacturer tested the product. Operate outside those conditions and you own the failure.
Dust contamination in the spray environment is an underrated defect source. Airborne particles that settle on a wet coat create surface defects that require sanding and recoating. Controlling the booth environment with dust protection films on walls and floors reduces contamination at the source. It is a simple intervention with a measurable effect on first-pass finish quality.
— Dust
How Dustfreefilm supports cleaner coating outcomes
Contamination in the spray environment is one of the most preventable causes of coating defects. Dustfreefilm manufactures multi-layer electrostatic protective films for spray booth walls and floors, designed to capture airborne dust before it settles on a wet coat. The films are heat-resistant, static-free, and built for high-traffic industrial settings.

Dustfreefilm’s patented dispenser system allows quick, bubble-free installation, so booth preparation does not slow down production. For facilities running high-volume coating operations, the protective film system reduces dust-related defects and improves first-pass finish quality. Visit Dustfreefilm to review product configurations and bulk purchasing options for your facility.
FAQ
What is the correct surface cleanliness standard for industrial coating?
The standard is SSPC-SP10 / Sa 2½, which requires removal of nearly all mill scale, rust, and contaminants before primer application. Blasting must be followed by coating within 2–4 hours to prevent flash rust.
How thick should an industrial coating system be?
Total system thickness for harsh environments ranges from 240–400 µm depending on the corrosivity category per ISO 12944. A typical C5 system uses a zinc-rich primer at 60–80 µm, an epoxy intermediate at 100–150 µm, and a polyurethane topcoat at 50–80 µm.
Why does epoxy coating need a polyurethane topcoat?
Epoxy provides chemical resistance and adhesion but degrades under UV exposure. Polyurethane topcoat provides long-term weather resistance and gloss retention, making the combination necessary for any outdoor or UV-exposed application.
What causes coating delamination?
Delamination results from poor surface preparation, application when substrate temperature is at or below the dew point, or applying coating beyond its pot life. Corrective action requires mechanical removal of the failed area and full reapplication.
How do you verify coating thickness during application?
Measure wet film thickness immediately after application using a WFT comb, then verify dry film thickness after curing with a calibrated magnetic gauge. Record a minimum of five DFT readings per square meter and compare against the specified range in the TDS.