
TL;DR:
- An effective industrial floor protection workflow involves careful surface testing, zone planning, phased application, and quality checks to minimize operational disruptions. Proper coordination, measured quality gates, and clear authority for zone reopenings ensure surface integrity and safety in active facilities. Discipline and proactive planning are more critical to success than coating selection alone, especially when addressing temporary protections and potential delays.
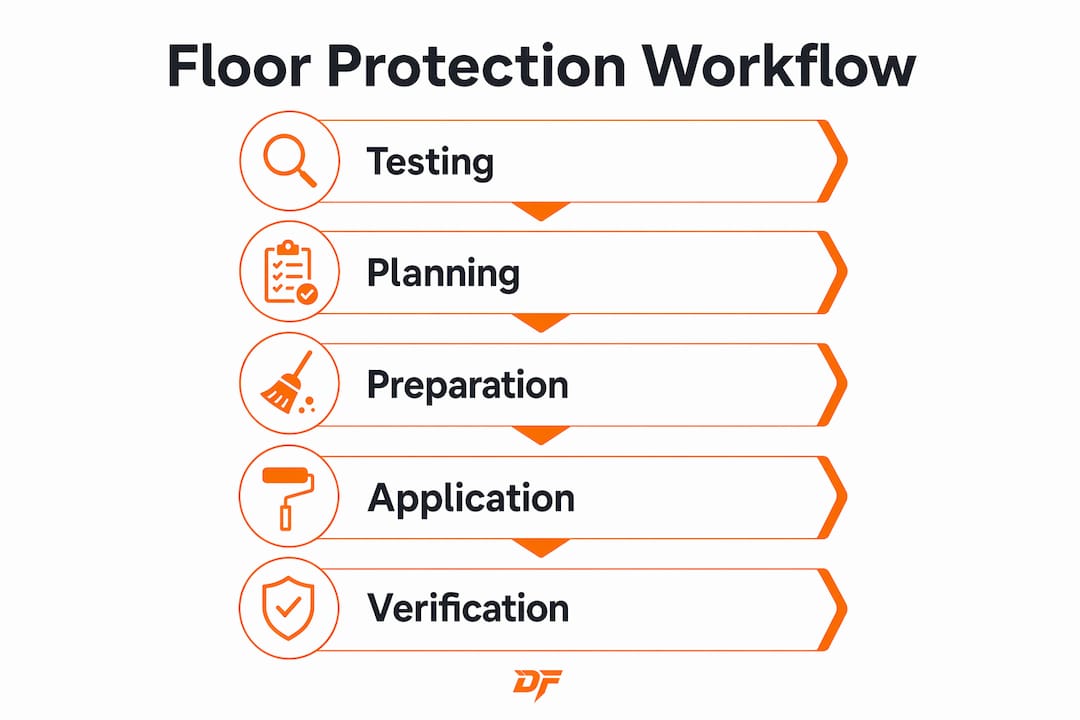
An industrial floor protection workflow is a structured sequence of surface preparation, material selection, phased application, and quality verification designed to safeguard flooring in active industrial facilities with minimal operational downtime. Done right, it keeps production moving while coating crews work in adjacent zones. Done wrong, it creates safety incidents, coating failures, and costly rework. The SLABKRETE™ SLB system, ASTM moisture testing protocols, and phased zone management are the three pillars that separate a disciplined workflow from a reactive patch job. This guide walks through every stage, from pre-kickoff planning to final safety signoff.
What does an industrial floor protection workflow actually require before you start?
The prerequisites for a successful industrial floor protection workflow are substrate testing, tool readiness, and zone planning completed at least four to six weeks before application begins. Skipping any of these three steps is the most common reason projects run over schedule or fail inspection.
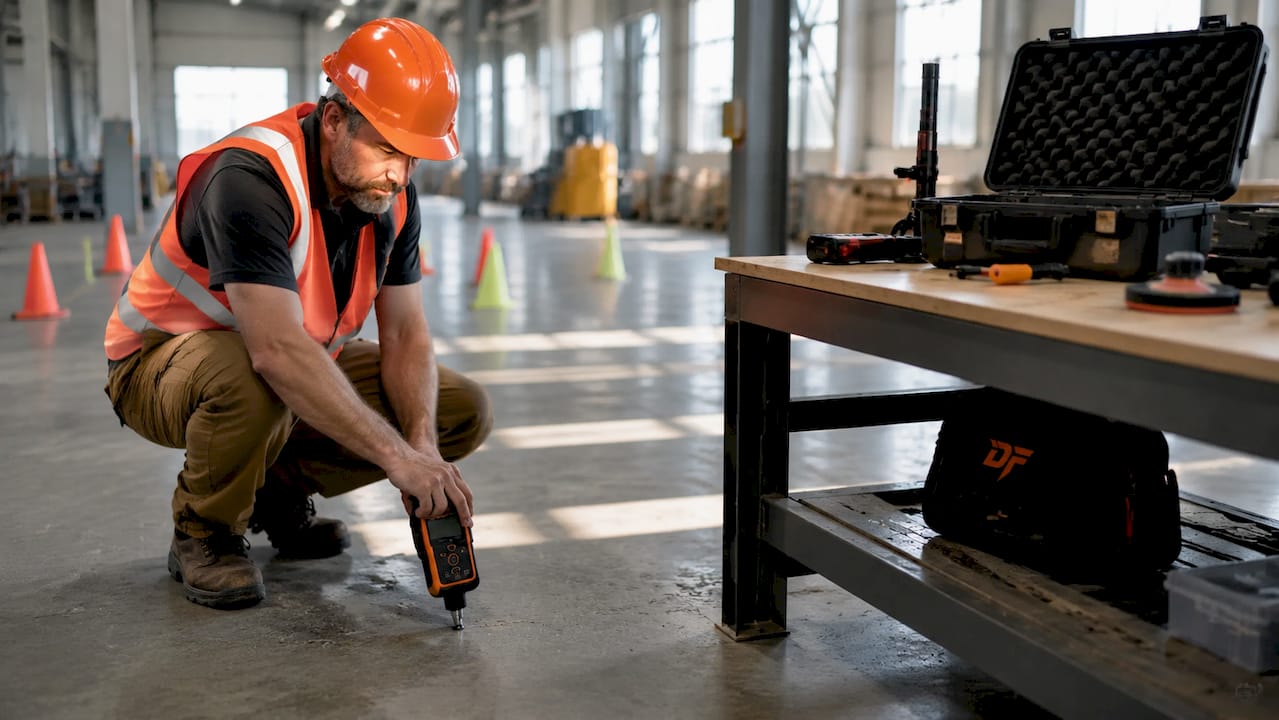
Substrate moisture is the first variable to lock down. Moisture testing per ASTM F2170 and F1869 determines whether the concrete slab can accept a coating without adhesion failure or blistering. The SLABKRETE™ SLB system, for example, calibrates its moisture tolerance and curing time recommendations directly from these test results. Skipping this step and applying a fast-cure epoxy over a wet slab produces a failure that no amount of rework can fully correct.
Beyond moisture, you need two measurement tools on every job: a Wet Film Thickness (WFT) gauge for use during application and a calibrated Dry Film Thickness (DFT) gauge for post-cure verification. Holiday testers identify pinholes and voids that are invisible to the naked eye. These three instruments are non-negotiable for any quality coating inspection that will hold up to client or regulatory scrutiny.
Material selection follows substrate data. Match your coating chemistry to the traffic zone it will serve:
- Fast-cure epoxies for high-throughput zones where 4-hour reopening windows are required
- Polyaspartics for areas with UV exposure or where same-day return to service is critical
- Urethane cement bases for zones with thermal cycling, chemical exposure, or wet processing
Pro Tip: Map every zone by traffic type, chemical exposure, and cure window before ordering materials. A mismatch between protection material and duty cycle is the leading cause of premature coating failure in industrial environments.
Finally, build your quality assurance documentation framework before the first grinder touches the floor. Assign inspection responsibilities, define acceptance criteria for each zone, and create a checklist that links batch records to specific test results. Documentation is not administrative overhead. It is the paper trail that resolves disputes and confirms compliance.
How to execute phased surface preparation and coating application
Phased execution is what separates a no-shutdown floor protection project from a full facility closure. The Moorhouse warehouse case demonstrated that recoating 120,000 sq ft in 48 hours without shutdown is achievable when zone control and cure validation are treated as operational disciplines, not afterthoughts.
Here is the execution sequence that works in active industrial environments:
- Divide the floor into zones by traffic criticality. High-traffic corridors and loading areas go last. Low-traffic storage zones go first. This sequencing keeps the facility functional throughout the project.
- Install temporary signage and engineered alternate routing before any surface prep begins. Forklift operators and pedestrian traffic need clear, unambiguous paths. Verbal briefings alone are not sufficient.
- Execute surface preparation zone by zone. Diamond grinding works for light profiling on sound concrete. Shot blasting is the standard for heavy-duty industrial coatings requiring ICRI CSP 3 to 5 profiles. Scarification handles deteriorated surfaces or thick existing coatings. Match the method to the zone’s condition and the coating’s adhesion requirement.
- Apply coatings within the cure window specified by the manufacturer for that zone’s temperature and humidity. Overnight and shift-change windows are the most productive application periods because foot traffic is lowest and temperature is most stable.
- Run cure-led milestones, not clock-led milestones. Check moisture, temperature, and slip resistance every four hours. A zone that reads “cured” on paper but fails a traction check stays closed.
Pro Tip: Schedule coating application to align with shift changes. A 10-hour overnight window gives most fast-cure epoxies and polyaspartics enough time to reach walkable hardness before the morning crew arrives, without requiring overtime supervision.
Phased installation planning requires building backup zones into the schedule from day one. If Zone 3 runs long due to unexpected substrate repair, Zone 4 becomes the active work area. Without a backup zone, one delay cascades into a full project stoppage.
The coating matrix you build for each zone should document the product name, batch number, application thickness target, cure time at ambient conditions, and the name of the person responsible for clearance. That last field matters more than most project managers expect.
What quality control and safety verification should happen during and after application?
Quality control in floor protection is not a final inspection. It is a series of measured checkpoints woven into the application process itself. Coating inspection workflows require logging WFT during application, DFT after cure, and pinhole and adhesion test records linked to batch numbers. Each checkpoint catches a different failure mode at the lowest possible cost.
The checkpoint sequence runs as follows:
- WFT measurement during application: Use a comb gauge or wheel gauge immediately after laying each coat. Thin spots identified during application can be corrected in minutes. Thin spots identified after cure require grinding and recoating.
- DFT verification after cure: A calibrated DFT gauge confirms the finished system meets spec. Record readings at a minimum of five points per 100 square feet in high-traffic zones.
- Holiday testing: Run a holiday detector over the cured surface to identify pinholes and voids. In chemical exposure zones, a single undetected pinhole can allow corrosive liquids to reach the substrate and undermine the entire coating system.
- Adhesion testing: Pull-off adhesion tests confirm the coating has bonded to the substrate rather than just sitting on top of it. This test is especially important when coating over existing coatings or when moisture readings were borderline at the time of application.
- Slip resistance measurement: Slip resistance must be verified before any zone is reopened to foot traffic or equipment. Cure time alone is not a sufficient gate for lane reopening.
| QC Checkpoint | Timing | Tool Required |
|---|---|---|
| Wet Film Thickness (WFT) | During application | Comb or wheel gauge |
| Dry Film Thickness (DFT) | After full cure | Calibrated DFT gauge |
| Holiday/pinhole test | After full cure | Holiday detector |
| Adhesion test | After full cure | Pull-off adhesion tester |
| Slip resistance | Immediately before reopening | Slip resistance meter |
Every checkpoint result goes into the documented acceptance checklist. Assign one named person to sign off on each zone before it reopens. Shared responsibility is no responsibility.
What common challenges arise in floor protection workflows, and how do you fix them?
Even well-planned projects hit friction points. The difference between a project that recovers and one that fails is whether the team anticipated these challenges and built responses into the workflow before work started.
- Product mismatch to duty cycle: Applying a light-duty coating in a forklift corridor because it was cheaper or faster to cure is a false economy. Matching protection materials to the specific traffic phase and surface type is the single most important pre-kickoff decision. Review the traffic map and coating spec together, not separately.
- Poor coordination between operations, safety, and coating teams: These three groups often work from different schedules and different priorities. A weekly alignment meeting during the project, with all three represented, prevents the most common conflicts. Operational teams need to know which zones are closed and when. Coating crews need to know when shift changes create application windows.
- Liquid and dust intrusion under temporary protection sheets: Temporary floor protection sheets must overlap edges by 5 to 10 cm and be sealed with appropriate tape at every seam. Unsealed seams are the most common failure boundary for temporary protection. Inspect sheets daily for damage, lifting edges, or pooled liquid.
- Unrealistic cure validation intervals: Nominal cure times printed on product data sheets assume ideal temperature and humidity. Real facilities rarely match those conditions. Build contingency buffer days into the schedule and gate zone reopening on measured slip resistance, not the clock.
Pro Tip: Assign a single person the authority to clear each zone for reopening. The Moorhouse warehouse project identified single-point lane clearance authority as a more critical success factor than product chemistry. When two people share that authority, zones get opened too early.
The floor protection strategies that hold up in high-traffic environments share one trait: they treat governance as seriously as chemistry. The best coating in the world fails if the workflow around it is undisciplined.
Key takeaways
A disciplined industrial floor protection workflow succeeds through phased zone control, measured quality gates, and single-point clearance authority, not through product selection alone.
| Point | Details |
|---|---|
| Test before you coat | Run ASTM F2170 and F1869 moisture tests on every zone before selecting or applying any coating system. |
| Plan zones 4 to 6 weeks out | Define traffic zones, backup zones, and buffer days before work begins to prevent cascading delays. |
| Use measured quality gates | Log WFT during application and DFT after cure; never reopen a zone based on elapsed time alone. |
| Seal every temporary sheet seam | Overlap protection sheets by 5 to 10 cm and tape all seams to block liquid and dust migration. |
| Assign one clearance authority | Name one person responsible for signing off each zone reopening to prevent premature traffic exposure. |
What I’ve learned about floor protection workflows after years in industrial environments
The most persistent mistake I see in industrial floor protection projects is treating the coating system as the primary variable. Facility managers spend weeks comparing epoxy formulations and polyaspartic cure profiles, then hand the project to a crew with no zone map, no documented clearance protocol, and no backup plan for a delayed zone. The coating fails, and the chemistry gets blamed.
Process discipline is what actually drives outcomes. A mid-tier coating applied with rigorous zone control, documented QA checkpoints, and a single named clearance authority will outperform a premium system applied with ad hoc scheduling and verbal handoffs. The Moorhouse 48-hour warehouse recoat is the clearest example I know of this principle in action. The chemistry was good. The governance was exceptional. That combination is what made the no-shutdown result possible.
The other thing I would tell any facility manager starting a phased floor protection project: do not underestimate temporary surface protection as a workflow component. The floor protection installation steps for temporary films matter as much as the permanent coating steps. Unsealed sheet seams and damaged temporary protection create contamination that compromises the coating you just paid to apply. Treat temporary protection as part of the QA system, not an afterthought.
Finally, build your contingency buffer before you need it. A project that finishes two days early looks good. A project that cascades into a full shutdown because one zone ran long looks like a failure, regardless of coating quality.
— Dust
How Dustfreefilm supports your floor protection workflow
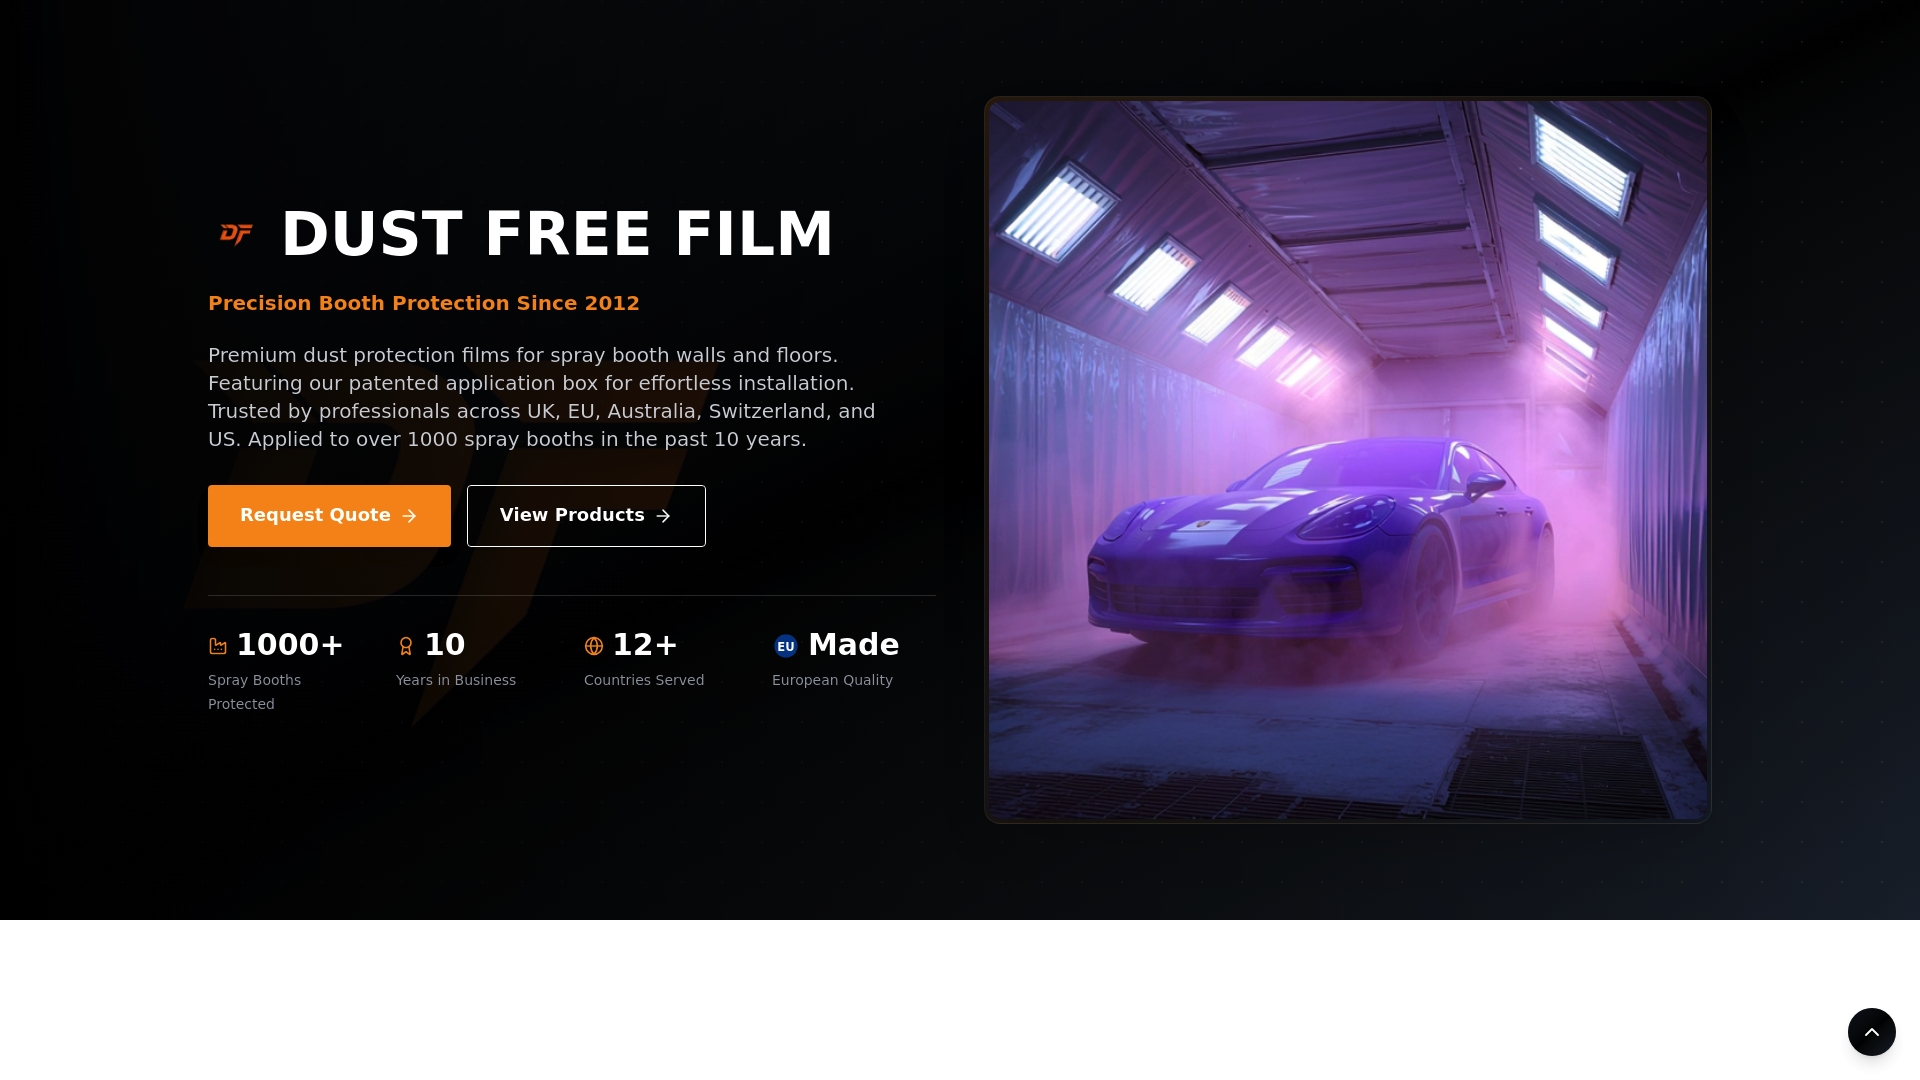
Dustfreefilm manufactures multi-layer electrostatic floor and wall protection films built for the demands of industrial spray booths, automotive refinishing facilities, and high-traffic manufacturing environments. Their patented dispenser system allows quick, bubble-free installation, which means your crew spends time protecting surfaces rather than fighting with materials. The films are heat-resistant, static-free, and engineered for durability across repeated use cycles. For facility managers and contractors who need reliable floor protection that holds up through active production, Dustfreefilm offers custom configurations and bulk purchasing options. Request a quote directly to find the right solution for your facility’s specific zones and traffic demands at Dustfreefilm’s quote page.
FAQ
What is an industrial floor protection workflow?
An industrial floor protection workflow is a structured sequence covering substrate testing, material selection, phased surface preparation, coating application, and quality verification designed to protect flooring in active facilities with minimal downtime.
How far in advance should you plan a phased floor protection project?
Phased projects require planning four to six weeks ahead to define zones, schedules, and staging areas. This lead time allows for moisture testing results, material procurement, and coordination with facility operations.
Why is slip resistance testing required before reopening a zone?
Cure time alone does not confirm a surface is safe for foot traffic or equipment. Slip resistance must be measured immediately before reopening each zone because a chemically cured coating can still present a traction hazard under real traffic conditions.
What causes temporary floor protection sheets to fail?
Unsealed seams are the primary failure point. Sheets must overlap by 5 to 10 cm and be taped at every seam to prevent liquid and dust from migrating underneath and contaminating the substrate or fresh coating.
What is the most important governance decision in a phased floor protection project?
Assigning one named person the authority to clear each zone for reopening is the single most impactful governance decision. Shared clearance authority consistently leads to zones being reopened prematurely, which causes safety incidents and coating damage.