
Over 80 percent of professional spray booth defects are caused by airborne dust contamination, creating costly delays and dissatisfied customers in American and European facilities. For operations managers overseeing high-traffic automotive refinishing, eliminating these setbacks means more than clean surfaces. It is about meeting strict European standards while achieving flawless paint quality. Discover proven, step-by-step strategies to transform your workflow into a dust-free zone and unlock consistently superior results.
Table of Contents
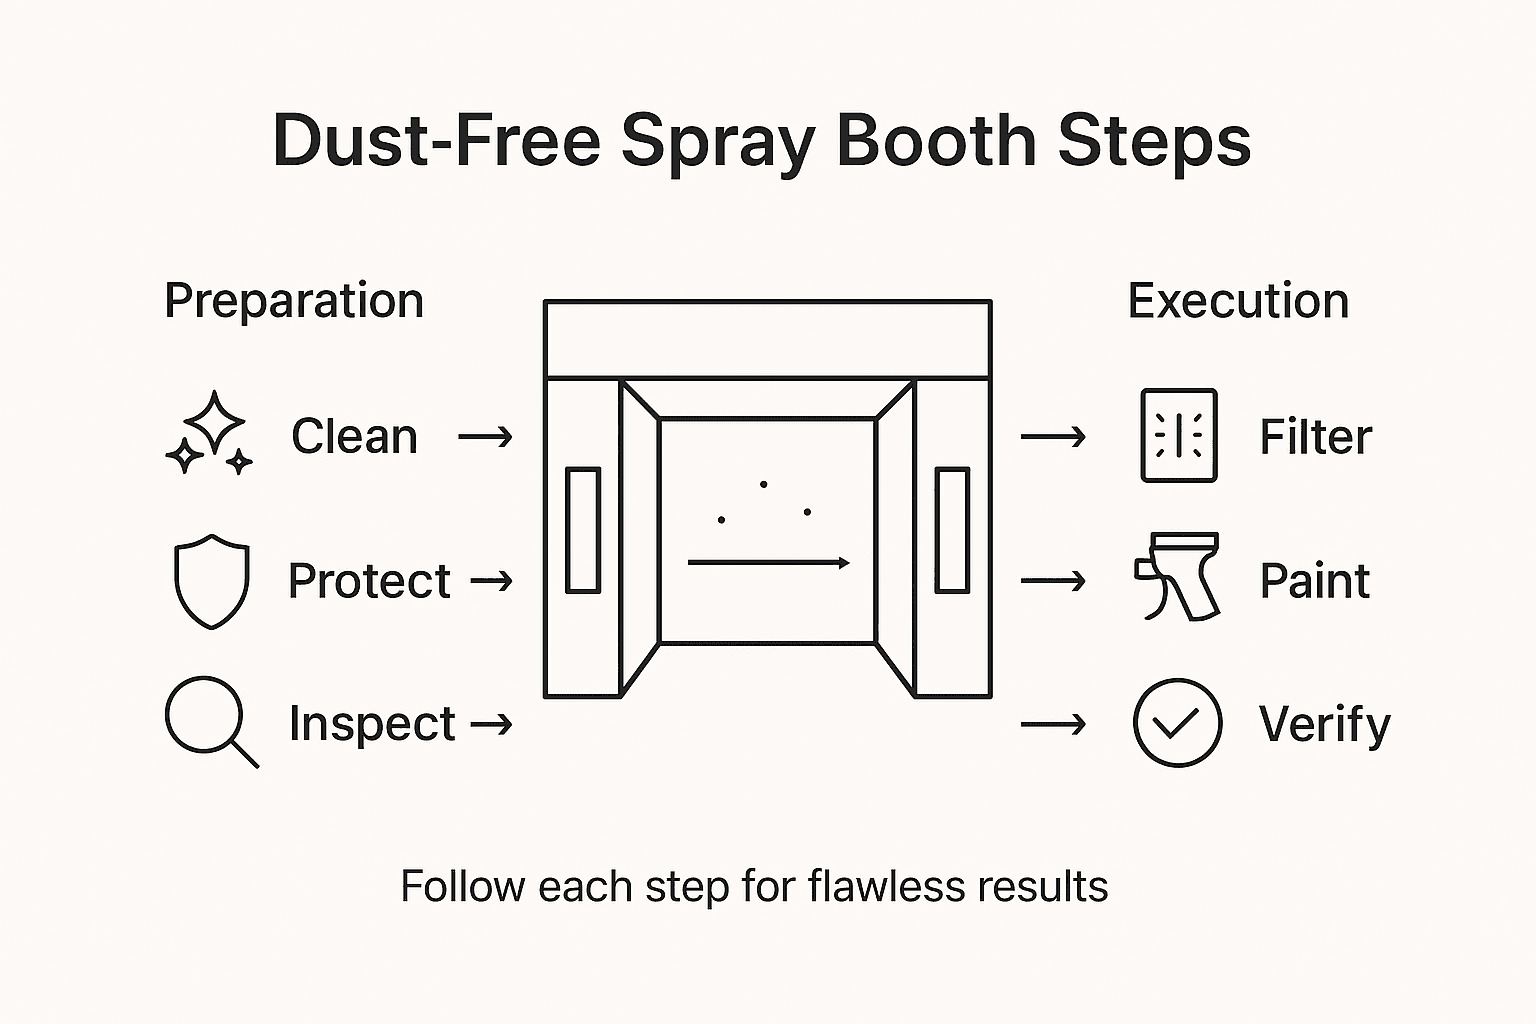
- Step 1: Prepare Spray Booth For Dust-Free Workflow
- Step 2: Install Premium Dust Protection Films Efficiently
- Step 3: Optimize Air Filtration And Safety Systems
- Step 4: Execute Painting In Controlled Environment
- Step 5: Inspect And Verify Dust-Free Finish
Quick Summary
| Key Takeaway | Explanation |
|---|---|
| 1. Maintain a dust-free booth | A clean spray booth prevents contamination, ensuring a smooth, defect-free finish. |
| 2. Use premium protection films | These films shield surfaces from new particle buildup, enhancing cleanliness and adhesion. |
| 3. Optimize air filtration systems | High-quality air filtration reduces airborne microparticles, improving both paint quality and worker safety. |
| 4. Control environmental conditions | Consistent temperature and humidity levels ensure uniform paint application and minimize defects. |
| 5. Conduct thorough inspections | Systematic inspection guarantees a high-quality finish by identifying and addressing imperfections before completion. |
Step 1: Prepare spray booth for dust-free workflow
Creating a pristine spray booth environment is fundamental to achieving professional paint finishes. This preparation stage sets the foundation for preventing contamination and ensuring flawless application. By implementing strategic cleaning and isolation protocols, you can dramatically reduce dust and particle interference during painting processes.
Start by performing a comprehensive cleaning of the entire spray booth interior. Carefully control contaminants like dust, pollen, oil, and silicone through meticulous surface preparation. Use lint-free cloths, industrial-grade cleaning solutions, and systematic wiping techniques to remove potential particle sources. Focus on walls, floors, and work surfaces. Remove any previous paint overspray, dirt accumulation, or residual materials that could compromise your painting environment.
Next, evaluate and upgrade your personal protective equipment. Wear full paint overalls and full-face respirator masks to minimize human-introduced contamination. Limit personnel inside the booth and establish strict entry protocols. Install and maintain high-quality intake roof filters and floor extraction filters to reduce airborne particles. Creating an independent enclosed spray environment with smooth, sealed materials helps maintain optimal air quality and pressure gradients.
Pro Tip: Before each painting session, perform a test spray on a disposable panel to check for any remaining dust particles and validate your cleaning process.
Step 2: Install premium dust protection films efficiently
Installing premium dust protection films is a critical step in creating a contamination-free spray booth environment. By carefully applying these specialized films, you can dramatically enhance your painting workspace’s cleanliness and protect your surfaces from unwanted particles.
Begin by thoroughly preparing the spray booth surfaces. Eliminate dust, dirt, and oils completely to ensure proper film adhesion using industrial-grade cleaning solutions and lint-free microfiber cloths. Work methodically from top to bottom, paying special attention to corners, seams, and potential debris collection points. Use alcohol-based cleaners to remove any residual contaminants, ensuring a completely sterile surface that will allow the protective film to bond perfectly.
Carefully unroll and position the dust protection film, using specialized application tools to gradually smooth out the material. Work systematically to prevent air bubbles and wrinkles, using gentle squeegee motions to create a seamless protective barrier. Start at one edge and progressively press the film into place, maintaining consistent tension and alignment. Trim excess film precisely using sharp utility knives, ensuring clean edges that provide complete surface coverage.
Pro Tip: Maintain a consistent room temperature around 70 degrees Fahrenheit during film installation to optimize adhesive performance and minimize potential application challenges.
Compare the advantages of traditional cleaning versus advanced protection films:
| Method | Strengths | Limitations |
|---|---|---|
| Traditional Cleaning | Removes visible dust quickly | May miss microscopic debris |
| Advanced Protection Film | Blocks new particle buildup | Requires careful installation |
Step 3: Optimize air filtration and safety systems
Ensuring optimal air filtration and safety systems is crucial for maintaining a professional spray booth environment. Your goal is to create a controlled atmosphere that minimizes contamination risks and protects both personnel and painting surfaces from potential hazards.
Begin by conducting a comprehensive evaluation of your existing air filtration infrastructure. Inspect intake and exhaust systems thoroughly, checking for any signs of wear, damage, or reduced efficiency. Replace air filters at recommended intervals using high-quality, industry-standard filtration media designed specifically for spray booth applications. Focus on multi-stage filtration systems that can effectively capture microscopic particles, preventing them from compromising your painting environment.
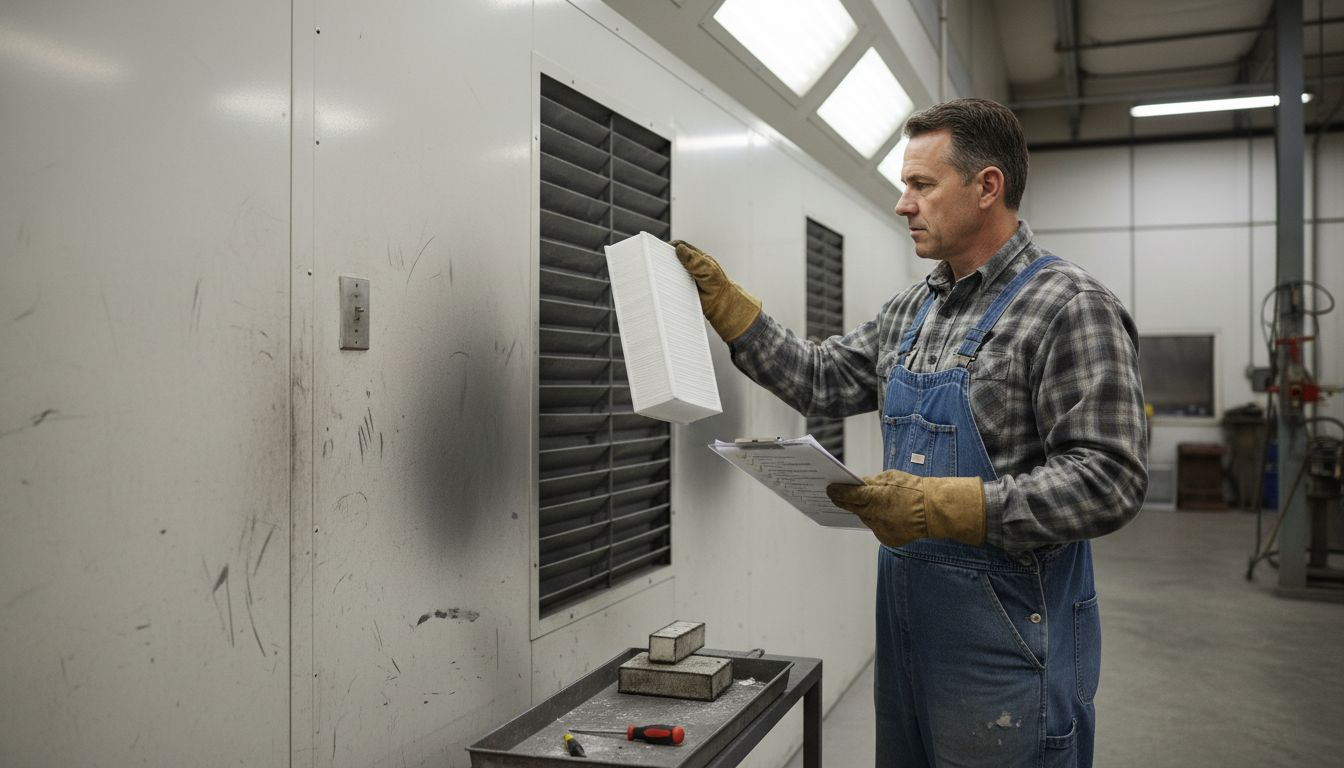
Implement rigorous safety protocols to complement your air filtration strategy. Install proper personal protective equipment stations, including respirators, full-body protective suits, and eye protection. Create clear safety signage indicating mandatory equipment requirements and potential hazards. Establish strict entry and exit protocols that minimize dust introduction and help maintain the integrity of your controlled workspace. Regularly calibrate and test air pressure systems to ensure consistent positive pressure that prevents external contaminants from entering the spray booth.
Pro Tip: Invest in digital air quality monitoring equipment to track particulate levels and receive real-time alerts about potential filtration system performance changes.
Step 4: Execute painting in controlled environment
Successful spray painting requires precision and careful execution within a meticulously controlled environment. Your ultimate goal is to achieve a flawless finish by managing every aspect of the painting process with scientific accuracy and professional technique.
Spray painting under controlled environmental conditions is critical for minimizing defects like orange peel, runs, and dust inclusions. Begin by verifying your environmental parameters, including temperature, humidity, and air velocity. Maintain consistent booth conditions between 68 to 72 degrees Fahrenheit with relative humidity around 50 percent. Position your spray equipment precisely, calibrating your spray gun to maintain an optimal distance of 6 to 8 inches from the surface. Practice smooth, overlapping strokes that provide uniform coverage without creating excessive buildup or uneven coating.
Execute your painting technique with methodical attention to detail. Move the spray gun in consistent, parallel passes, ensuring 50 percent overlap between each stroke to create a seamless finish. Monitor your spraying speed carefully keeping a steady pace that allows even paint distribution. Adjust your technique based on the specific paint type and surface material, paying close attention to viscosity, spray pattern, and application pressure. Implement a systematic approach that prioritizes smooth, controlled movements and minimal interruptions during the painting process.
Pro Tip: Practice your spray painting technique on test panels before working on the final surface to perfect your motion and understand your equipment’s specific performance characteristics.
Step 5: Inspect and verify dust-free finish
Finalizing your spray painting project requires a meticulous inspection process that ensures superior quality and professional results. Your goal is to systematically evaluate the painted surface, identifying and addressing any potential imperfections that could compromise the overall finish.
Begin your inspection by performing a comprehensive visual assessment under bright, consistent lighting conditions. Utilize high-intensity LED work lights positioned at multiple angles to reveal subtle surface irregularities. Carefully examine the entire painted surface from different perspectives, looking for telltale signs of contamination such as dust particles, microscopic debris, or uneven coating. Use a clean, lint-free white cloth to gently wipe select areas, checking for any loose particles or inconsistencies that might indicate incomplete surface preparation or filtration failures.
Employ tactile and advanced inspection techniques to validate your finish quality. Run your gloved hand lightly across the surface, feeling for any rough patches, embedded particles, or texture variations. Consider using a magnifying glass or digital microscope for ultra-precise examination of critical areas. Compare the finished surface against your original quality benchmarks, documenting any deviations or potential rework requirements. Pay special attention to edges, corners, and complex surface geometry where dust and contaminants are most likely to accumulate.
Pro Tip: Photograph your finished surface under consistent lighting conditions to create a permanent record for quality control and potential future reference.
Here’s a summary of key spray booth requirements and their impact on paint quality:
| Requirement | Purpose | Impact on Paint Quality |
|---|---|---|
| Dust-free booth | Prevents contamination | Achieves smooth, defect-free finish |
| Premium protection films | Shields surfaces from particles | Enhances cleanliness, improves adhesion |
| Optimized air filtration | Removes microparticles from air | Reduces flaws, protects health |
| Controlled climate | Maintains temperature and humidity | Ensures consistent application |
| Systematic inspection | Verifies finish and finds defects | Guarantees professional results |
Enhance Your Spray Booth Workflow With Proven Dust Protection Solutions
Achieving a dust-free spray booth environment is critical for flawless paint finishes, yet many professionals struggle with airborne particles and surface contamination despite rigorous cleaning and filtration efforts. The article “Master Dust-Free Spray Booth Workflow for Flawless Results” clearly highlights common challenges such as maintaining optimal air quality, preventing microscopic debris, and ensuring premium surface protection during painting operations. If you want to move beyond traditional cleaning and reduce costly rework or imperfections, our advanced dust protection films offer a reliable, durable solution designed specifically for spray booths.
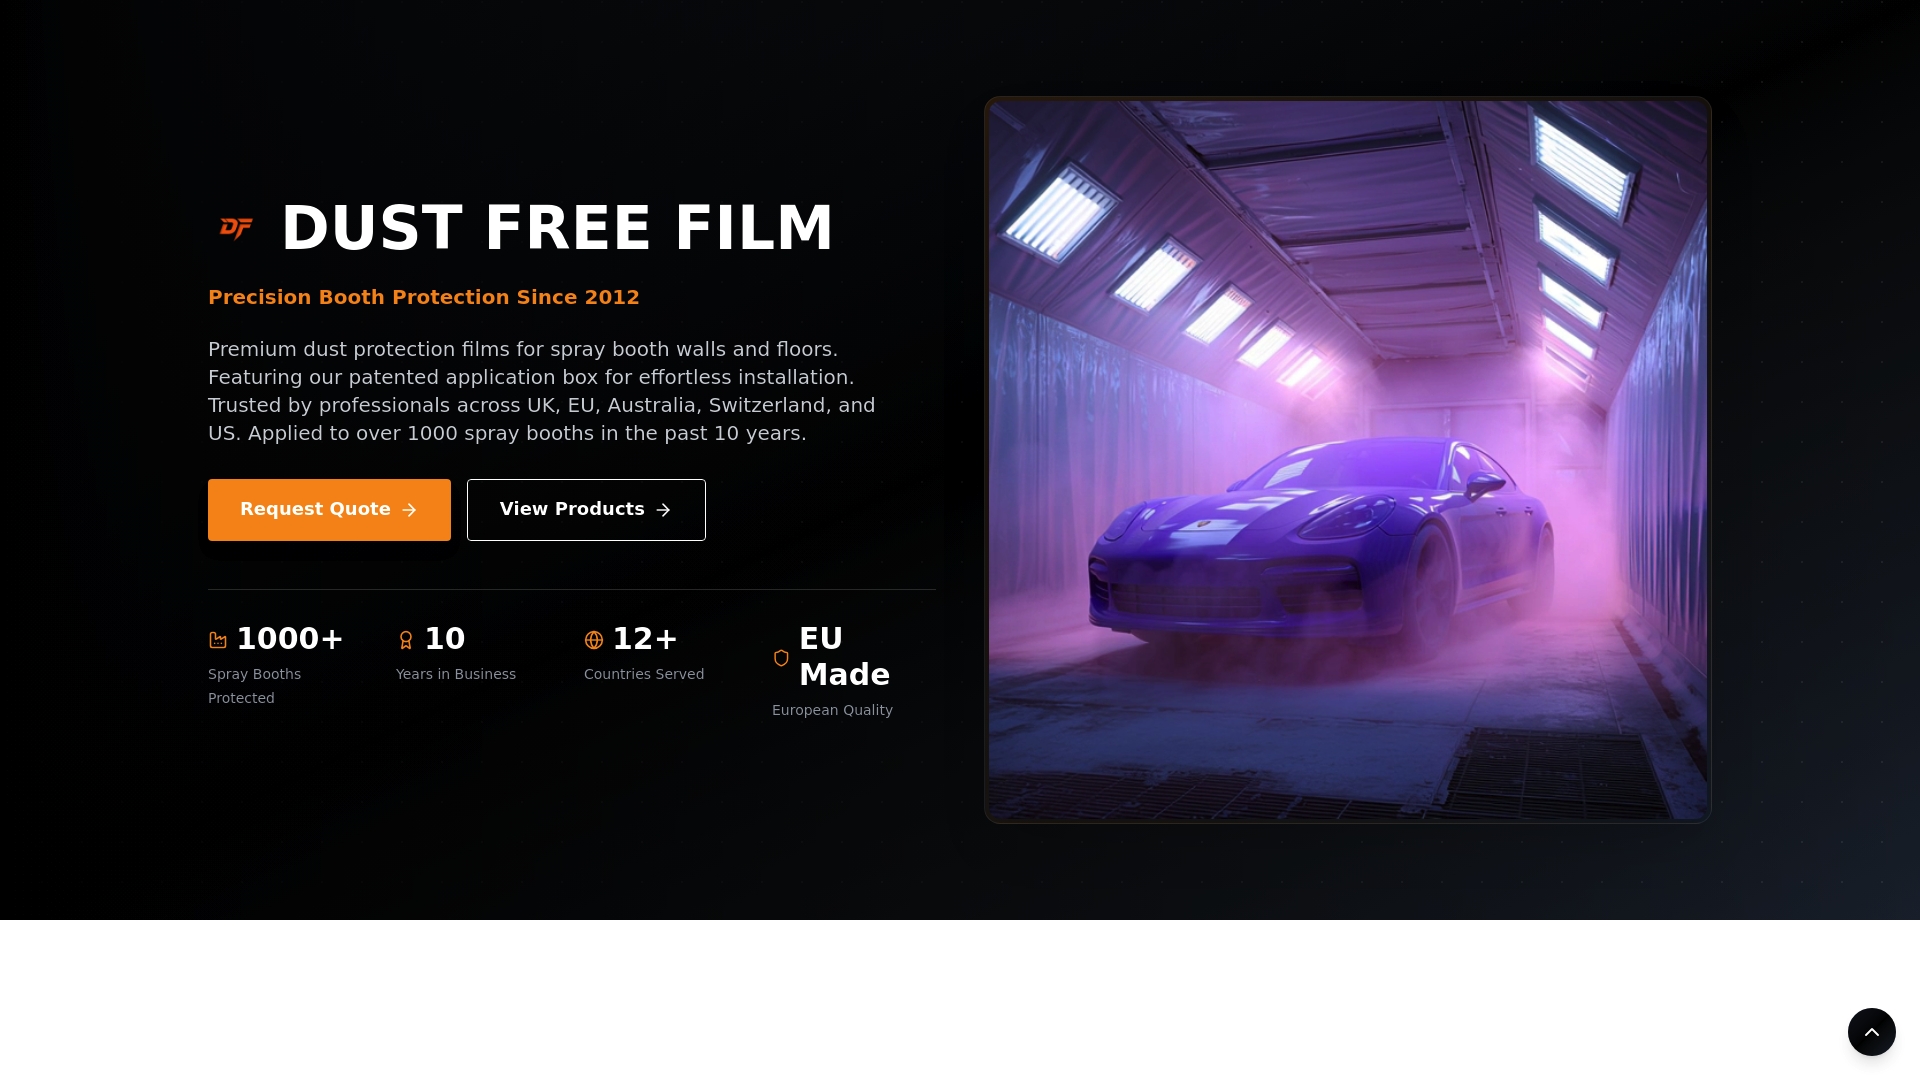
Discover how Dust Free Film can transform your spray booth into a contamination-free zone with innovative multi-layer electrostatic films that are static-free, heat-resistant, and quick to apply. Our patented application systems enable bubble-free installations that shield walls and floors effectively from dust and overspray. Whether in an automotive refinishing shop or industrial painting facility, you can trust our European-standard products to boost your workflow efficiency and consistently deliver smooth, defect-free finishes. Don’t wait for dust to ruin your next project—visit us now at Dust Free Film to explore premium options that complement optimized air filtration and inspection processes outlined in the article.
Make the professional choice today. Protect your investment with solutions that keep your booth cleaner longer and improve paint quality effortlessly.
Frequently Asked Questions
How can I create a dust-free environment in my spray booth?
To achieve a dust-free environment, thoroughly clean the spray booth interior, focusing on walls, floors, and surfaces. Use industrial-grade cleaning solutions and lint-free cloths, then perform regular maintenance to keep contaminants at bay.
What steps should I take when installing dust protection films?
Begin by cleaning the spray booth surfaces to ensure proper adhesion of the dust protection films. Unroll and position the film carefully, using application tools to avoid air bubbles, and maintain a consistent temperature during installation for optimal adhesion.
How do I optimize air filtration systems in my spray booth?
Evaluate your existing air filtration system, inspecting for wear and replacing filters at recommended intervals. Implement multi-stage filtration systems designed for spray booths to effectively capture microscopic particles and maintain air quality.
What is the best method for executing a spray painting technique?
Maintain environmental conditions between 68 to 72 degrees Fahrenheit with 50 percent humidity for optimal results. Use smooth, overlapping spray movements and calibrate your distance from the surface for even coverage, adjusting based on paint type and surface material.
How do I inspect my final paint finish for quality?
Perform a visual assessment of the painted surface under bright lighting, looking for dust particles or inconsistencies. Utilize tactile techniques and possibly a magnifying glass to ensure a smooth finish, documenting any deviations for potential rework.