

TL;DR:
- Preventing paint defects relies on controlling surface preparation, application, and environment systematically. Proper surface prep, including cleaning, patching, sanding, priming, and applying thin coats, is crucial to prevent issues like orange peel and fish eyes. Monitoring systems and strict environmental controls ensure consistent quality and help detect problems early.
Paint defect prevention is defined as the systematic control of surface preparation, application parameters, and environmental conditions to eliminate finish failures before they occur. For automotive and industrial painting professionals, defects like orange peel, fish eyes, and delamination are not random. They follow predictable patterns rooted in process failures. This preventing paint defects guide covers the full chain of control: from substrate prep through curing, with the environmental management that holds it all together. Surface preparation accounts for 40–60% of total project time. That figure tells you where most defects originate.
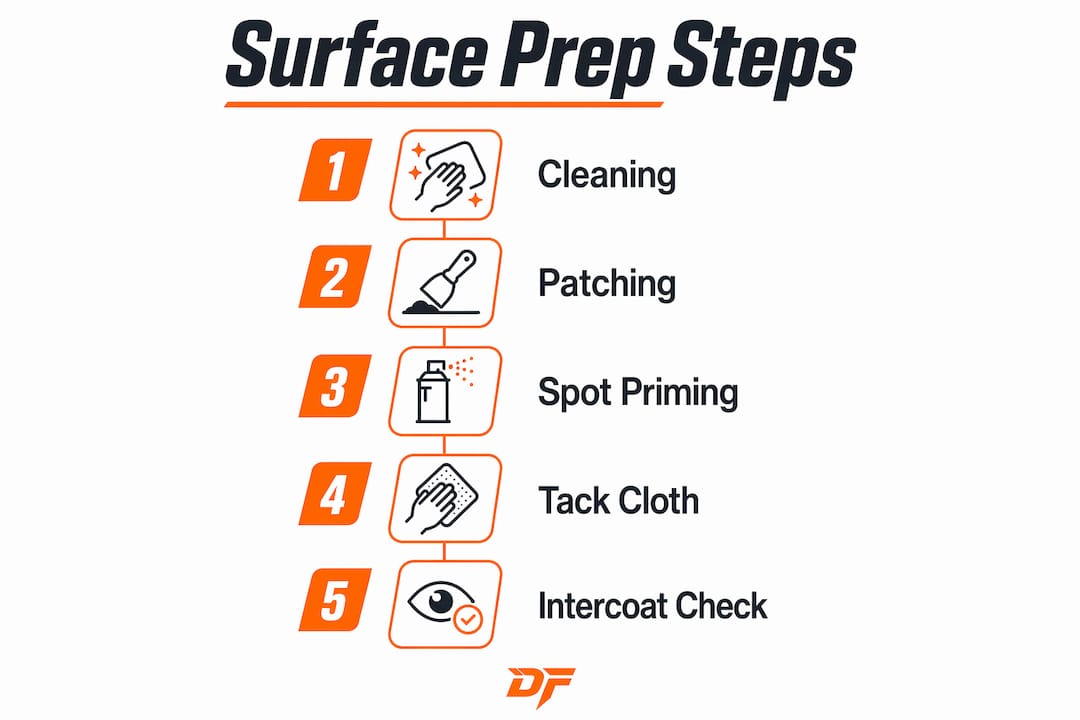
What are the critical surface preparation steps to prevent paint defects?
Surface prep is the single greatest predictor of finish quality. A validated 7-step sequence covers cleaning, patching, sanding, caulking, masking, spot priming, and applying thin coats. Skipping any step compounds risk at every stage that follows.
Cleaning removes oils, silicone residue, and airborne contaminants that cause fish eyes and adhesion failure. Use a wax-and-grease remover before any mechanical work. Sanding with 120-grit removes surface defects and old coatings, while 220-grit refines the profile for topcoat adhesion. The sequence matters: coarser grits first, finer grits last.
Spot priming patched areas is mandatory, not optional. Differential absorption rates between patched and unpatched surfaces cause flashing, where sheen variation appears through the topcoat. Priming equalizes absorption and creates a uniform base. Skipping this step produces visible sheen inconsistencies even with perfect topcoat application.
Intercoat compatibility is a separate failure point that professionals underestimate. Applying latex over oil-based coatings without scuff-sanding and a bonding primer causes delamination within 12 months. Chemical compatibility extends beyond brand matching. Mismatched pretreatment chemistry creates irreversible adhesion failures that no topcoat can correct.
| Prep Step | Purpose | Key Tip |
|---|---|---|
| Cleaning | Remove oils, silicone, and contaminants | Use wax-and-grease remover before sanding |
| Patching | Fill voids and surface damage | Allow full cure before sanding |
| Sanding | Create mechanical adhesion profile | 120-grit then 220-grit sequence |
| Caulking | Seal joints and transitions | Apply before priming, not after |
| Masking | Protect adjacent surfaces | Use automotive-grade tape for clean lines |
| Spot priming | Equalize absorption on patched areas | Prime every patch, not just deep repairs |
| Thin coats | Build film without runs or sags | Multiple passes beat one heavy coat every time |
Pro Tip: Always wipe the substrate with a tack cloth immediately before spraying. Airborne dust settles within minutes and contaminates a surface you just spent an hour preparing.
How to optimize paint application techniques to avoid common defects
Correct application technique prevents the majority of defects that appear after the gun leaves the panel. Maintaining a wet edge by working in sections approximately 3–4 feet wide prevents lap marks and streaks. Working wider than that causes the edge to dry before the next pass overlaps it, leaving a visible seam in the finish.
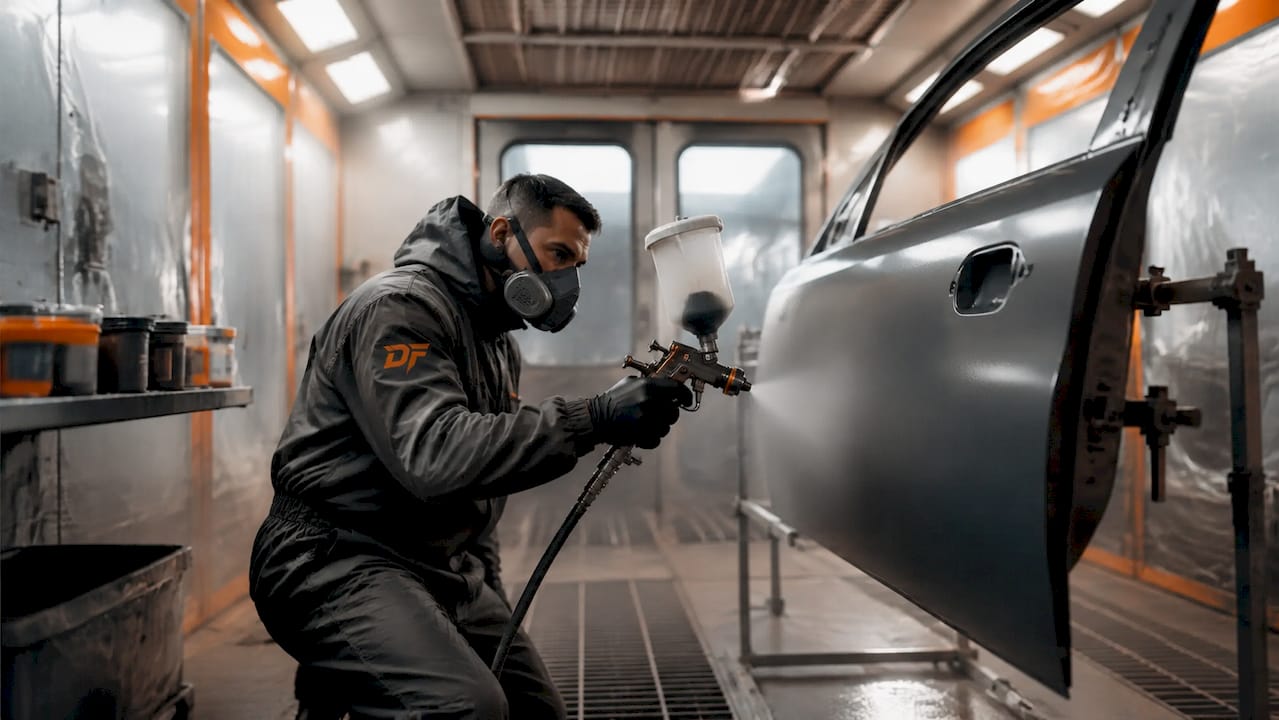
Multiple thin coats outperform a single heavy coat in every measurable way. Heavy coats trap solvent, cause runs and sags, and cure unevenly from the surface down. Thin coats allow each layer to flash off properly before the next is applied. The result is a uniform film with consistent gloss and far fewer defects.
Spray gun settings directly control atomization and film thickness. The three variables that matter most are nozzle size, air pressure, and gun-to-surface distance. A nozzle that is too large delivers excess material per pass. Air pressure that is too low produces poor atomization and orange peel. Gun distance that varies mid-pass creates film thickness inconsistencies across the panel.
Reducer selection based on ambient temperature is one of the most overlooked application variables. In hot conditions, solvent evaporates too rapidly before the film levels, causing orange peel. A slow-evaporating reducer gives the film time to flow and level before it gels. Match the reducer to the actual booth temperature, not the label’s general recommendation.
Critical application parameters to monitor on every job:
- Nozzle size: Match to the coating viscosity and manufacturer specification
- Air pressure: Set at the gun, not at the compressor regulator
- Gun distance: Maintain 6–10 inches from the substrate consistently
- Fan pattern overlap: 50% overlap on each pass prevents thin spots
- Flash-off time between coats: Follow the technical data sheet, not habit
- Reducer type: Select based on measured booth temperature, not ambient room temperature
- Coat thickness: Measure wet film thickness with a wet film gauge on critical jobs
Pro Tip: Spray a test panel before every job to verify atomization, fan pattern, and color match. A two-minute test prevents a two-hour rework.
What environmental and curing controls are essential for defect prevention?
Temperature and humidity are not background conditions. They are active process variables that determine whether a coating adheres, levels, and cures correctly. Booth temperatures of 20–25°C represent the standard operating window for most automotive and industrial coatings. Deviating outside that range changes solvent evaporation rates, film flow, and cure chemistry simultaneously.
Post-application temperature control is equally critical. Maintaining a minimum overnight temperature of 50°F (10°C) for 48 hours after applying exterior latex prevents peeling caused by film coalescence failure. In industrial settings, multi-zone ovens with controlled flash-off profiles prevent solvent entrapment and blistering. Rapid IR curing without staged intensity ramps causes intercoat delamination. The cure profile is as important as the coating itself.
Humidity control in spray environments prevents moisture-related defects including blushing, cratering, and adhesion loss. High humidity introduces water vapor into the wet film, which disrupts solvent evaporation and leaves microscopic voids. Industrial facilities use dehumidification systems to hold relative humidity within the coating manufacturer’s specified range.
Booth cleanliness is the environmental variable most directly under your control. Regular spray booth cleaning and filter changes reduce airborne dust that causes fish eyes and craters. A contaminated booth undoes every preparation step that preceded it. Dustfreefilm’s multi-layer electrostatic booth wall and floor protectors trap dust at the source, preventing it from becoming airborne during application.
Key environmental controls to maintain:
- Booth temperature: 20–25°C during application
- Post-cure temperature: minimum 50°F (10°C) for 48 hours
- Relative humidity: within coating manufacturer’s specified range
- Air filtration: replace intake and exhaust filters on schedule
- Booth wall and floor protection: use electrostatic films to capture settled dust
- Flash-off zones: maintain controlled airflow between coat applications
For a full booth setup checklist covering airflow, filtration, and temperature zoning, Dustfreefilm’s industrial guides provide step-by-step configuration standards.
How do monitoring, maintenance, and operator training reduce paint defects?
Process monitoring converts defect prevention from guesswork into a repeatable system. Real-time monitoring with thickness sensors and color spectrophotometers, combined with statistical process control (SPC), enables early detection of film thickness drift and color deviation before they become scrap. SPC integration means the process flags problems before the operator’s eye catches them.
Equipment maintenance is the unglamorous work that separates consistent shops from inconsistent ones. A spray gun with a worn needle or a clogged fluid tip produces inconsistent atomization on every trigger pull. Filter changes, pump calibration, and gun cleaning on a documented schedule eliminate the equipment variability that operators often misattribute to coating or substrate problems.
Operator training on root cause analysis changes how teams respond to defects. A technician who knows that fish eyes trace to silicone contamination will check the cleaning step first. One who lacks that knowledge will adjust spray parameters and make the problem worse. Standard operating procedures (SOPs) document the correct response to each defect type and remove guesswork from troubleshooting.
Operational best practices that reduce defect rates:
- Document all application parameters: gun settings, reducer type, coat thickness, and flash-off times for every job
- Conduct pre-shift equipment checks: inspect gun needle, fluid tip, air cap, and hose connections
- Train operators on defect identification and root cause analysis using a defect reference guide
- Implement SPC for film thickness and gloss on high-volume production lines
- Schedule filter changes and booth cleaning based on production volume, not calendar dates alone
- Review defect logs weekly to identify recurring patterns and adjust SOPs accordingly
Advanced troubleshooting in industrial settings uses SEM/EDS and FTIR analysis to detect micro-contaminants and volatile entrapment that visual inspection misses. These techniques identify the exact contamination source, whether it is a silicone-based release agent, a chlorinated solvent residue, or a substrate outgassing compound. That specificity makes corrective action precise rather than speculative.
Key Takeaways
Preventing paint defects requires disciplined process control across surface preparation, application technique, environmental management, and equipment maintenance, with no single step substituting for the others.
| Point | Details |
|---|---|
| Surface prep drives outcomes | The 7-step prep sequence prevents most defects before the gun is ever picked up. |
| Thin coats outperform heavy coats | Multiple thin passes reduce runs, sags, and solvent entrapment in every coating type. |
| Environment is a process variable | Control booth temperature, humidity, and filtration as actively as you control spray settings. |
| Monitoring catches drift early | Thickness sensors and SPC integration flag film problems before they become visible defects. |
| Booth cleanliness is non-negotiable | Regular filter changes and electrostatic wall protection eliminate the dust that causes fish eyes and craters. |
What I’ve learned about defect prevention that most guides get wrong
The most persistent misconception in industrial painting is that a better coating compensates for a weaker process. It does not. Paint amplifies substrate flaws rather than covering them. A high-solids topcoat over a poorly prepped surface will fail faster than a standard coating over a properly prepared one. The coating is the last step, not the safety net.
The second misconception is that heavy coats save time. Professionals who apply one thick coat to avoid a second pass consistently produce more defects, not fewer. Runs, sags, and solvent entrapment all increase with film thickness. The rework time from one heavy coat exceeds the time saved by skipping a pass.
What actually works is treating defect prevention as a systems approach: materials analysis, pretreatment compatibility, real-time monitoring, and environmental control working together. No single element carries the whole load. When I see a shop struggling with recurring defects, the root cause is almost always a gap in one layer of that system, not a problem with the coating itself.
The practical lesson: document everything. Application parameters, booth conditions, reducer selection, and flash-off times should be recorded on every job. When a defect appears, that documentation tells you exactly where the process deviated. Without it, you are troubleshooting blind.
— Dust
Dustfreefilm solutions for cleaner spray booth environments
Controlling your booth environment is the foundation of defect-free finishes. Dustfreefilm manufactures multi-layer electrostatic booth wall and floor protectors that capture dust at the source, preventing contamination during application. Their patented dispenser system allows quick, bubble-free installation, so your booth is protected without downtime.

Dustfreefilm products meet European manufacturing standards and are built for high-traffic industrial and automotive refinishing operations. Whether you run a single-bay auto body shop or a multi-line industrial facility, their booth protection films reduce the contamination that causes fish eyes, craters, and rework. Pair their wall and floor films with a documented booth maintenance checklist to build a repeatable, defect-resistant process from the ground up.
FAQ
What causes fish eyes in automotive paint?
Fish eyes are caused by silicone or oil contamination on the substrate surface. Thorough cleaning with a wax-and-grease remover before any application step is the primary prevention method.
How do I prevent orange peel in a spray booth?
Orange peel results from rapid solvent evaporation before the film levels. Use a slow-evaporating reducer matched to your booth temperature and maintain booth conditions at 20–25°C during application.
Why does paint peel after application?
Peeling traces to adhesion failure caused by surface contamination, incompatible intercoat chemistry, or insufficient cure temperatures. Applying latex over oil-based coatings without a bonding primer is one of the most common triggers.
How often should spray booth filters be changed?
Filter change frequency depends on production volume, not a fixed calendar schedule. High-volume shops require more frequent changes. Booth maintenance workflows tied to production output prevent the filter degradation that allows dust contamination.
What is the most effective way to monitor paint film thickness?
Wet film gauges during application and dry film thickness meters after cure provide direct measurement. Integrating thickness sensors with SPC software enables real-time drift detection on production lines before defects become visible.