
TL;DR:
- Protective films create a physical barrier reducing dust contamination in spray booths.
- Proper preparation and consistent application techniques are crucial for optimal film performance.
- Regular inspection and adaptation improve long-term dust control and spray booth efficiency.
Dust contamination in spray booths is one of the most persistent and expensive problems facing automotive repair shops and industrial painting facilities. A single particle landing on a freshly coated surface can mean hours of rework, wasted materials, and a frustrated client. Protective films offer a proactive, cost-effective way to control that risk before it becomes a problem. In this guide, you will learn exactly what to prepare, how to apply films correctly, what mistakes to watch for, and how to confirm the installation is doing its job.
Table of Contents
- Understanding the need for protective films
- Preparation: Tools, materials, and environmental checks
- Step-by-step guide to applying protective films
- Troubleshooting and ensuring proper film performance
- Our perspective: What most guides miss about protective film installation
- Get reliable, dust-free spray booth protection today
- Frequently asked questions
Key Takeaways
| Point | Details |
|---|---|
| Dust prevention importance | Protective films significantly reduce dust-related defects in spray booths when applied correctly. |
| Preparation is critical | Gathering proper tools and cleaning surfaces ensures strong film adhesion and longevity. |
| Follow proven steps | A careful, step-by-step approach yields consistent, high-quality film coverage in any facility. |
| Adapt for real-world conditions | Customizing your process for staff and layout challenges optimizes long-term booth performance. |
Understanding the need for protective films
Dust contamination does not just create cosmetic problems. It triggers a chain reaction that cuts into your bottom line at every stage of production. A single contaminated finish can require sanding, recoating, and additional curing time, turning a two-hour job into a full-day ordeal. Multiply that across a busy production week and the financial impact becomes significant.
Here is what dust contamination typically costs a spray booth operation:
- Increased rework rates that consume labor hours and materials
- Client dissatisfaction when delivery timelines slip
- Booth downtime for unplanned cleaning cycles
- Finish defects that compromise product quality and reputation
- Higher material waste from coatings applied over contaminated surfaces
Protective films address these problems by creating a physical barrier between booth surfaces and airborne particles. As noted in research on dust-free spray booths, protective films ensure a cleaner environment in spray booths, reducing the variables that cause defects in the first place.
The value of this approach goes beyond simple cleanliness. Facilities that invest in enhancing spray booth quality with protective films report fewer interruptions, more consistent finishes, and lower per-unit costs over time. Unlike traditional cleaning methods such as wiping walls or vacuuming floors between jobs, protective films stay in place and continue working throughout the production cycle.
“Protective films are not a cleaning shortcut. They are a quality control system that works continuously, not just between shifts.”
For automotive refinishing shops, industrial coating lines, and manufacturing plants, the benefits of removable protective films include easy removal and replacement without damaging booth surfaces. That flexibility makes them suitable for high-volume operations where booth downtime must be minimized.
Pro Tip: Track your rework rate before and after installing protective films. Most facilities see a measurable drop within the first month, giving you concrete data to justify the investment to management.
Preparation: Tools, materials, and environmental checks
Once you recognize the value protective films provide, it is crucial to prepare your environment and resources for installation. Rushing this stage is the most common reason films fail to adhere properly or develop bubbles shortly after application.
Start by gathering everything you need before the booth goes offline. Here is a practical checklist:
- Protective film rolls matched to wall and floor surface types
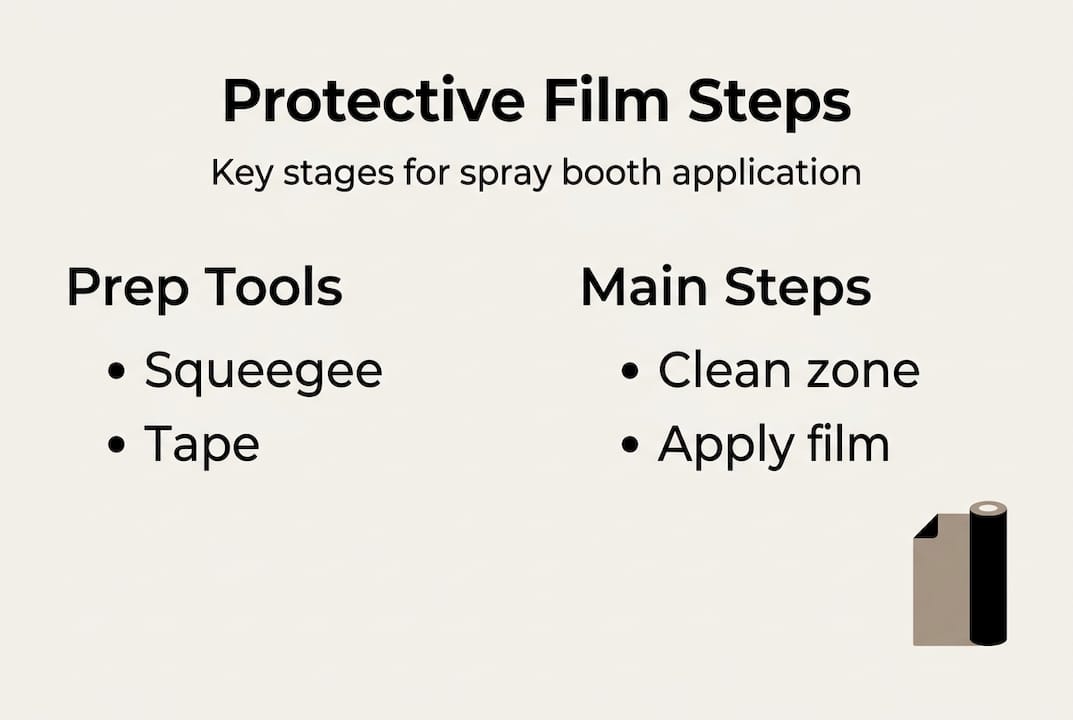
- Squeegee rollers for smooth, bubble-free application
- Precision cutters or box knives for trimming edges
- Surface cleaning solution and lint-free cloths
- Personal protective equipment (PPE): gloves and eye protection
- Measuring tape for pre-cutting sections
- Masking tape for temporary alignment during positioning
Environmental conditions matter more than most facility managers expect. Temperature and humidity directly affect adhesion quality. Aim for a booth temperature between 60°F and 80°F and relative humidity below 60%. Cold surfaces cause films to stiffen and resist conforming to corners. High humidity introduces moisture that weakens the adhesive bond.
| Condition | Ideal range | Risk if outside range |
|---|---|---|
| Temperature | 60°F to 80°F | Poor adhesion, stiff film |
| Relative humidity | Below 60% | Moisture under film, bubbling |
| Surface cleanliness | Zero dust or oil | Film separation, contamination |
| Surface dryness | Completely dry | Adhesive failure |
As confirmed in guidance on spray booth floor protection, proper preparation reduces film installation time and improves adhesion significantly. Skipping surface cleaning alone can cut film lifespan in half.
Inspect the booth carefully before applying anything. Look for existing cracks, peeling paint, or contaminated patches that need to be repaired first. Identify every surface you plan to cover: walls, floors, corners, and air inlet surrounds. Understanding the purpose of protective floor films in different booth zones helps you prioritize coverage areas based on contamination risk.
Pro Tip: Schedule film installation during shift transitions or planned maintenance windows. A booth that is already offline for another reason gives you a free installation window without adding extra downtime to your schedule.
Step-by-step guide to applying protective films
With your booth prepared and all tools at the ready, it is time to walk through the precise application process. Following a consistent sequence every time reduces errors and produces repeatable results across your team.
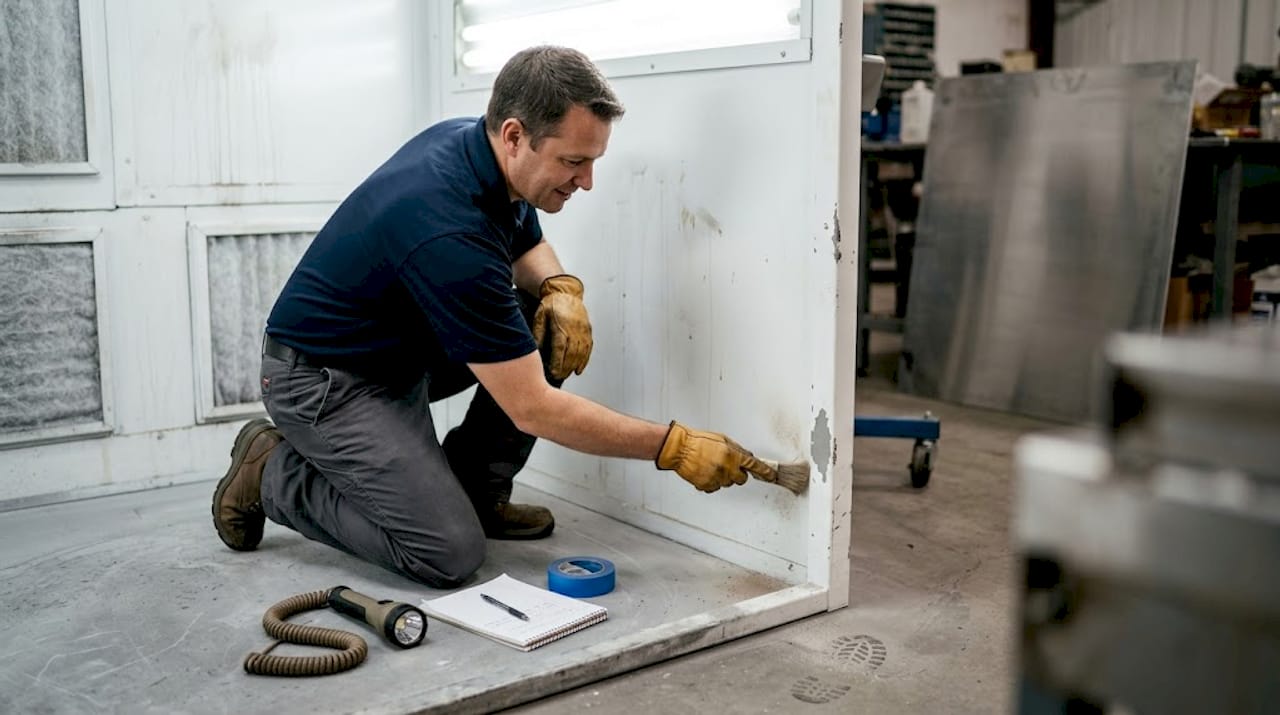
- Clean all surfaces thoroughly. Wipe walls and floors with a lint-free cloth and approved cleaning solution. Remove all dust, oil, and residue. Allow surfaces to dry completely before proceeding.
- Pre-cut film sections. Measure each wall and floor zone and cut film to size before positioning. Pre-cutting reduces handling time inside the booth and minimizes the risk of contamination from extra movement.
- Start with the floor. Floor films anchor the installation. Peel back a small section of the backing, align the film to one wall edge, and use your squeegee roller to press it flat as you unroll. Work in one direction to push air forward, not trap it.
- Apply wall films from top to bottom. Start at the upper edge and work downward, using the roller to smooth each section as you go. Overlap seams by at least two inches to prevent gaps.
- Address corners carefully. Corners are the most common failure points. Score the film lightly at the corner fold and press firmly with the roller. Do not stretch the film; let it conform naturally.
- Cover air inlets and vents. Use smaller pre-cut pieces around inlet surrounds. These areas collect the most contamination and are often overlooked.
- Final visual check. Walk the entire booth perimeter and inspect every seam, corner, and edge for bubbles or lifted sections.
Facilities that follow industry-approved procedures for film application maximize both efficiency and film effectiveness across different booth configurations.
| Feature | Single-layer film | Multi-layer film |
|---|---|---|
| Replacement speed | Slower, full removal needed | Fast, peel one layer at a time |
| Dust protection level | Standard | Superior |
| Cost per replacement | Lower upfront | Lower long-term |
| Suitable for high-volume booths | Limited | Yes |
Multi-layer films are particularly effective for ensuring dust-free finishes in high-volume environments because operators simply peel the top layer between jobs without stopping production. This approach to boosting efficiency in spray booths can reduce between-job cleaning time by over 50% compared to traditional methods.
Pro Tip: For large manufacturing facilities, assign one trained technician as the film installation lead. Consistent technique across your team prevents the small errors that add up to big quality problems over time.
Troubleshooting and ensuring proper film performance
After the protective film is in place, ensuring its effectiveness and addressing any issues is essential for maximum protection. Even a well-applied film can develop problems over time, especially in high-traffic or high-temperature environments.
Here are the most common issues and how to fix them:
- Air bubbles: Small bubbles can be smoothed out with a roller if caught early. Large bubbles indicate a surface prep issue and the section should be removed and reapplied.
- Lifted edges: Usually caused by dust or moisture on the surface at the time of application. Clean the area, trim the lifted section, and apply a fresh piece with firm roller pressure.
- Film tears: High-traffic floor zones are prone to tearing. Replace torn sections immediately to prevent contamination from entering through the gap.
- Incomplete adhesion at corners: Re-score the corner fold and press again with the roller. If the film will not stay, the corner may need a small overlap patch.
Post-application verification should follow a consistent checklist. Walk the booth and confirm every seam is flat, every corner is pressed, and no bubbles are visible. Run a light across wall surfaces at an angle to catch any raised edges that are hard to see straight-on.
“A five-minute post-application inspection prevents hours of rework caused by contamination entering through a missed seam.”
As highlighted in research on dust-free spray booths, properly maintained protective films can prevent quality defects and extend booth life significantly. Build a regular inspection schedule into your production calendar, not just a reactive check when problems appear.
For facilities running continuous production, floor protection film is essential for maintaining dust-free conditions between shifts. Pairing floor films with multi-layer protective film on walls creates a complete barrier system that performs consistently across long production runs.
Pro Tip: On large production lines, assign a weekly film inspection to a team member on each shift. Catching a lifted edge on Monday costs nothing. Discovering a contamination problem on Friday afternoon costs you the week.
Our perspective: What most guides miss about protective film installation
Most step-by-step guides treat film application as a fixed process. Follow the steps, get the result. In practice, that is rarely how busy spray booths operate. Shift schedules change, booth layouts vary, and production pressure does not pause for a perfect installation window.
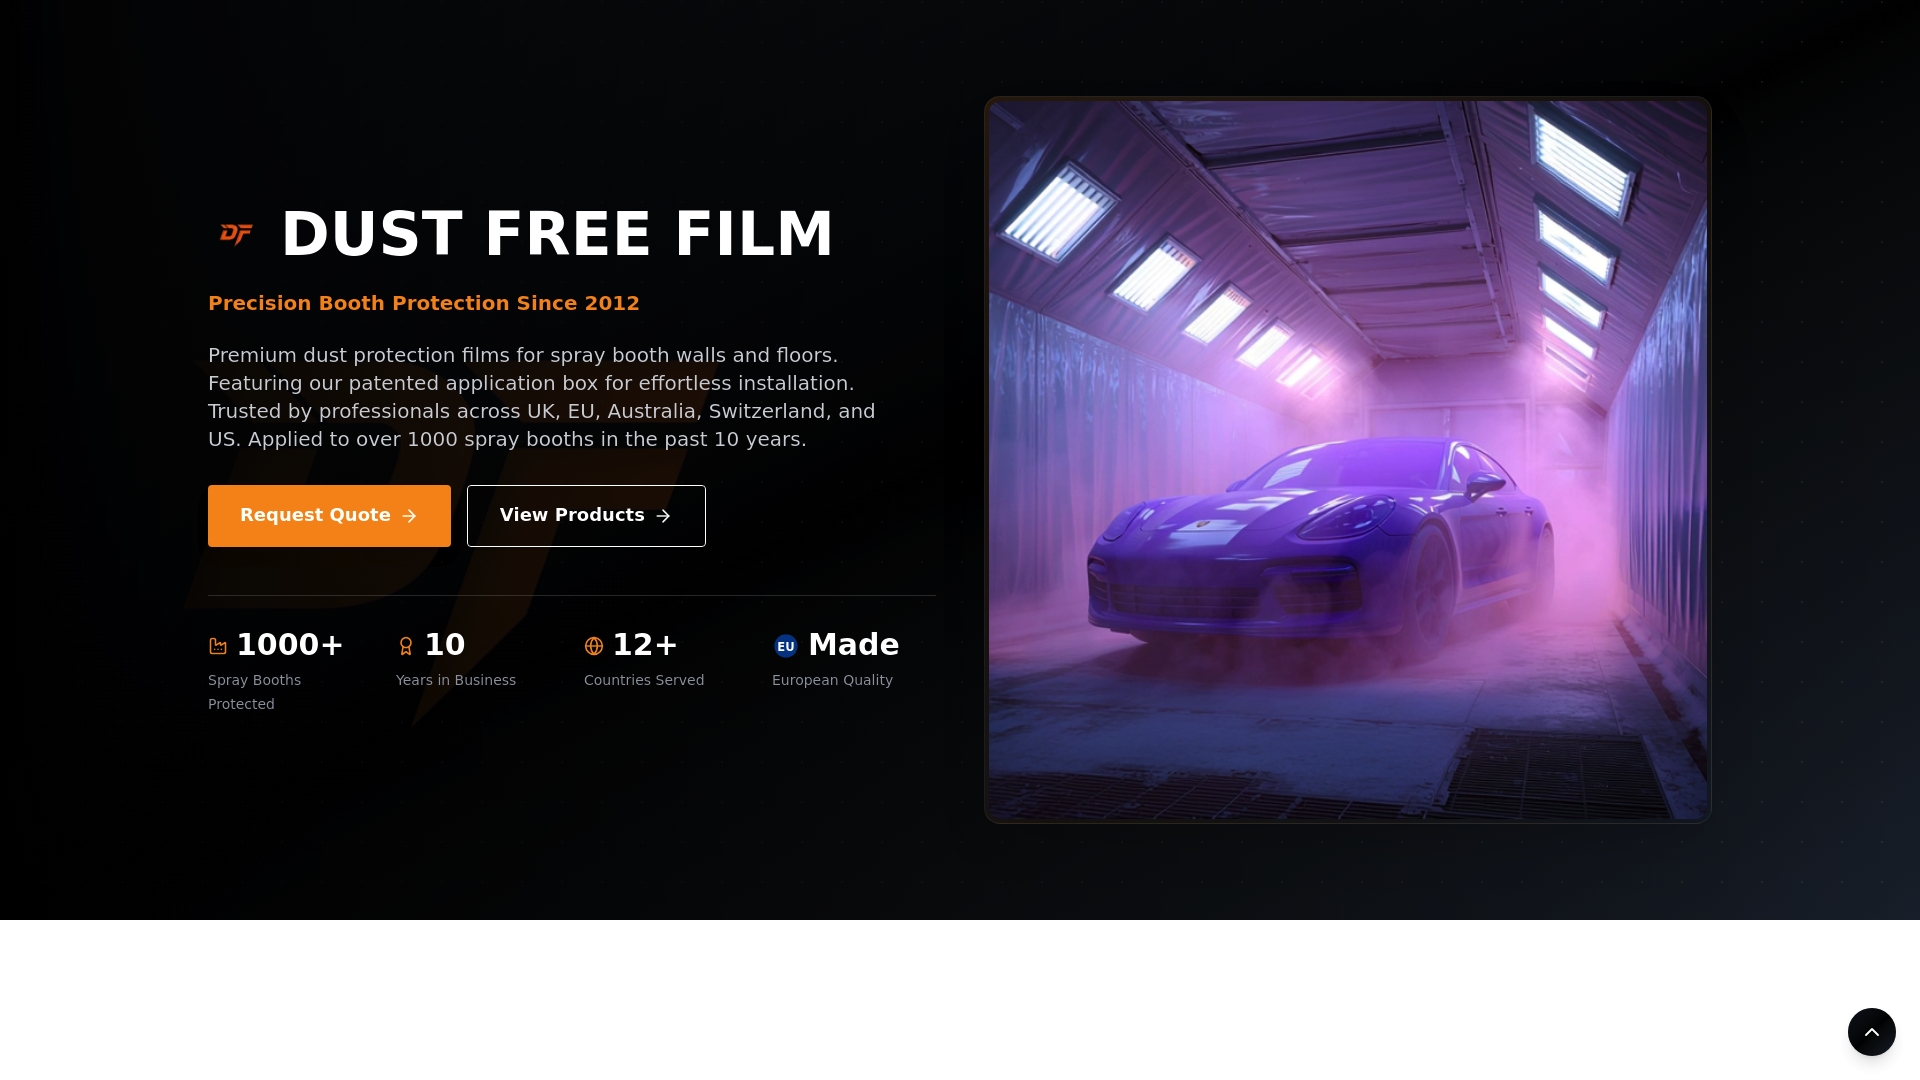
At Dust Free Film, our experience since 2012 shows that facilities achieving the best long-term results are not those following a rigid checklist. They are the ones that train their staff to adapt the process to real conditions. A technician who understands why surface temperature matters will make the right call on a cold morning without needing a supervisor to check the manual.
As we have seen across facilities, boosting efficiency with flexibility means tailoring film application strategies to deliver superior results in busy environments. Customizing your approach to fit your specific booth layout and shift structure consistently outperforms a generic template.
The real competitive advantage is not just using protective films. It is building a team that installs and maintains them correctly every time, without exception.
Get reliable, dust-free spray booth protection today
Optimizing your process is easier when you partner with a provider focused on dust-free results. At Dust Free Film, we have been helping automotive shops, industrial painting facilities, and manufacturing plants eliminate dust contamination since 2012.
Our product range covers wall and floor protection for every booth type, with multi-layer options designed for high-volume operations that cannot afford extended downtime. Whether you need a standard solution or a custom configuration for a complex facility, we can help you find the right fit. Explore the full range of Dust Free Film solutions or request a custom quote tailored to your facility’s specific needs and production volume.
Frequently asked questions
How long does it take to apply protective films in a standard spray booth?
Most facility teams can apply films in under two hours after preparation, depending on booth size and staff experience. As noted in spray booth tutorials, preparation improves application speed and reduces total installation time significantly.
How often should protective films be replaced in spray booths?
Replacement frequency depends on booth usage and contamination levels but is typically every 3 to 6 months for optimal performance. Regular film maintenance extends both booth life and finish quality over time.
Can protective films be applied over damaged or dirty surfaces?
Protective films adhere best to clean, intact surfaces, so damaged or dirty areas must be addressed before application. Film adhesion depends directly on surface preparation and overall surface quality.
Are there different types of protective films for walls and floors?
Yes, wall films typically differ in thickness and adhesion properties from floor films, which are engineered for high-traffic resistance. Understanding that different film types serve specific booth sections helps you select the right product for each zone.