
The surface preparation process for spray booths means one thing in this context: applying multi-layer electrostatic dust-protection films and adhesive liners to booth walls and floors so your crew can refresh a clean, bright working surface between jobs in minutes, not hours. Dustfreefilm’s documented case study shows a significant reduction in spray booth rework after implementing this layered protection and refresh process. The patented dispenser system makes installation tape-free and fast.
Start here this week:
- Measure total wall and floor panel area (add 10% for waste and overlaps)
- Order a compatible film roll set and the patented dispenser system
- Block a scheduled downtime window for install; applying film using the dispenser system typically takes under 10 minutes per wall for a standard booth configuration.
- Test adhesion in one corner before committing to a full wall
Pro Tip: Schedule your first install during a planned maintenance window, not between live jobs. One rushed application on a contaminated panel costs more time than the install itself.
Table of Contents
- What does the step-by-step surface preparation process look like on install day?
- What materials, tools, and PPE do you need before starting?
- How do you calculate the ROI of protective films and dispenser systems?
- Pre-install checklist and common mistakes to avoid
- How often should you refresh layers and plan reorders?
- What safety rules apply when protecting booth surfaces?
- What should you ask vendors before buying films and dispenser systems?
- What do real-world results look like after switching to layered film protection?
- Where do you find installation guides, templates, and ordering options?
- Key Takeaways
- What most shops get wrong about booth film installation
- Dustfreefilm’s multi-layer films cut booth prep time from hours to minutes
What does the step-by-step surface preparation process look like on install day?
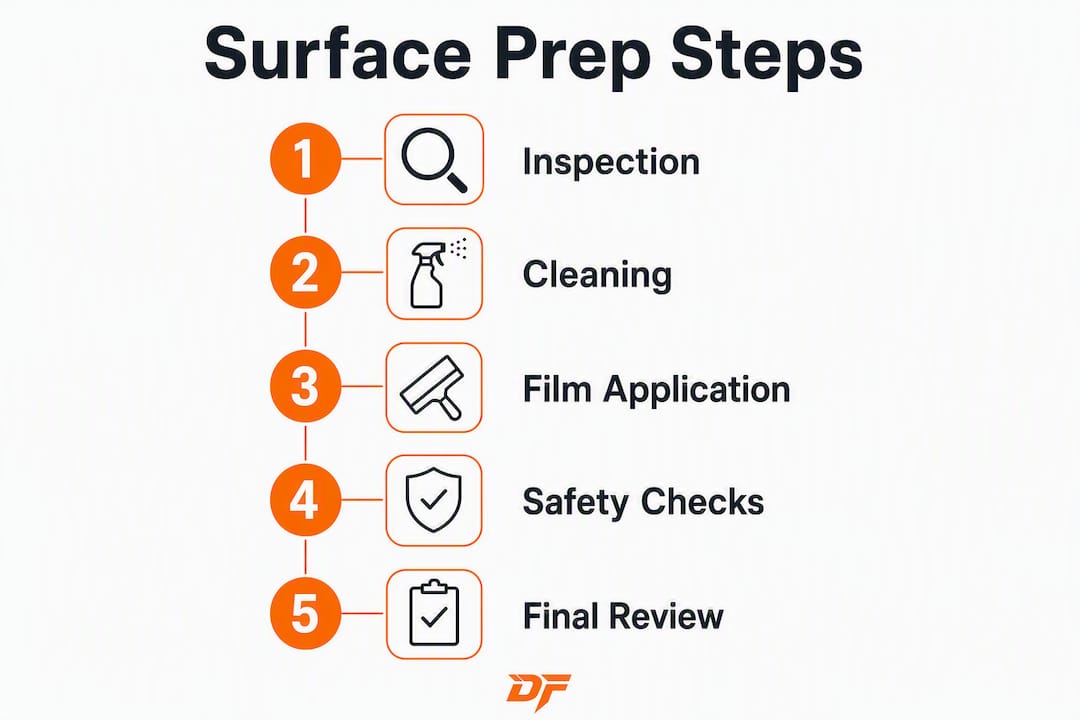
A well-run install follows a predictable sequence. Here is the full workflow with time estimates so you can plan staffing and downtime accurately.
Time budget: prep (15–25 min), dispenser setup (10–15 min), film application per wall (10–20 min per wall), trim and finish (10–15 min), first bake/vent check (as required by your booth cycle).
Step-by-step application sequence
- Measure each panel. Record dimensions and calculate total square footage. Add 10% for overlaps and trim waste.
- Remove existing coatings or factory release agent. New booth panels often carry a release agent that prevents adhesion. A light solvent wipe followed by full drying eliminates this failure point before it starts.
- Focus cleaning on seams, panel gaps, and corners. Residual degreaser, solvent, or moisture trapped in seams and corners is the leading cause of premature peeling. Wipe those areas last with a lint-free rag and let them dry completely.
- Run a test patch. Apply a 12-inch square of film in one corner. Press firmly, wait five minutes, and check edge adhesion before proceeding.
- Set up the dispenser. Load the film roll, set tension so the film feeds without slack or tearing, and confirm the built-in cutter is sharp.
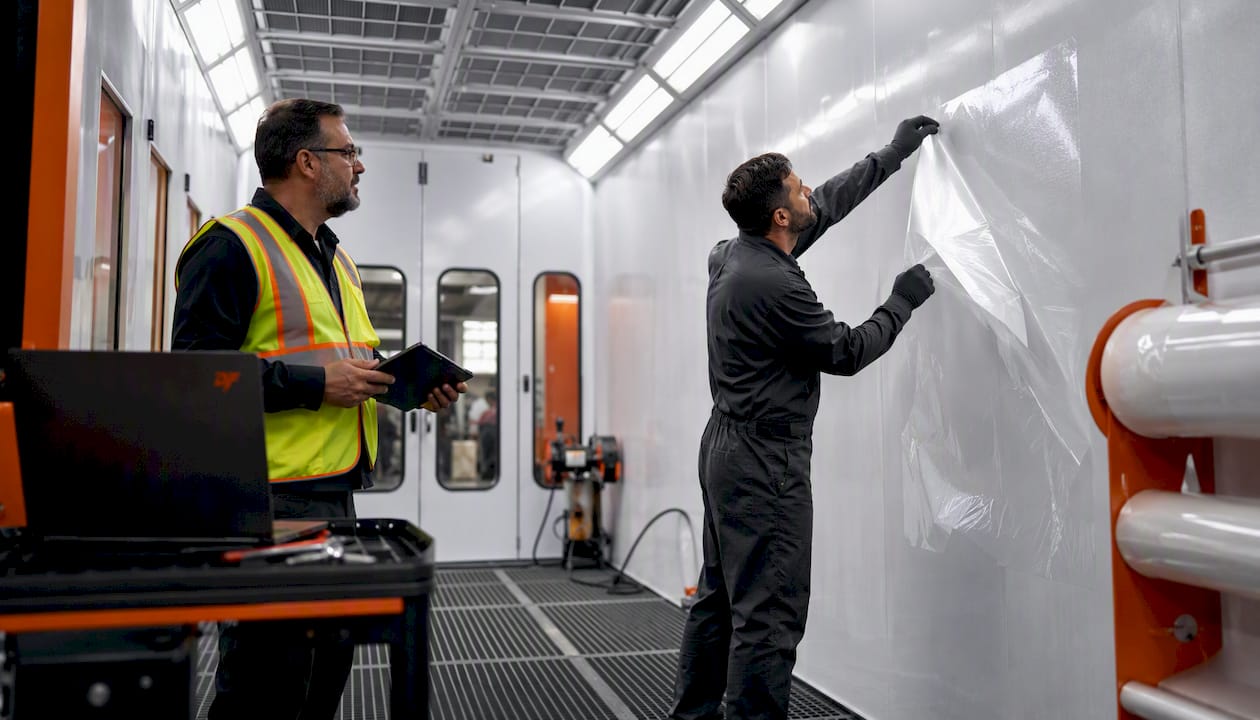
- Apply top to bottom. Feed film from the dispenser, align to the top edge, and work downward. Overlap joins by at least 1 inch, following the printed guide marks on the film.
- Smooth with a spatula or roller. Work from the center outward to push air toward the edges.
- Trim at corners and around fixtures. Use a sharp trimming knife; a dull blade drags and lifts edges.
- Check the clear top layer. If your film includes a heat-sensitive clear protective layer over lights or windows, confirm whether it must be removed before the first bake cycle. Check the product datasheet.
Troubleshooting fast-reference:
- Air entrapment under film: re-smooth from center outward with firm, overlapping strokes
- Peeling edges: the seam was not dry or clean; lift, solvent-wipe, dry, and reapply with increased overlap
- Clear layer bubbling during bake: the clear/top layer was not removed before the oven cycle; peel it before the next run
Pro Tip: When applying to tall walls, have one person feed the dispenser and a second person guide the film down the panel. Misalignment on the first foot causes cascading wrinkles that waste a full roll.
What materials, tools, and PPE do you need before starting?
Getting the right kit on-site before install day prevents mid-job delays. Here is what to specify and procure.
Film specs to request from your vendor
| Spec | What to ask for |
|---|---|
| Layer count | 3–5 peelable layers |
| Surface color | White high-luminescence facing |
| Adhesion type | Multi-layer electrostatic, tape-free |
| Heat resistance | Rated for your booth’s maximum bake temperature |
| Static properties | Static-free formulation |
| Clear protective layer | Separate removable layer for lights/windows |
| Roll width | Custom widths to match panel dimensions |
Dispenser system features to confirm
- Patented tension-control box dispenser (prevents slack and tearing)
- Built-in cutter with spare blade availability
- Roll width compatibility with your film order
- Mounting method suited to your booth size
- Quick-start mode for first-time setup
Tools and PPE checklist
- Spatula or hard rubber roller for smoothing
- Sharp trimming knife and spare blades
- Lint-free rags
- Appropriate solvent for release-agent removal (confirm compatibility with booth panel material)
- Nitrile gloves and eye protection
- Respirator rated for solvent vapors when cleaning panels
For booth floor protection specifically, add anti-slip adhesive floor liners to your order and confirm weight-load ratings for vehicle traffic.
How do you calculate the ROI of protective films and dispenser systems?
Facility managers who treat booth wall protection as a productivity asset rather than overhead consistently report faster job turnover and measurably less downtime. The math is straightforward.
ROI formula:
(Minutes saved per refresh × job count × labor rate) + avoided rework cost − annual film and dispenser cost = net annual benefit
Worked example template:
- Refresh time saved per job: 20 minutes
- Jobs per year: 500
- Blended labor rate: $35/hr
- Avoided rework cost (at 25% reduction): varies by shop volume
- Annual film cost: use your actual quote
Dustfreefilm’s rework reduction case study puts the rework improvement at 25%, a figure worth plugging directly into your rework cost line.
Scaling by bay count:
| Shop size | Estimated annual refresh savings | Rework reduction potential |
|---|---|---|
| 2-bay shop | Moderate; primary gain from faster refresh cycles | Meaningful at moderate job volume |
| 4-bay shop | Significant; compounding savings across all bays | High impact at high throughput |
Beyond labor savings, a bright white electrostatic wall surface makes paint imperfections easier to catch during inspection, which reduces the chance a defect reaches the customer. Overspray buildup dims booth lighting over time; a fresh film layer restores full luminescence without repainting. That downtime cost compounds faster than most shops realize until they start tracking it.
Pre-install checklist and common mistakes to avoid
Run through this before your crew starts. Catching a problem on the checklist takes two minutes; catching it mid-install takes an hour.
Pre-install checklist:
- [ ] Panel area measured; film ordered with +10% overage
- [ ] Bake-cycle temperature confirmed against film heat rating
- [ ] Old factory release agent identified and solvent-wipe scheduled
- [ ] Dispenser loaded, tension set, spare blades on hand
- [ ] Downtime window confirmed with production schedule
- [ ] Test patch materials ready (12-inch strip, timer)
Common mistakes and immediate fixes:
- Skipping release-agent removal. Fix: solvent wipe all panels, let dry fully before applying film.
- Insufficient overlap at joins. Fix: lift the edge, reapply with at least 1-inch overlap aligned to guide marks.
- Applying film over wet seam areas. Fix: dry completely, re-test adhesion with a small patch before proceeding.
- Not testing the clear top layer before baking. Fix: check the product datasheet; remove the clear layer from lights and windows before any oven cycle.
Pro Tip: Run the test-patch protocol on every new batch of film, not just the first install. Roll-to-roll adhesive tack can vary slightly, and a five-minute test catches problems before they cost you a full wall.
How often should you refresh layers and plan reorders?
Replacement cadence:
- Remove the top layer before 150 bake cycles or when heavy overspray buildup is visible, whichever comes first
- Adjust frequency based on job mix: high-metallic or high-primer jobs load up layers faster
- Track layer count per booth on a simple tally sheet posted inside the booth door
Between-jobs refresh workflow:
- Inspect the top layer after each job for overspray saturation
- Peel the top layer when visibility or cleanliness drops below your QC threshold
- Log the peel date and cumulative bake count
- Schedule full roll replacement when the final layer is reached
Inventory planning:
- Keep a minimum of two spare rolls per booth on-site
- Factor reorder lead time into your monthly supply order
- Size bulk orders by bay count and average job throughput to avoid emergency restocking
For detailed maintenance timing guidance, Dustfreefilm publishes layer-replacement schedules matched to common booth configurations.
What safety rules apply when protecting booth surfaces?
Safety requirements for film application and surface prep:
- Confirm the film’s maximum bake-temperature rating before installation; never exceed it
- Remove heat-sensitive clear layers from lights and windows before any oven cycle
- Use solvents only in a well-ventilated booth with the exhaust fan running
- Wear nitrile gloves and eye protection during solvent cleaning; use a respirator rated for organic vapors
- Keep solvent containers sealed when not in use and store away from ignition sources
- Never apply film over a surface that still carries solvent residue; allow full evaporation
OSHA’s solvent safety standards for confined and semi-enclosed spaces apply to spray booth environments. High-level reminders: maintain air exchange rates during solvent use, post SDS sheets for all cleaning chemicals, and confirm your booth’s ventilation system is operating before any solvent work begins.
Pro Tip: Static buildup varies with humidity. In low-humidity winter conditions, ground yourself and the dispenser before handling film to prevent static discharge near freshly sprayed surfaces.
What should you ask vendors before buying films and dispenser systems?
Use this script when evaluating suppliers. The answers tell you quickly whether a vendor can support your operation or just sell you a roll.
Vendor question script:
- What is the film’s maximum rated bake temperature?
- How many layers does the film include, and are they numbered for tracking?
- How does the dispenser handle tension, and what is the warranty on the dispenser unit?
- Are spare blades and replacement parts stocked domestically?
- What are standard lead times, and do you offer custom roll widths?
- Can you provide a sample roll for a test-patch trial before a bulk order?
RFQ specs checklist:
- Film temperature rating (°F or °C, confirmed for your booth cycle)
- Static properties: static-free formulation confirmed
- Adhesive tack level and substrate compatibility
- Layer count and numbering system
- Dispenser mounting method and cutter specs
- Disposal or recycling notes for used film
Dustfreefilm has supplied factory-direct since 2012, offers a patented dispenser system with documented installation support, and publishes step-by-step installation guides for procurement teams. The booth wall protector selection guide covers spec comparisons in detail.
What do real-world results look like after switching to layered film protection?
Dustfreefilm’s published case study recorded a significant reduction in spray booth rework after a facility implemented a layered protection and refresh process. The measurement tracked rework incidents before and after installation over a defined production period.
KPIs to track after your own installation:
- Downtime per booth refresh (typically under 10 minutes for a single-layer peel)
- Rework incidents per 100 jobs (baseline before install, then track monthly)
- Average refresh time versus pre-film cleaning time
Results vary by throughput, job mix, and how consistently crews follow the layer-refresh protocol. A short pilot on one booth before a facility-wide rollout gives you your own baseline numbers. Electrostatic wall liners consistently produce a brighter, whiter working surface, and that improvement in booth luminescence directly supports quality control by making surface defects easier to catch before clear coat.
Where do you find installation guides, templates, and ordering options?
Resources to request from Dustfreefilm:
- Step-by-step installation guide covering dispenser setup, application sequence, and troubleshooting
- Printable pre-install checklist (request from vendor support)
- Dispenser quick-start sheet for new crew members
- Sample procurement RFQ template for bulk orders
Ordering tips:
- Measure panel area twice before placing an order; confirm roll width matches your booth dimensions
- Add 10% to your calculated area for overlaps and trim waste
- Request delivery windows that align with your scheduled maintenance downtime, not live production days
- Ask for cut-to-width samples before committing to a full bulk order if your booth has non-standard panel sizes
For a full overview of booth surface prep best practices, Dustfreefilm’s resource library covers both initial installation and ongoing maintenance planning.
Key Takeaways
A correctly executed surface preparation process, using multi-layer electrostatic films and a patented dispenser system, cuts spray booth rework by 25% and reduces refresh time to under 10 minutes per job.
| Point | Details |
|---|---|
| Order with overage | Measure panel area and add 10% for overlaps and trim before placing any film order. |
| Test patch first | Run a 12-inch adhesion test in one corner before applying film to any full wall. |
| Track bake cycles | Log cumulative bake cycles per booth and peel the top layer before reaching 150 cycles. |
| Use the RFQ checklist | Request temperature rating, layer count, dispenser specs, and lead times from every vendor before buying. |
| Dustfreefilm as supplier | Dustfreefilm offers factory-direct multi-layer electrostatic films, a patented dispenser, and documented 25% rework reduction results. |
What most shops get wrong about booth film installation
The recurring errors are not technical. They are procedural. Crews skip the release-agent wipe because the panel looks clean, they skip the test patch because they are confident, and they forget to check whether the clear top layer needs to come off before the bake cycle. Each of those skips is a recoverable mistake the first time and a pattern that costs real money by the third time.
The seam-and-corner cleaning step is the one most worth defending. A panel face can look perfectly clean while the seam behind it holds enough residual degreaser to lift an edge within two bake cycles. Dustfreefilm’s installation guides flag this specifically, and their support team can walk a new crew through the first install remotely if needed. That kind of pre-install support is worth asking about when you are evaluating vendors, because the film itself is only as good as the surface it goes onto.
Dustfreefilm’s multi-layer films cut booth prep time from hours to minutes
Repainting booth walls costs a full production day. Scraping and cleaning between jobs costs much more time per refresh. Dustfreefilm’s multi-layer electrostatic films replace both with a single-layer peel that takes under 10 minutes, and the patented dispenser system means your crew can install a full booth quickly during scheduled downtime, without tape, ladders, or specialist contractors.
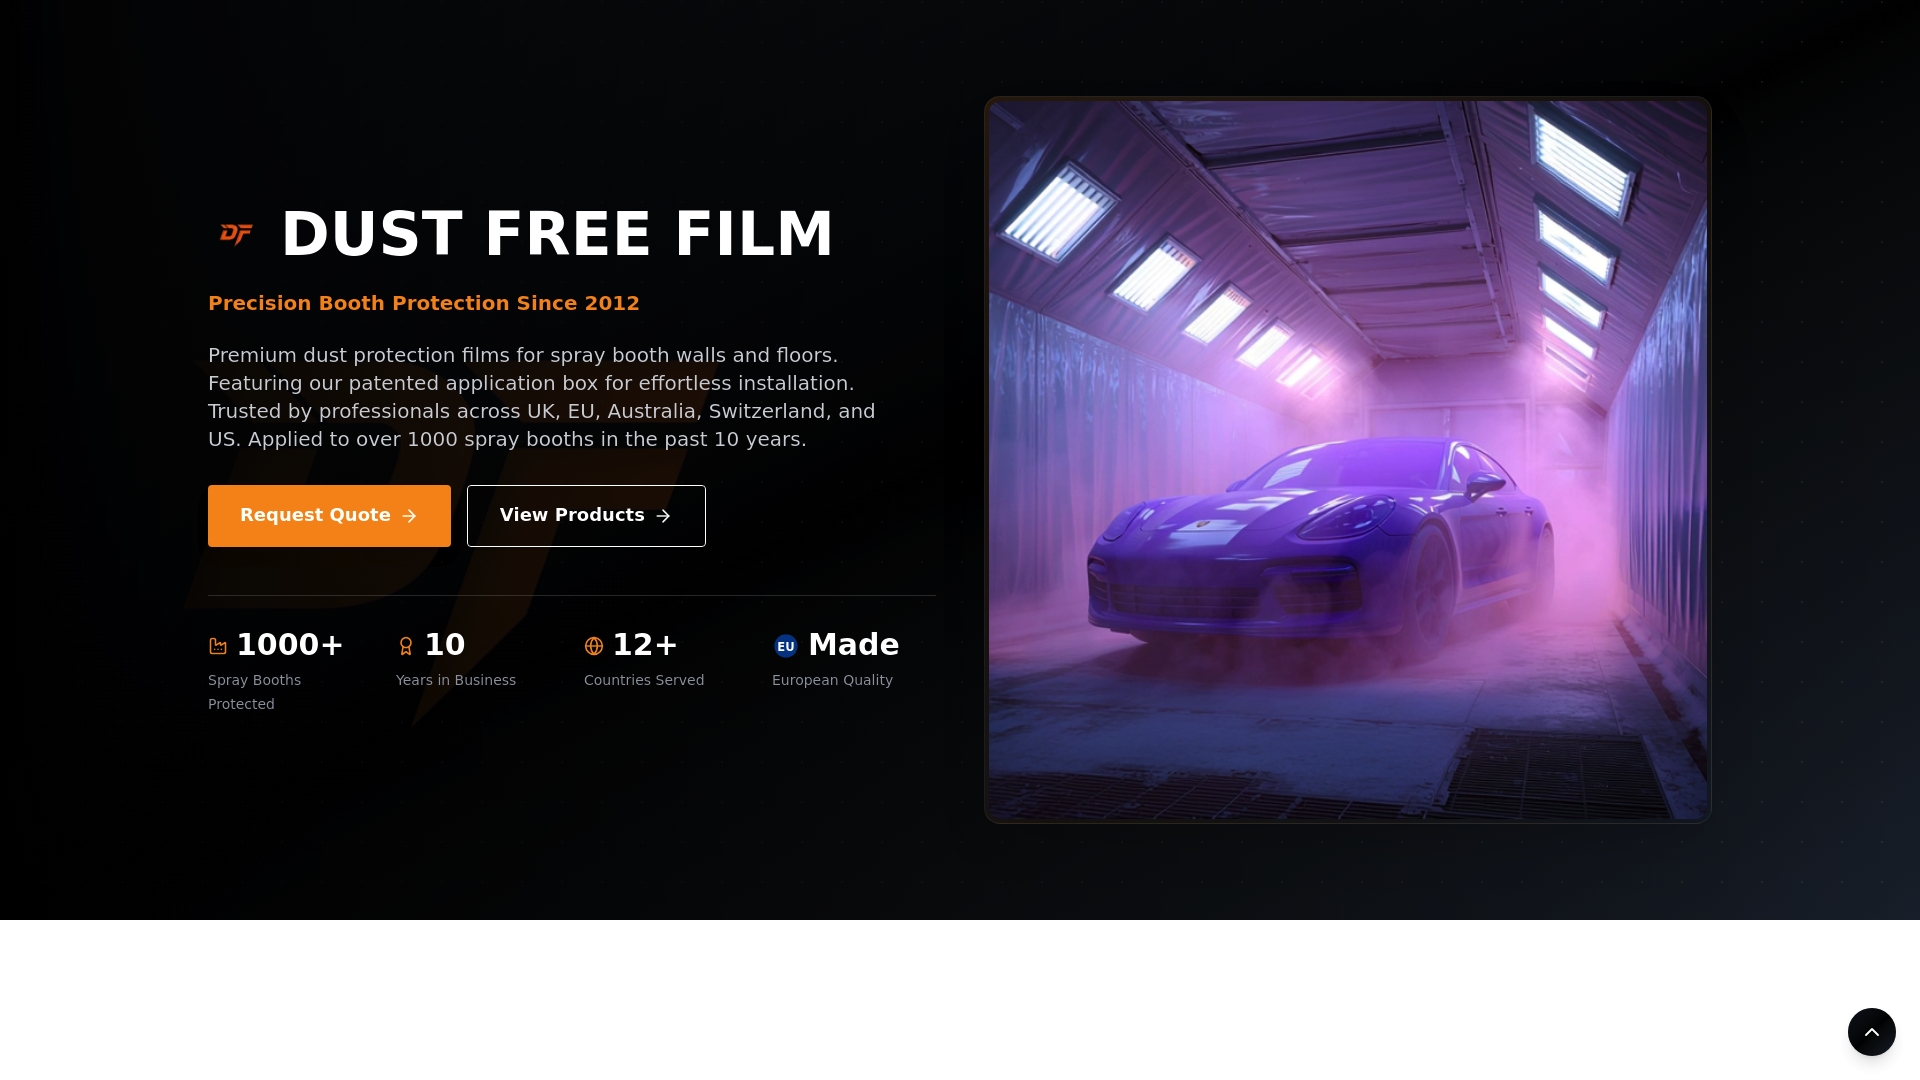
Factory-direct supply since 2012 means no distributor markup on bulk orders, and custom roll widths are available for non-standard booth configurations. Heat-resistant formulation, static-free surfaces, and a documented 25% rework reduction case study give procurement teams the spec sheet and the business case in one place.
Request a sample roll, get a tailored quote, or download the installation guide at dustfreefilm.com. Bring your panel dimensions and your current rework rate, and the team can size an order and show you the ROI math for your specific bay count.