
TL;DR:
- Proper surface preparation, including cleaning, sanding, and priming, is essential for achieving a flawless paint finish. Applying three thin coats with appropriate drying times ensures better leveling, adhesion, and appearance than single thick coats. Using high-quality tools, controlling the environment, and employing advanced techniques like cross-coating and paint straining significantly improve finish quality and reduce defects.
Paint finish quality is defined as the degree of evenness, gloss, adhesion, and freedom from defects achieved on a coated surface after full application and curing. The ways to improve paint finish quality that professionals rely on most are thorough surface preparation, multiple thin coats, proper tool selection, and controlled spray booth environments. Each of these methods compounds the others. Skip one, and the entire finish suffers. This article breaks down each approach with the specificity that automotive refinishers and industrial painters need to produce consistent, defect-free results.
1. What are the foundational surface preparation steps to improve paint finish quality?
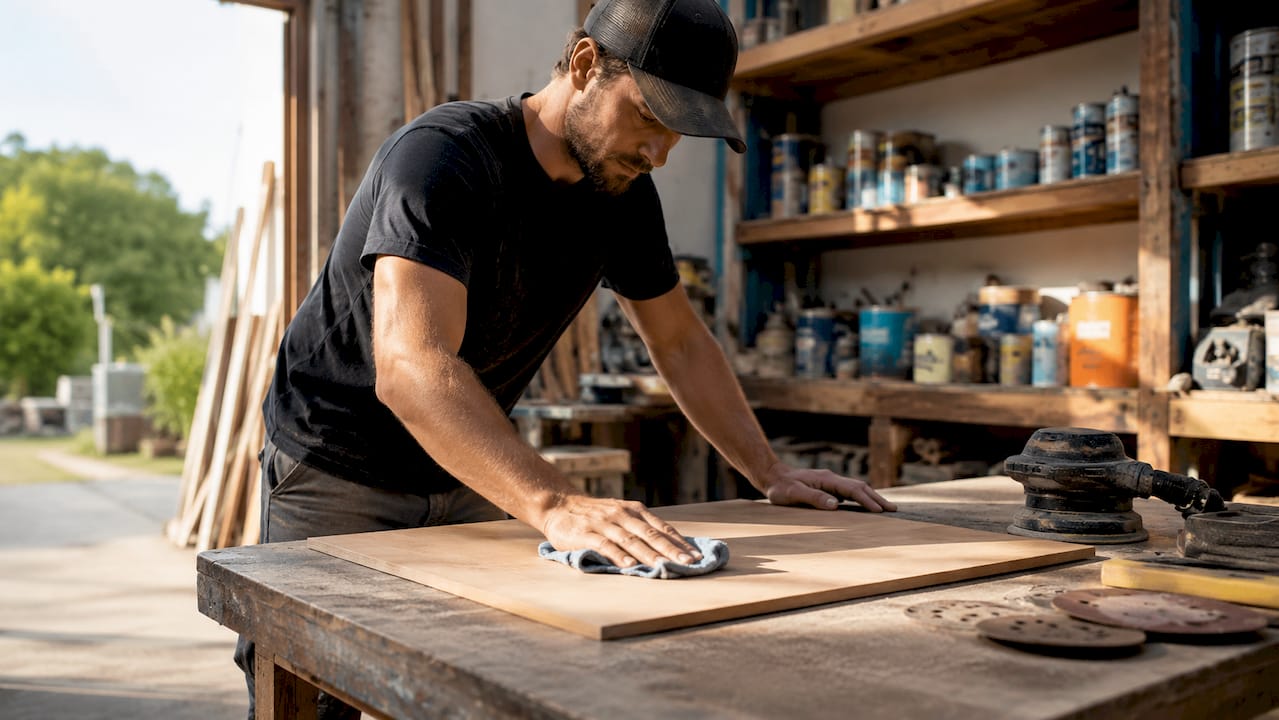
Surface preparation is the single most important factor in achieving a flawless finish. Experts consistently rank surface prep and multiple thin coats as the foundation of professional-quality results. No amount of premium paint or expensive equipment compensates for a poorly prepared substrate.
The correct sequence for surface prep follows this order:
- Clean and degrease. Remove all oils, wax, and contaminants with a solvent wipe before any sanding or filling. Residue left on the surface will cause adhesion failure and fisheyes.
- Fill holes and cracks. Use a two-part polyester filler for deep imperfections. Feather the edges to prevent visible ridges under the topcoat.
- Sand with grit progression. Start with 80–120 grit to shape, move to 180–220 grit to refine, and finish with 320–400 grit before priming. Each step removes the scratches left by the previous one.
- Prime the surface. Primers equalize surface porosity and prevent flashing, which is the inconsistent sheen caused by uneven absorption. Tint the primer close to the topcoat color to reduce the number of color coats needed.
- Caulk gaps and manage slick surfaces. On bare or slick substrates, apply a tack coat before the primer to create a bonding base.
Pro Tip: After the final sanding pass, wipe the surface with a tack cloth immediately before spraying. Airborne dust settles fast in active shops, and even a five-minute delay can introduce contamination.
2. How does applying multiple thin coats enhance paint finish quality?
Applying 3 thin coats with 10–20 minutes drying time between each produces better leveling and faster overall drying than a single thick coat. Thick coats trap solvents, sag under their own weight, and dry unevenly from the outside in. Thin coats bond at each layer, building film thickness without those defects.
The recommended workflow for multiple coats in a spray booth:
- Apply a light tack coat as the first pass. This ultra-thin layer grips the substrate and gives subsequent coats something to bond to.
- Wait for the tack coat to flash off, typically 5–10 minutes depending on temperature and humidity.
- Apply the first full wet coat, maintaining a consistent gun distance of 6–8 inches from the surface.
- Allow 10–20 minutes between each full coat. Touch the edge of the panel, not the face, to check dryness.
- Apply the second and third full coats using the cross-coating method.
The cross-coating method applies alternating horizontal and vertical passes. This technique fills coverage gaps that a single-direction spray pattern leaves behind, producing uniform film thickness across the entire panel.
Maintaining a wet edge throughout each coat prevents visible lap lines and streaks. Work in manageable sections and keep the spray gun moving at a consistent speed to avoid dry edges forming before the next pass overlaps.
3. Which tools and materials most impact paint finish quality?
Tool selection directly determines how evenly paint transfers to the surface. High-quality woven roller covers distribute paint more uniformly than cheaper alternatives, which fail to maintain consistent nap density and leave roller marks. The same principle applies to spray guns: a worn or poorly calibrated gun produces inconsistent droplet size and uneven coverage.
Key tool and material decisions for professionals:
- Spray gun settings. Adjust fluid needle, air cap, and fan width for each product. Basecoats typically run at lower pressure than primers. Test on a scrap panel before spraying the job.
- Brush selection. For cut-in work and edges, use a high-quality synthetic brush with flagged tips. Flagged tips hold more paint and release it more evenly than blunt-cut bristles.
- Paint straining. Strain paint through fine mesh before loading the gun. This removes microscopic particles that cause nibs and fisheyes in the cured finish.
- Leveling agents. Add a flow additive or leveling agent to reduce surface tension in the wet film. This gives the paint more time to self-level before it skins over, which is especially useful in warm or dry conditions.
Pro Tip: Strain paint twice if you are working with a product that has been sitting in storage. Pigment separation and skin formation introduce contaminants that a single pass through mesh may not fully catch.
4. What advanced finishing techniques can professionals use to perfect a paint finish?
Advanced finishing techniques separate a competent application from a truly flawless result. These methods address imperfections that survive the standard coat-and-dry cycle.
| Technique | When to use | Result |
|---|---|---|
| Wet sanding between coats | After each dried coat shows orange peel or dust nibs | Removes surface texture and creates a flat base for the next coat |
| Tack coat on slick surfaces | Before priming bare metal, plastic, or previously polished panels | Improves adhesion and prevents beading or fish-eye formation |
| Cross-coating | On every full wet coat in a spray booth | Fills directional gaps and produces uniform film thickness |
| Polishing and buffing | After the final clear coat has fully cured | Removes fine sanding marks and brings gloss to its maximum level |
| Consistent film thickness | Throughout all coats | Prevents color variation and flashing across large panels |
Wet sanding with progressively finer grit paper removes imperfections accumulated after each drying coat. Start at 800 grit after the color coat and finish at 1,500–2,000 grit before buffing the clear. Each grit level removes the scratches left by the previous one, just as in the initial surface prep stage.
A tack coat on slick or bare surfaces prevents paint from beading and creates a bonding base for subsequent coats. This step is frequently skipped in production environments, but it is the difference between a finish that lasts and one that peels within a year.
5. How does environmental control influence paint finish quality?
Dust contamination is the leading environmental cause of finish defects in spray booths. Proper dust management reduces defects and improves finish consistency across every job. A single particle settling into wet clear coat creates a nib that requires wet sanding, buffing, and additional labor time to correct.
Effective environmental control in a spray booth requires:
- Dust-free booth films. Applying electrostatic protective films to booth walls and floors traps dust at the source before it becomes airborne. Dustfreefilm’s multi-layer wall and floor protectors are designed specifically for this application, with heat-resistant, static-free construction that suits high-volume industrial settings.
- Controlled airflow. Maintain positive pressure in the booth relative to the surrounding shop. This prevents unfiltered air from entering through gaps around doors and fixtures.
- Regular filter replacement. Clogged intake filters reduce airflow velocity, which allows dust to settle rather than exhaust. Replace filters on a schedule tied to booth usage, not the calendar.
- Wet floors before spraying. Dampening the booth floor before each job suppresses dust that foot traffic and compressed air stir up during setup.
Professionals who invest in dust-free spray booth environments consistently report fewer defects per job and reduced rework time. The labor cost of sanding and respraying a contaminated panel far exceeds the cost of proper booth protection.
Key takeaways
Consistent paint finish quality requires surface preparation, thin coat layering, proper tool selection, and dust-free environmental control working together as a system.
| Point | Details |
|---|---|
| Surface prep is non-negotiable | Clean, fill, sand, and prime before any topcoat to prevent adhesion failure and flashing. |
| Thin coats outperform thick ones | Apply 3 thin coats with 10–20 minutes between each for better bonding and leveling. |
| Tool quality determines transfer quality | Strain paint, use woven rollers, and calibrate spray gun settings before every job. |
| Cross-coating fills coverage gaps | Alternating horizontal and vertical passes produces uniform film thickness across panels. |
| Dust control cuts rework time | Booth films and controlled airflow prevent contamination that requires costly correction. |
What I’ve learned after years of watching finishes fail
The most common mistake I see in professional shops is treating surface prep as a time cost rather than a quality investment. Painters rush the sanding sequence, skip the tack coat on bare metal, and then spend twice the time correcting orange peel and adhesion failures after the fact. The math never works in their favor.
The second pattern I notice is underestimating the booth environment. A shop can have a $3,000 spray gun and a $500 primer, but if the booth walls are shedding debris and the floor is kicking up dust with every footstep, the finish will show it. Dustfreefilm’s approach of using multi-layer electrostatic films on booth walls and floors addresses this at the source, which is where the problem actually lives.
The detail that yields the biggest improvement with the least effort is paint straining. Most painters skip it on products they use regularly. But pigment settlement, skin formation, and contamination from storage all introduce particles that a fine-mesh strainer catches in 30 seconds. That 30 seconds prevents a nib that takes 20 minutes to sand out.
My honest recommendation: build a checklist for each job that covers prep, coat sequence, and booth condition. Consistency is the actual skill. The techniques are well-known. The professionals who produce the best finishes are the ones who execute the same process correctly every single time, not the ones with the most expensive equipment.
— Dust
Dustfreefilm spray booth protection for cleaner finishes
Dust contamination is the variable most professionals cannot fully control with technique alone. Dustfreefilm has manufactured electrostatic booth wall and floor protection films since 2012, specifically for automotive refinishing and industrial spray painting facilities.
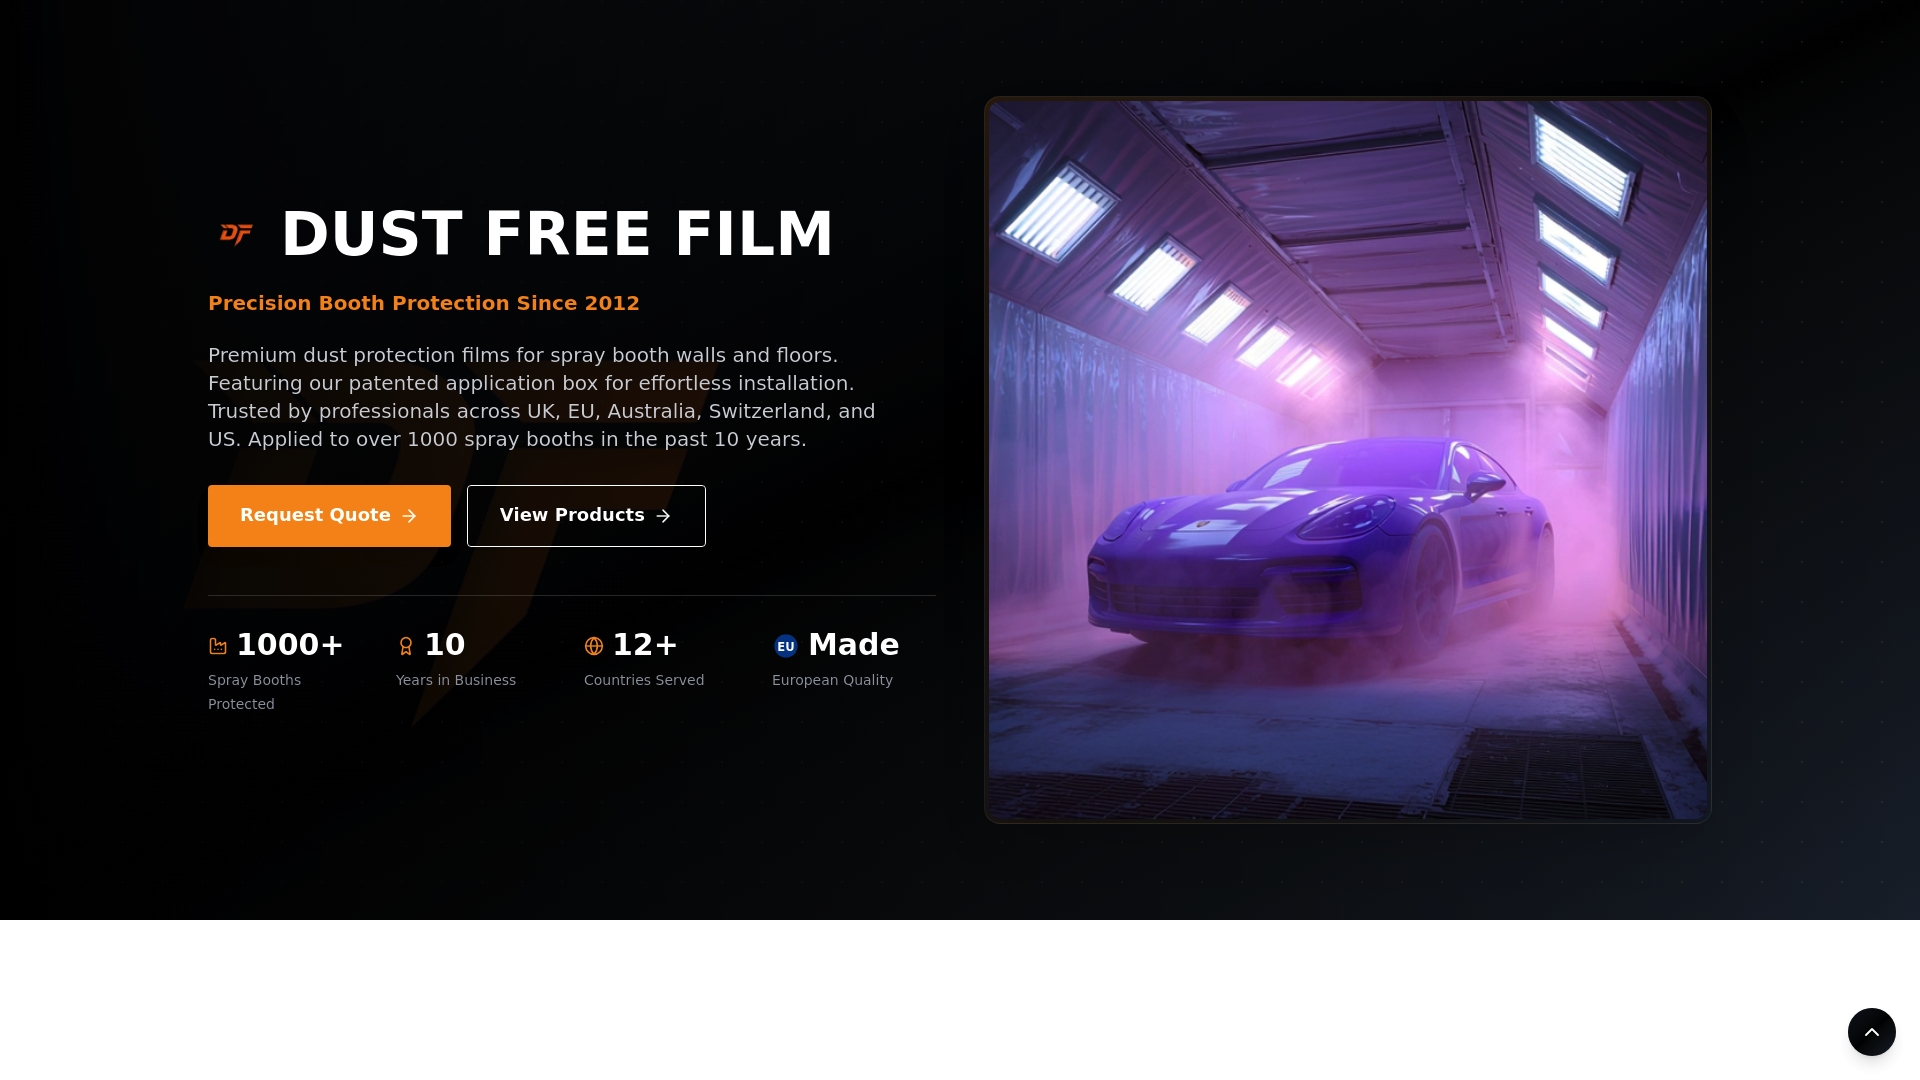
Their multi-layer films install quickly with a patented dispenser system, lie flat without bubbles, and resist the heat generated during curing cycles. Each layer peels away to expose a fresh, clean surface for the next job. For shops running high volumes, this means consistent booth conditions without the downtime of manual cleaning. Explore spray booth wall and floor protection from Dustfreefilm to reduce contamination and cut rework on every job.
FAQ
What is the most important step to improve paint finish quality?
Surface preparation is the most critical step. Cleaning, sanding, and priming the substrate correctly prevents the majority of finish defects before any paint is applied.
How many coats of paint produce the best finish?
Applying 3 thin coats with 10–20 minutes of drying time between each produces better leveling and adhesion than one or two thick coats.
What causes dust nibs in a spray booth finish?
Dust particles settling into wet paint cause nibs. Booth wall films, controlled airflow, and wet floors before spraying are the most effective ways to prevent contamination.
Does paint straining actually make a difference?
Straining paint through fine mesh before loading the gun removes microscopic particles that cause nibs and fisheyes. It takes under a minute and prevents defects that require significant rework to correct.
What is the cross-coating technique?
Cross-coating applies alternating horizontal and vertical spray passes on the same coat. This fills directional coverage gaps and produces uniform film thickness across the entire panel.