

Seal film edges by combining a clean-surface adhesion test, overlapping (shingle) seams, and a heat-rated edge tape applied immediately after every cut. Use a dispenser system where your shop has one, since it keeps overlaps and tension consistent from panel to panel instead of relying on whoever’s holding the roll that day. Trim with a sharp blade, tape the exposed edge before it has a chance to catch airflow, and anchor every free edge before the first spray cycle.
TL;DR:
- Applying heat-rated edge tape immediately after cutting and using a dispenser system ensures consistent overlaps and tension across panels.
- Proper surface preparation involves wiping down booth surfaces and conducting adhesion tests before full installation to prevent failure due to residues.
- High-temperature acrylic tapes are recommended over general masking tapes for durability during bake cycles, with testing on scrap panels to confirm suitability.
- Overlap sheets by 4 to 6 inches with the spray-facing side taped to prevent overspray intrusion, and anchor every edge according to the booth’s airflow direction.
- Regularly retest adhesion after booth maintenance or paint events to catch potential bond failures early, saving rework and ensuring long-term seal integrity.
Table of Contents
- What Are the Best Edge Sealing Techniques for Film?
- How Do You Prep Surfaces and Test Adhesion Before Sealing?
- Which Tape Should You Use for Film Edge Sealing?
- How Do You Install and Seal Film Edges Step by Step?
- How Should You Anchor Film Edges for Your Booth’s Airflow?
- How Does the Bake Cycle Affect Film Edge Sealing?
- How Do You Troubleshoot Edge Lift and Tape Failure?
- Why Consistent Edge Sealing Actually Pays for Itself
- Get Shop-Ready Film and a Dispenser Built for Clean Edges
- Where to Find Installer SOPs and Datasheets
- Sources
- FAQ
What Are the Best Edge Sealing Techniques for Film?
Most edge failures trace back to one of three gaps: an untaped cut edge, a seam that isn’t overlapped in the right direction, or a tape that was never meant to see booth heat. Fixing all three is mostly about sequence and direction, not exotic materials.
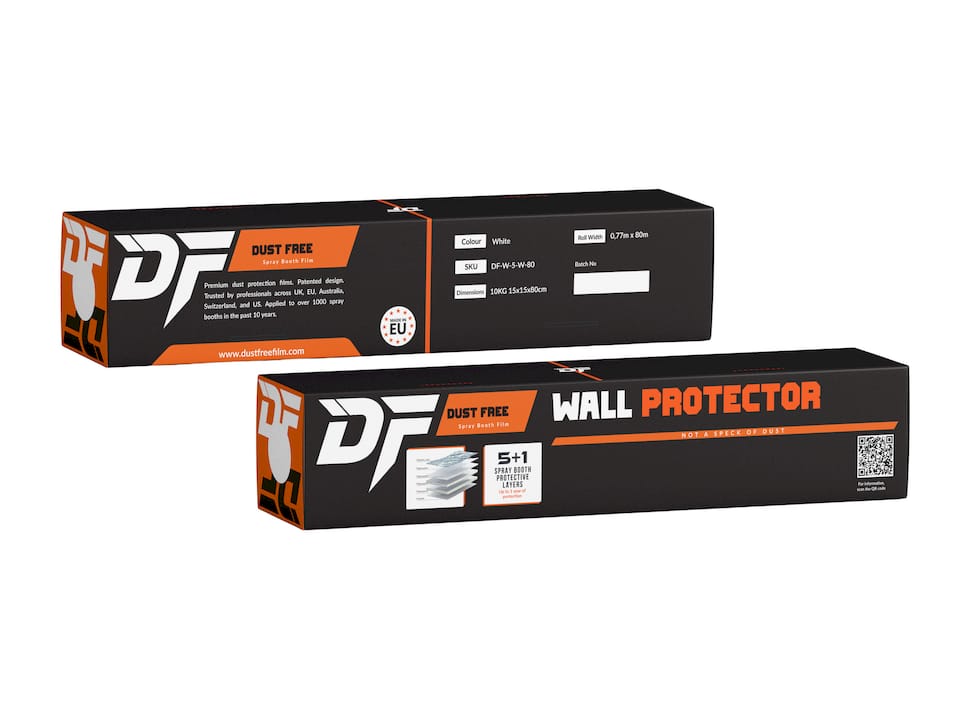
Tape every cut edge, immediately. Any time you trim film with a utility knife, that raw edge becomes an entry point for airflow. Trimming precisely and sealing the cut edge right away stops air from working its way underneath before the adhesive has fully set.
Shingle your vertical seams. When one sheet meets the next going up a wall, the higher sheet should lap over the lower one, the way roof shingles shed rain. This directs airflow down and across the seam instead of letting it catch an upward-facing lip and peel the edge back.
Know when film gives way to paper. Pre-taped film performs well at distance, but placed within about two feet of the spray gun, it can bounce overspray back onto wet paint. Reserve masking paper for that close-in zone and let film cover the broader wall and floor area.
A quick reference for matching method to situation:
- Cut or trimmed edges: heat-rated edge tape, applied within minutes of cutting.
- Vertical seams between sheets: 4 to 6 inch overlap, shingled top over bottom, taped on the spray side.
- Near-gun spray zones: masking paper instead of film, out to roughly 2 feet.
- Long horizontal drapes: shingle overlap plus a mid-span anchor, covered further below.
None of this replaces good surface prep. It’s the second half of the equation, and it only works if the first half holds.
How Do You Prep Surfaces and Test Adhesion Before Sealing?
Wipe down booth walls, frames, and any fixtures before you unroll a single sheet. Factory release agents, silicone residues, and leftover solvent film are invisible to the eye but lethal to adhesive bond strength, and manufacturer guidance flags new or freshly cleaned panels as the surfaces most likely to cause a failed bond if they aren’t wiped down first. Let the surface dry fully before applying anything.
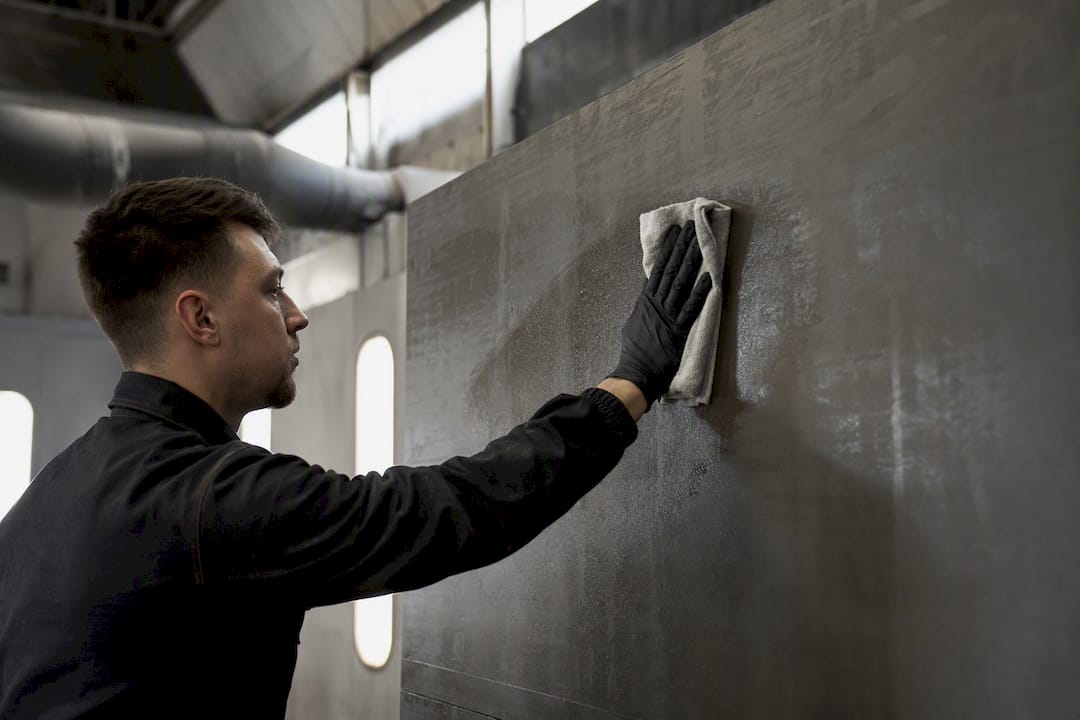
Then run a small test before committing to a full install. Cut a strip roughly a foot long, apply it the same way you’d apply the real thing, and put it through a short heat or handling cycle that mimics what the booth will actually do to it. If it holds without curling at the corners, you’re clear to proceed.
Log the result. A one-line note in a booth log (“tested, held at bake temp, no lift”) takes ten seconds and saves you from repeating a mistake on the next job. Surface residue is consistently cited as the single biggest reason adhesion fails, and it’s also the easiest variable to control. Retest after any booth maintenance, filter change, or fresh coat of wall paint. Those events change the surface even when nothing looks different.
Which Tape Should You Use for Film Edge Sealing?
Not every tape survives a bake cycle, and not every tape belongs on every substrate. The chemistry matters more than the price tag here.
- General-purpose masking tape (the classic green roll): fine for short-term, low-heat jobs, but it tends to soften and leave residue once temperatures climb.
- Acrylic high-temperature tape: the workhorse for most booth environments. It holds through repeated bake cycles and comes off clean if you don’t leave it on for months.
- Specialty edge tapes: built specifically for multi-layer film seams, usually with a higher initial tack that grips textured or slightly dusty surfaces better than generic tape.
Match the tape to the substrate as much as the temperature. Fresh paint, bare metal, glass, and old overspray each grip adhesive differently, and a tape that performs beautifully on steel can pull paint off a freshly coated panel.
Pro Tip: Before you commit a full roll to a job, stick a short piece to a scrap panel and put it through your shop’s actual bake cycle. If it peels clean with no residue, you’ve found your tape. If it leaves a ghost mark or tears, move up to a higher-temp or higher-tack option before you tape a single real seam.
How Do You Install and Seal Film Edges Step by Step?
A dispenser system removes most of the guesswork here. Manufacturer SOPs consistently point to the same sequence: align the box, feed the film, and work from the center out. Follow it in this order:
- Set up the dispenser. Line the box up square with the wall or floor section you’re covering, and check that the roll feeds without drag.
- Feed and position. Pull out enough film to cover the panel, peel the backing halfway, and set the sheet in position before committing to the second half.
- Smooth from the center outward. Work air pockets toward the edges rather than trapping them in the middle. This is the step most crews rush, and it’s the one that determines whether you get bubbles later.
- Overlap the next sheet by 4 to 6 inches. Seal that overlap with tape on the spray-facing side, not the wall side, so overspray can’t work its way under the lap.
- Trim around fixtures immediately. Use a sharp utility knife, cut clean, and tape the fresh edge before moving to the next section. A dull blade drags and tears, which creates the exact kind of ragged edge that lifts first.
- Smooth out remaining bubbles with a spatula. A plastic smoothing tool works air out toward the nearest edge without scoring the film.
Crews using a shared dispenser tend to produce more consistent overlaps than crews working freehand, mostly because the equipment standardizes the trim and the tension regardless of who’s running it that shift. For a full walkthrough with photos, the step-by-step application guide covers the same sequence in more detail.
How Should You Anchor Film Edges for Your Booth’s Airflow?
Downdraft, crossdraft, and semi-downdraft booths push air in different directions, and your anchor plan should follow the airflow, not a generic template.
Anchor every free edge, full stop: top, bottom, front, and rear. That’s the baseline regardless of booth type. Where it gets specific is crossdraft and semi-downdraft setups, where horizontal air movement puts more sideways force on hanging drapes.
- Downdraft booths: airflow moves straight down, so edge anchors at top and bottom carry most of the load.
- Crossdraft or semi-downdraft booths: horizontal airflow creates a sail effect on long vertical drapes, and pre-taped film’s lighter weight makes it more prone to lift than masking paper in this setup.
- Long drapes in any booth type: add a mid-span, belt-line anchor in addition to top and bottom.
That mid-span anchor is a small fix with an outsized payoff. Belt-line anchoring on long drapes cuts the sail effect that causes most crossdraft lifting, and it takes seconds per panel to add. Shingled overlaps help here too, directing airflow down and across the seam rather than letting it catch a loose lip and start peeling from the middle of a run.
How Does the Bake Cycle Affect Film Edge Sealing?
Heat is where a lot of otherwise solid installs come apart. Check the temperature rating on both your tape and your film datasheet before running any bake cycle. Not all edge tapes are rated for booth bake temperatures, and pushing an ordinary masking tape past its limit is how you end up with a gummy residue baked into the finish.
Some multi-layer systems include a clear removable top layer that isn’t heatproof and needs to come off before that first bake, not after. Skipping this step is a common, avoidable mistake, especially on a rushed shift.
Replace or strip contaminated layers based on manufacturer guidance rather than waiting until they visibly fail. A controlled peel from the bottom upward reduces tearing and limits residue transfer when a layer has taken enough overspray that it needs to come off entirely.
How Do You Troubleshoot Edge Lift and Tape Failure?
Most edge problems fall into one of two buckets: adhesion failure or tape mismatch. Work through them in this order before you assume the whole install needs redoing.
- Edges lifting: check for surface residue first and redo a small adhesion test on that spot. If lifting continues after a clean retest, add an intermediate anchor or narrow the panel width in that section.
- Tape leaving residue or tearing on removal: the adhesive chemistry doesn’t match the substrate or the heat cycle. Step up to a higher-temperature tape and run the stick-and-remove test again before reapplying at scale.
- Recurring failures in the same spot: log what failed, what you changed, and whether it held. That log becomes the fastest troubleshooting tool your next crew has.
Documenting corrective actions might feel like paperwork, but it’s the difference between fixing a problem once and refixing it every quarter. Reference the shop’s automotive painting best practices alongside your own log to spot patterns across multiple booths.
Why Consistent Edge Sealing Actually Pays for Itself
The edge sealing habits that hold up under scrutiny aren’t complicated. They’re just consistently applied. Shops that treat edge taping as an afterthought, something to fix “if it lifts,” end up doing more touch-up sanding and repainting than shops that build the tape-immediately, overlap-correctly habit into every install.
Dust Free Film’s patented dispenser exists because of that gap. A dispenser doesn’t make a crew smarter, it makes a crew’s overlaps and trims repeatable regardless of who’s on shift, which is where most edge failures actually start. Fewer lifted seams mean fewer mid-job stops, less rework, and booth turnarounds that don’t eat into the day’s paint schedule.
— Pavlos Filippakis
Get Shop-Ready Film and a Dispenser Built for Clean Edges
Every technique in this guide works better with equipment designed around it. Dust Free Film manufactures multi-layer electrostatic booth wall and floor protectors with heat-resistant options built for repeated bake cycles, paired with a patented dispenser system that delivers bubble-free, consistent overlaps instead of leaving edge quality up to whoever’s unrolling the film that day.

The company has supplied auto body shops and industrial paint facilities since 2012, with configurations that scale from a single booth to multi-site operations running bulk orders. If your crew is still fighting inconsistent overlaps or edges that lift mid-shift, that’s usually a sign the application system needs an upgrade before the technique does. Request bulk pricing or a dispenser demo and see what a standardized install actually looks like on your own booth.
Where to Find Installer SOPs and Datasheets
For deeper technical reference, download the surface preparation process guide, the coatings application preparation guide, and the Baxt WP10 technical datasheet for exact heat ratings and layer removal instructions.
Sources
- Pre-Taped Masking Film Tips for Body Shops (RefinishGo)
- Baxt WP10 5-Layer Spraybooth Protection Film technical datasheet (Airblast Eurospray)
FAQ
What Causes Film Edges to Lift in a Spray Booth?
Edge lift usually comes from untaped cut edges, surface residue that weakens adhesion, or airflow catching a seam that wasn’t shingled correctly. Crossdraft and semi-downdraft booths make it worse because horizontal air puts extra sideways force on hanging drapes.
How Much Overlap Do You Need Between Film Sheets?
Overlap adjacent sheets by 4 to 6 inches and tape the overlap on the spray-facing side so overspray can’t work its way underneath.
Can You Use Regular Masking Tape for Edge Sealing?
General masking tape works for short, low-heat jobs, but acrylic high-temperature tape or a specialty edge tape holds up better through repeated bake cycles without leaving residue.
Do You Need a Dispenser System to Seal Edges Properly?
A dispenser isn’t required, but it standardizes overlap width and film tension across every crew member, which is why manufacturer SOPs recommend it for consistent, bubble-free results. Dust Free Film’s patented dispenser was built specifically to remove that variability from the install.
How Often Should You Retest Adhesion on Booth Surfaces?
Retest after any booth maintenance, filter replacement, or new coat of wall paint, since these change the surface even when nothing looks different, and a quick strip test catches a weak bond before it becomes a full lifted panel.