

Most masking tape failure booth problems trace back to four fixable causes: surface contamination, the wrong tape for your bake profile, sloppy edge sealing, and booth airflow that’s pulling tape loose from underneath. Clean panels with a proper panel wipe, switch to a tape rated for your actual cure temperature, press every edge with a finger or squeegee, and check that your booth pressure and filters aren’t creating turbulence. The rest of this guide covers how to pick the right tape, test it before you commit a job to it, apply it correctly, and when a protective film setup beats tape altogether.
TL;DR:
- Using tape rated for your actual bake temperature prevents adhesive residue and backing failure during high-heat curing cycles.
- Proper surface cleaning and pressing every edge with a squeegee significantly reduces edge lift and bleed-through issues within the first minutes of masking.
- Maintaining stable booth pressure, clean filters, and preventing turbulence lower the risk of airflow pulling tape loose during spraying.
- Conducting in-shop peel and adhesion tests before full production helps identify bad batches and ensures tape’s performance in your specific booth conditions.
- For large-area masking, electrostatic protective film offers a faster, cleaner alternative to tape, especially for wall and floor coverage in high-throughput shops.
Table of Contents
- Common Failure Modes and How to Diagnose Them
- How to Choose Tape for Your Booth and Cure Profile
- Application and Edge-Sealing Best Practices
- When and How to Remove Tape to Preserve Edge Quality
- Booth Performance Issues That Cause Masking Failures and Quick Tests
- Shop-Level Testing and QA: Tape-and-Peel and Peel Tests You Can Run
- When to Use Multi-Layer Booth Protection Film Instead of More Tape
- The Overlooked Priority in Masking Tape Troubleshooting
- A Different Route for Shops Tired of Tape Failures
- Sources
- FAQ
Common Failure Modes and How to Diagnose Them
Tape doesn’t fail one way. It fails in at least five distinct ways, and each one points to a different root cause.
- Edge lift: the tape peels back at the boundary, usually within the first few minutes after masking. Almost always a contamination or airflow issue.
- Bleed-through: paint creeps under the tape line, leaving a fuzzy or feathered edge instead of a crisp one. Points to poor edge pressure or paper seam gaps.
- Adhesive residue: sticky film left behind after removal. Usually means the tape ran hotter than its rating or sat too long before you pulled it.
- Backing failure: the tape itself tears or delaminates, leaving adhesive on the panel and backing in your hand. A cheap or degraded tape roll is the usual suspect.
- Shrinkage micro-gaps: tiny pinholes or hairline gaps that appear after bake, letting overspray through even though the masking looked solid going in.
A quick diagnostic: press a scrap edge and feel for tack. If it’s gummy or waxy, you’ve got contamination. If the backing is stiff or brittle, heat cycling has degraded the adhesive. If the edge lifted but the tape itself looks fine, look at your booth’s airflow before you blame the tape.
How to Choose Tape for Your Booth and Cure Profile
Tape selection comes down to matching four specs to your actual process, not the label on the box.
- Temperature rating: check the max continuous rating against your peak bake temperature, not just the average.
- Backing material: crêpe paper handles most refinish work; polyester or Washi backings hold dimensional stability better under repeated heat cycles.
- Solvent resistance: matters most if you’re clear-coating over base coat with aggressive reducers.
- Tack and peel values: higher tack holds better on textured or curved panels but can leave more residue if pushed past its rating.
Ambient-cure jobs give you the widest tape margin. Once you’re running an 80°C-class bake or higher, you need a tape purpose-built for that range. High-temperature formulations and stable backings resist the shrinkage that creates micro-gaps during bake cycles, which is the failure mode most shops never think to check for until it’s too late.
Pro Tip: Before you commit a full roll to production, run a strip through one bake cycle and peel it cold. If it tears instead of releasing clean, that roll’s storage life is probably shot, not the formulation.
Application and Edge-Sealing Best Practices
Most bleed and lift problems get created in the first sixty seconds of masking, before the gun ever gets loaded.
- Prep the surface first. Panel wipe, then a tack rag pass. Skip fingerprints and any silicone-based product near the mask line, since silicone contamination is one of the most common and hardest-to-spot causes of edge lift.
- Apply at a slight angle, not dead straight, so you can lay the tape down with continuous hand pressure instead of stopping and starting.
- Press every edge firmly with a fingertip or a squeegee. This single step, recommended across most professional masking guides, stops more bleed-through than any tape upgrade will.
- Overlap paper seams by at least half an inch and seal them the same way you sealed the tape edge.
- On textured panels, trim pieces, or near sensors, lay a sealer coat or reduced first pass before full spray pressure. It locks the edge mechanically before the gun has a chance to force paint underneath it.
When and How to Remove Tape to Preserve Edge Quality
Pull tape too early and clear runs into the gap. Pull it too late and you’re left with a hard edge that needs wet sanding to blend. The window that actually works is while the clear coat is still in its flow stage, past wet but before it’s fully set.
- Peel at a low angle, back over itself, rather than straight up.
- Warm cold tape slightly before pulling if the shop temperature dropped during cure; brittle backing tears instead of releasing clean.
- On baked parts, let the panel cool enough to handle safely, but don’t wait so long that the clear fully hardens around the tape edge.
- Check the pulled edge immediately: it should look feathered and smooth, not stepped. A stepped edge means you waited too long.
Removing while the finish is still in that flow window is what prevents both lifting and the hard-edge problem that sends parts back for extra sanding.
Booth Performance Issues That Cause Masking Failures and Quick Tests
Tape often takes the blame for a problem that’s actually your booth. Unbalanced airflow creates vortices near panel edges, and those vortices pull at tape from underneath instead of just settling overspray on top of it. Negative pressure zones make it worse by literally sucking edges up during the spray pass.
Static is the other overlooked variable. Plastic masking film builds a static charge that attracts airborne dust right back onto the surface you just cleaned, which is part of why electrostatically engineered protection surfaces perform differently than plain sheeting.
Run these checks before you touch your tape order:
- Pressure gauge check: confirm booth pressure sits in the manufacturer’s stable range, not drifting negative during spray.
- Filter inspection: clogged intake filters change airflow balance even when the fan speed hasn’t changed.
- Smoke or tissue-strip test: hold a light strip near panel edges during a spray pass and watch for flutter, which flags turbulence you won’t see any other way.
- Anti-static wipe pass: reduces dust pickup on plastic sheeting before it becomes a masking problem.
Booth design and stable positive pressure control fixes more masking failures industry-wide than any tape upgrade does, because turbulence pushes overspray under masks regardless of how good the adhesive is.
Shop-Level Testing and QA: Tape-and-Peel and Peel Tests You Can Run
You don’t need a lab to validate a tape choice. The ASTM D3359 tape-and-peel test uses a 0 to 5 scale to rate how much coating lifts when tape is applied and pulled from a cured film, and it’s simple enough to run on a scrap panel between jobs. ASTM D3330 peel-adhesion testing goes further, categorizing whether a tape fails clean at the adhesive layer or tears through its own backing, which tells you whether the problem is the glue or the tape stock itself.
A practical shop version:
- Mask a 6 foot by 6 foot test patch on a scrap panel.
- Run one full bake cycle at your planned production profile.
- Peel at the same angle and timing you’d use in production, and note exactly how it failed.
- Log the result against the tape lot number so you catch a bad batch before it hits a customer’s vehicle.
Treat these results as comparative, not absolute. Adhesion tests are useful for ranking tapes against each other, not for guaranteeing field performance under every booth condition you’ll actually run.
When to Use Multi-Layer Booth Protection Film Instead of More Tape
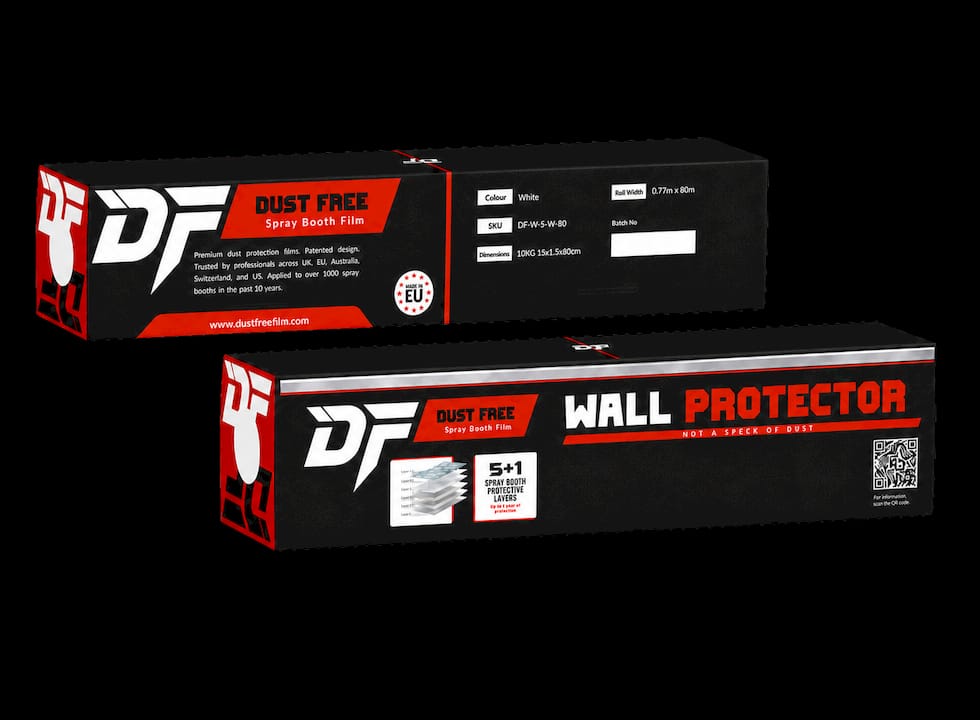
For large-area masking or high-throughput shops, multi-layer electrostatic film trades tape entirely for tape-free overlapping edges and a removable top layer that exposes a fresh surface without stripping the whole system. Its tacky finish traps dust electrostatically, and Dust Free Film’s version holds up to 80°C, which covers most bake booth ranges. It won’t replace tape for fine two-tone lines or precise graphics work, but for wall and floor coverage where labor time and contamination risk drive cost, film cuts both.
The Overlooked Priority in Masking Tape Troubleshooting
Most masking advice treats tape as the variable to fix first. That’s backward. A tape upgrade on an unstable booth just delays the failure by a few minutes; a stable, well-balanced booth makes even mid-grade tape perform close to its rated peel value. If you’re chasing edge lift job after job, run the smoke-strip test on your booth before you reorder tape.
The second gap in conventional advice is timing discipline. Shops obsess over which tape to buy but pull it whenever it’s convenient, not when the flow window actually calls for it. That single habit, catching the removal at the right moment rather than after full cure, prevents more rework than any product switch.
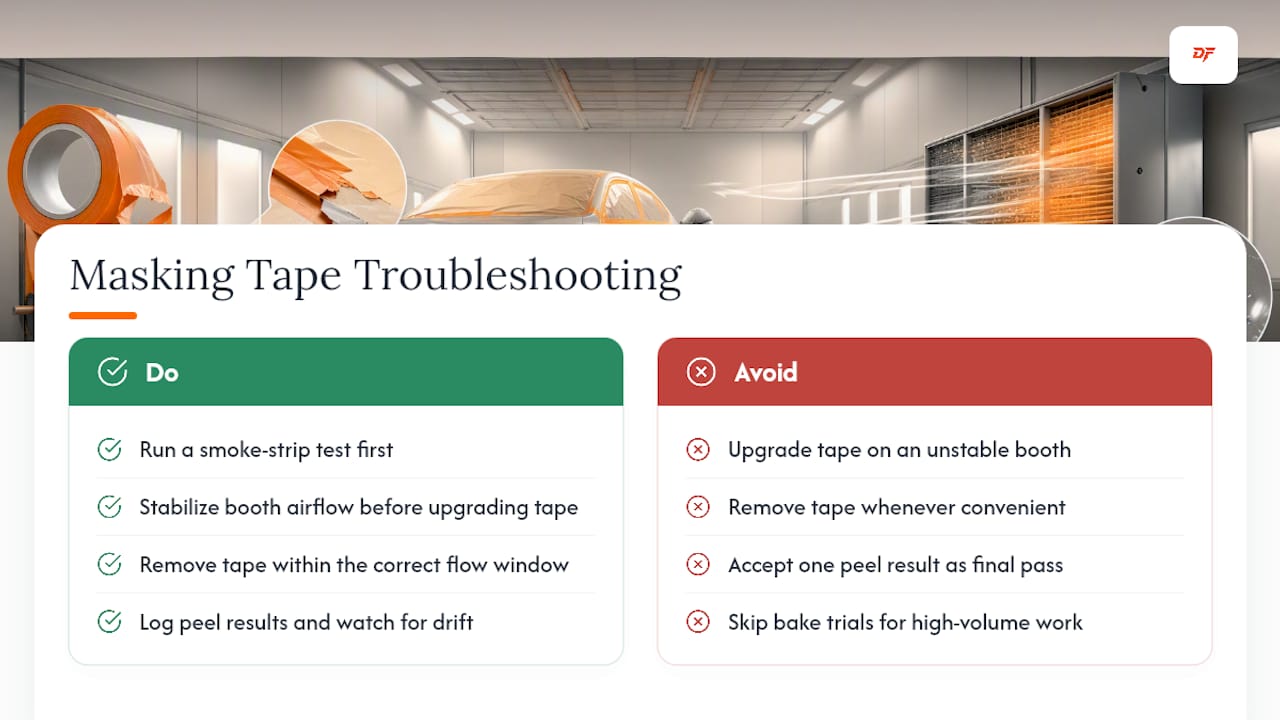
Where I’d push back hardest on standard shop practice: treating a tape-and-peel result as a pass or fail grade rather than a comparison tool. A 4 on the ASTM scale from one lot doesn’t guarantee a 4 from the next roll off a different production run. Log results, watch for drift, and trust your own bake trial data over a single spec sheet number.
For high-volume masking work specifically, the workflow that holds up best pairs a quick in-shop bake trial with an honest look at whether film coverage beats tape labor for large flat areas. That’s not a universal fix, but it’s the decision most shops skip entirely.
— Pavlos - Angelos Filippakis
A Different Route for Shops Tired of Tape Failures
If you’re masking large walls and floors job after job, tape is doing a job it was never really built for. Dust Free Film makes multi-layer wall and floor protector film specifically for spray booth coverage, with electrostatic layers that trap airborne particles and a removable design that exposes a fresh surface without a full reinstall.

A dispenser box applies it in a straight line by one installer, no tape needed to hang it, and the film itself handles high heat, covering most bake cycles that degrade standard masking tape. It’s not a replacement for precision line tape on two-tone work, but for the square footage of wall and floor you’re currently taping and re-taping, it’s worth comparing against your current material cost. Check the full product specs and configurations to see what fits your booth size and bake profile.
Sources
For deeper procedure detail beyond shop-level checks, consult ASTM D3359 tape test methods for adhesion grading, ASTM D3330 peel-adhesion testing for failure-mode classification, and Anderson Group Australia’s materials perspective for broader adhesive context.
- ASTM D3359 tape test methods — measuring adhesion
- Masking: how to reduce your body shop’s biggest bottleneck — USI Italia
- High-temperature masking tape failure modes – AmTape
FAQ
What happens if you leave masking tape on for too long?
Leaving tape on past full cure makes the clear coat harden around the edge, creating a hard step that usually needs wet sanding to blend smooth again.
How often should a spray booth be serviced?
Filters and pressure settings should be checked on a regular schedule tied to your booth’s spray volume, since clogged filters and drifting pressure are two of the most common causes of turbulence that lifts masking edges.
What are the downsides of using masking tape?
Tape is labor-intensive to apply correctly, prone to edge lift from booth turbulence or contamination, and can leave adhesive residue or micro-gaps if it’s not rated for your bake temperature, in large-area jobs, film often gives faster, more consistent results with multi-layer protective film instead.
Why isn’t my masking tape sticking to the wall?
Poor adhesion usually comes down to surface contamination like wax, oil, or silicone residue, or applying tape to a cold surface below roughly 60°F, which reduces bonding before the paint gun ever comes out.