
For most U.S. spray booths, the fastest and lowest-risk ceiling protection is a factory-grade, multi-layer electrostatic protective film applied with a dispenser system. Peelable booth coatings work as a situational alternative where film can’t be used. Before you commit to either, run three quick checks.
- Lighting and heating compatibility: Confirm the film or coating won’t trap heat around incandescent or infrared bulbs, and that it clears plenum intakes. NFPA 33, the governing standard for spray application in the U.S., requires that overspray residue be removed frequently enough to prevent fire hazard.
- Heat and flame rating: Any material going into the booth must carry a verified temperature rating and a recognized flame/UL classification. OSHA 1910.94 also applies to ventilation and fire-load requirements in spray finishing areas.
- Peelability and replacement cadence: The film must peel clean with no adhesive residue on the ceiling surface. Plan for replacement every 1–4 weeks depending on production volume, and log each change per recommended maintenance records.
Key Takeaways
Multi-layer electrostatic film with a dispenser system is the most practical ceiling protection for most U.S. spray booths, combining fast installation, clean removal, and a controlled fire load.
| Point | Details |
|---|---|
| Best solution for most booths | Factory-grade multi-layer electrostatic film with a dispenser installs in under 30 minutes and peels clean. |
| Heat and flame rating required | Verify temperature rating and flame classification before buying; unrated materials are a fire and compliance risk. |
| Replacement cadence matters | High-use booths need weekly film replacement; low-use booths can run 4-week cycles with daily visual checks. |
| Safety before every changeover | Power down and lock out per OSHA 1910.147 before installing or removing any ceiling protection. |
| Dustfreefilm recommendation | Dustfreefilm’s patented dispenser-backed film is the recommended option for automotive and industrial spray booths. |
Table of Contents
- What product categories protect spray booth ceilings?
- Peelable coatings vs. protective film vs. filters vs. lens protectors
- How do you install and remove spray booth ceiling protection?
- What should you look for when buying ceiling protection film?
- How often should you inspect and replace ceiling protection?
- Why dispenser-backed multi-layer electrostatic film is often the best option
- What’s the recommended action plan for U.S. spray booths?
- What experienced shop managers know that most guides skip
- Dustfreefilm’s multi-layer film makes ceiling changeovers faster
- Sources
What product categories protect spray booth ceilings?
Spray booth ceiling protection falls into four practical product classes. Each solves a different problem, and picking the wrong one for your booth type costs time and money.
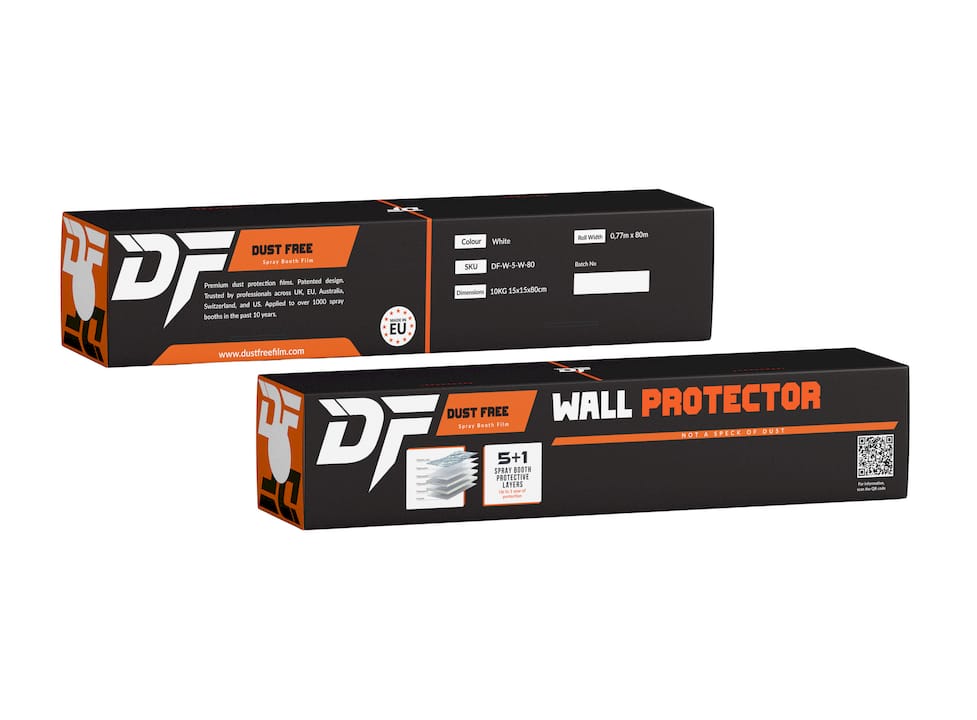
Multi-layer electrostatic protective film is the workhorse option for high-production environments. It clings to metal or fiberglass ceilings without adhesive tape, applies bubble-free from a dispenser roll, and peels off in one sheet when loaded with overspray. The electrostatic charge holds it flat against the surface, which matters in downdraft booths where ceiling airflow is constant.
Peelable booth coatings are spray-on or roll-on liquid products that cure into a removable film. High-production shops use them because a loaded coat peels off in minutes, taking the overspray with it. The tradeoff: solvent-based formulas require careful handling and disposal, and application adds 20–40 minutes of downtime per cycle.
Ceiling and intake filters sit at the plenum or ceiling grid to catch overspray before it reaches the structure. They’re standard in most booths already, but they don’t protect the ceiling panels themselves. Think of them as a first line of defense, not a replacement for surface protection.
Light-lens protectors are thin, optically clear covers that fit over fixture lenses. Dirty or dim lights cause finish errors that get misread as paint defects, so protecting lenses is part of ceiling protection, not a separate task.
Compatibility by booth type and ceiling material
- Downdraft booths: Ceiling film must not cover or restrict plenum intake grilles. Use pre-cut panels or trim carefully around grid openings.
- Crossdraft booths: Less airflow pressure on the ceiling means film adhesion is easier to maintain, but overspray load on the ceiling is higher.
- Metal ceilings: Compatible with electrostatic film and most peelable coatings. Check for bare metal edges that could snag film during removal.
- Fiberglass ceilings: Some solvent-based coatings can soften fiberglass gel coat. Always test a small area first and confirm coating compatibility with the booth manufacturer.
- Heated booths with infrared bulbs: Film must carry a temperature rating above the bulb’s surface temperature. Never apply film directly over a hot bulb housing without verifying clearance.
For a broader look at booth protection solutions across walls, floors, and ceilings, the approach is similar: match the material to the surface and the production cycle.
Peelable coatings vs. protective film vs. filters vs. lens protectors
The right choice depends on your production intensity, booth design, and how much downtime you can absorb for changeovers.
Protective film wins on labor. A dispenser-backed roll goes up in minutes, peels off cleanly, and leaves no residue. Fire load stays low because you’re removing accumulated overspray on a regular cycle rather than letting it build. The main limitation is cost per roll, which runs higher upfront than a bucket of peelable coating. For a facility running multiple booths, bulk film orders offset that gap quickly.
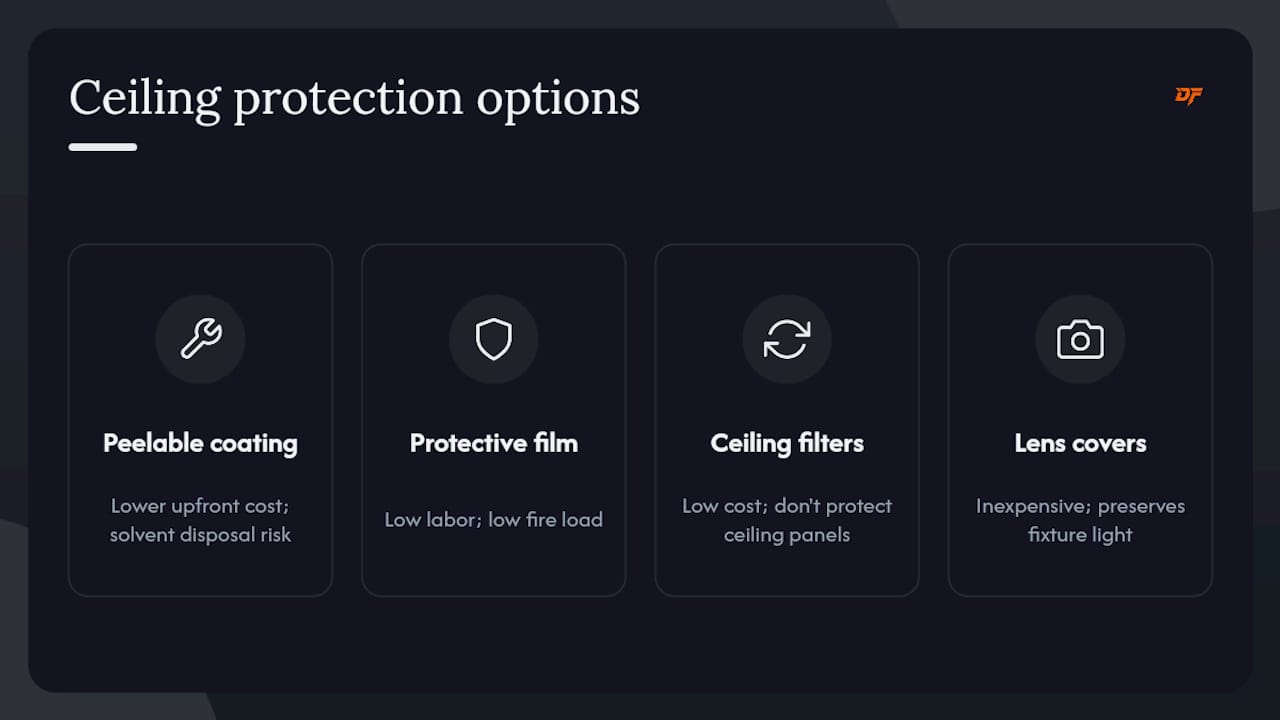
Peelable coatings are cheaper per square foot at first glance, but the labor math changes when you factor in application time, cure time, and disposal. Solvent-laden peel coatings are typically classified as hazardous waste in most U.S. states, which adds disposal cost and paperwork. Water-based versions reduce that burden but may not perform as well in high-heat cure cycles.
Ceiling filters are low-cost and easy to swap, but they do nothing for the ceiling panels themselves. Overspray that migrates past the filter grid still lands on the structure. They’re best used in combination with surface protection, not instead of it.
Lens protectors are inexpensive and should be considered non-negotiable. Cleaning light glass and protecting fixtures preserves maximum lux and reduces rework. A $5 lens cover prevents a $500 refinish job caused by a paint defect hidden under dim lighting.
On airflow: any ceiling protection that covers intake grilles or restricts plenum flow will degrade finish quality and shorten filter life. Fans, plenums, and intake filters all require clear paths to maintain the pressure differential that keeps overspray moving toward the exhaust. Clogged or obstructed ceilings are frequently misdiagnosed as paint or gun problems.
On disposal: film rolls are generally non-hazardous solid waste unless the paint system used is solvent-based and classified as hazardous. Check with your local waste hauler. Peelable coatings with solvent content require MSDS review and may need licensed disposal. Scheduled maintenance and proper protective measures reduce downtime and improve safety and profitability, which makes the disposal cost of a peelable coating a real line item to factor into your total cost of ownership.
How do you install and remove spray booth ceiling protection?
Installation checklist
- Power down and lock out. Shut off booth lighting, heating elements, and the fan system. Apply lockout/tagout per OSHA 1910.147 before anyone goes up.
- Don PPE. Safety glasses, nitrile gloves, and a respirator rated for the paint system in use. If the booth was recently active, VOC levels may still be elevated.
- Inspect the ceiling surface. Wipe down any loose overspray with an approved solvent or industrial vacuum. Film won’t cling well to a dusty or flaking surface.
- Set up the dispenser. Load the film roll into the dispenser box. Dustfreefilm’s patented dispenser system feeds the film flat and taut, which eliminates the bubbles that form when you unroll by hand.
- Apply from one end to the other. Start at the wall edge and work toward the opposite wall. Overlap seams by at least 2 inches. Press the film lightly as you go to activate the electrostatic cling.
- Trim and secure around fixtures. Cut around light housings with a utility knife, leaving a 1-inch clearance from the fixture edge. Never cover a bulb housing directly.
- Verify plenum openings are clear. Walk the ceiling visually and confirm no film is blocking intake grilles or duct openings.
A single small booth (roughly 14 × 24 ft) takes one person about 20–30 minutes with a dispenser. A large production-line booth may need two people and 45–60 minutes.
Pro Tip: Pre-mark peel lines with a grease pencil at the fixture edges before you apply the film. When it’s time to remove a loaded sheet, those marks tell you exactly where to start the peel without hunting for the edge under a layer of overspray.
Removal checklist
- Power down and lock out again before anyone touches the ceiling.
- Start the peel from a corner, pulling slowly at a low angle (roughly 30 degrees) to avoid tearing.
- Roll the used film onto itself as you peel to contain loose overspray.
- Inspect the ceiling surface for any adhesive transfer or residue. Clean with an approved solvent if needed.
- Bag the used film and label it per your facility’s waste protocol. Check MSDS for the paint system to confirm disposal classification.
- Restore power and verify airflow pressure readings match baseline before resuming production. Professional cleaning guides recommend power-down procedures and airflow verification as standard steps before and after any interior service.
What should you look for when buying ceiling protection film?
Procurement teams often focus on price per roll and miss the spec items that determine whether a product actually works in their booth. Here’s what to ask before placing an order.
Questions to ask every supplier:
- What is the maximum continuous temperature rating? (You need this above the surface temperature near your light fixtures and cure-cycle heat.)
- Is the film static-free or electrostatic? Static-free means it won’t attract dust. Electrostatic means it clings to surfaces without tape. You want both properties, and they are not the same thing.
- What is the guaranteed peel strength? Will it leave adhesive residue on metal or fiberglass after 30 days?
- Does the film work with a dispenser system, and is a demo available?
- What roll widths and lengths are available? Can you supply custom sizes for non-standard booth dimensions?
- What is the lead time for bulk orders?
Red flags:
- No published temperature rating or a vague “heat resistant” claim with no number.
- Customer reports of sticky residue or film that tears during removal.
- No flame classification or UL listing. Any material inside a spray booth should have a documented fire rating.
- No MSDS or SDS available on request.
Performance attributes worth prioritizing:
- Multi-layer construction (more layers mean better overspray absorption before the film needs replacement)
- Electrostatic cling for tape-free application
- Verified heat resistance rating appropriate for your booth’s cure cycle
- Dispenser compatibility for fast, bubble-free installs
- A sample or test-roll policy so you can verify fit before committing to a bulk order
Pro Tip: Request the SDS, peel-strength data sheet, and temperature rating certificate together as a package before approving any supplier. A vendor who can’t produce all three within 48 hours is a vendor to avoid. For material durability specifics on protective films, review the technical specs before finalizing your order.
How often should you inspect and replace ceiling protection?
Replacement cadence depends almost entirely on production volume. A light-use shop running two or three jobs a week needs a very different schedule than a production line running eight hours a day.
Inspection checklist (every shift or daily):
- Visual check for overspray load on ceiling film or coating surface
- Light output check: if fixtures look dimmer than usual, the lens protector or ceiling film near the fixture is likely loaded
- Airflow pressure gauge reading: a drop from baseline often means ceiling or plenum filters are restricting flow, not just exhaust filters
Weekly:
- Spot-check seam integrity on film panels
- Inspect lens protectors for overspray buildup and replace if lux is visibly reduced
A consistent daily and weekly maintenance routine keeps airflow balanced, reduces overspray buildup, and preserves finish quality. Logging each check takes two minutes and gives you early warning of filter or plenum issues that might otherwise be misread as paint defects.
Replacement intervals by production intensity
Disposal notes: Used film from water-based paint systems is typically non-hazardous solid waste. Solvent-based systems may classify the used film as hazardous. Always cross-reference the paint system’s SDS with your local waste hauler’s requirements. Filters replaced every three months is a common baseline recommendation, but high-use booths often need monthly filter service.
Why dispenser-backed multi-layer electrostatic film is often the best option
The case for this product class comes down to three things: labor, fire load, and finish quality.
Labor: A dispenser-backed roll cuts installation time to under 30 minutes for most booths. No tape, no bubbles, no second person needed to hold the film flat. Removal is equally fast. Peelable coatings require application time, cure time, and careful solvent handling. Ceiling filters need ladder access and careful fitting. Film with a dispenser beats all three on total labor per cycle.
Fire load: Accumulated overspray is combustible. NFPA 33 and paint booth maintenance guidance both stress removing residue frequently enough to prevent fire hazard. A film system on a regular replacement cycle keeps the ceiling clean by design. Peelable coatings that are left too long or applied too thick can themselves become a fire-load problem.
Finish quality: A clean ceiling means no flaking overspray dropping onto wet paint. Keeping walls and light protectors clean prevents rework and preserves lux. Multi-layer film absorbs overspray across its layers, so early-stage contamination doesn’t immediately compromise the surface.
Where film beats alternatives in practice:
- High-volume auto body shops: Fast changeovers between jobs make dispenser speed a real operational advantage.
- Industrial production lines: Consistent replacement cycles fit scheduled maintenance windows without disrupting output.
- Heated booths: Verified heat-resistant film handles cure-cycle temperatures that would degrade unrated materials.
What to request from your supplier: MSDS, temperature rating certificate, peel-strength data, a dispenser demo, and a sample roll. Ask for case studies or customer references from facilities with similar production volumes.
What’s the recommended action plan for U.S. spray booths?
- Run a compatibility check. Measure your ceiling dimensions, identify light fixture types and their surface temperatures, and confirm your booth’s cure-cycle temperature. Note whether you have a downdraft or crossdraft configuration and whether the ceiling is metal or fiberglass.
- Request a sample and spec sheet from a dispenser-backed supplier. Verify temperature rating, peel-strength data, flame classification, and SDS before ordering. Test the sample on a small ceiling section and one light fixture frame before committing to a full roll order.
- Schedule installation during a low-production window. Plan for 20–60 minutes depending on booth size. Power down and lock out per OSHA 1910.147. Have the MSDS for both the film and the paint system on file before you start.
The recommended option remains factory-grade multi-layer electrostatic film with a dispenser. Peelable coating is a viable alternative for booths where film adhesion is impractical, but factor in application time, cure time, and disposal costs before choosing it.
What experienced shop managers know that most guides skip
Most ceiling protection articles focus on what to buy. The part that actually saves time is how you set up the changeover before production ends.
The shops that run the tightest changeovers pre-stage everything: dispenser loaded, utility knife on the ladder, grease pencil marks already on the ceiling from the previous install. When the last car rolls out, the crew goes straight to lockout and has new film up before the booth cools. That’s 25 minutes, not 90.
The other thing worth saying plainly: don’t skip the lens protectors to save a few dollars. Dim lights are the most common reason a shop calls back a car that looked fine in the booth. A $5 protector on every fixture is the cheapest quality control step in the building.
Pro Tip: Stage your replacement rolls and dispenser at the booth entrance before the shift ends. A crew that doesn’t have to hunt for supplies during a changeover cuts installation time by a third.
Dustfreefilm’s multi-layer film makes ceiling changeovers faster
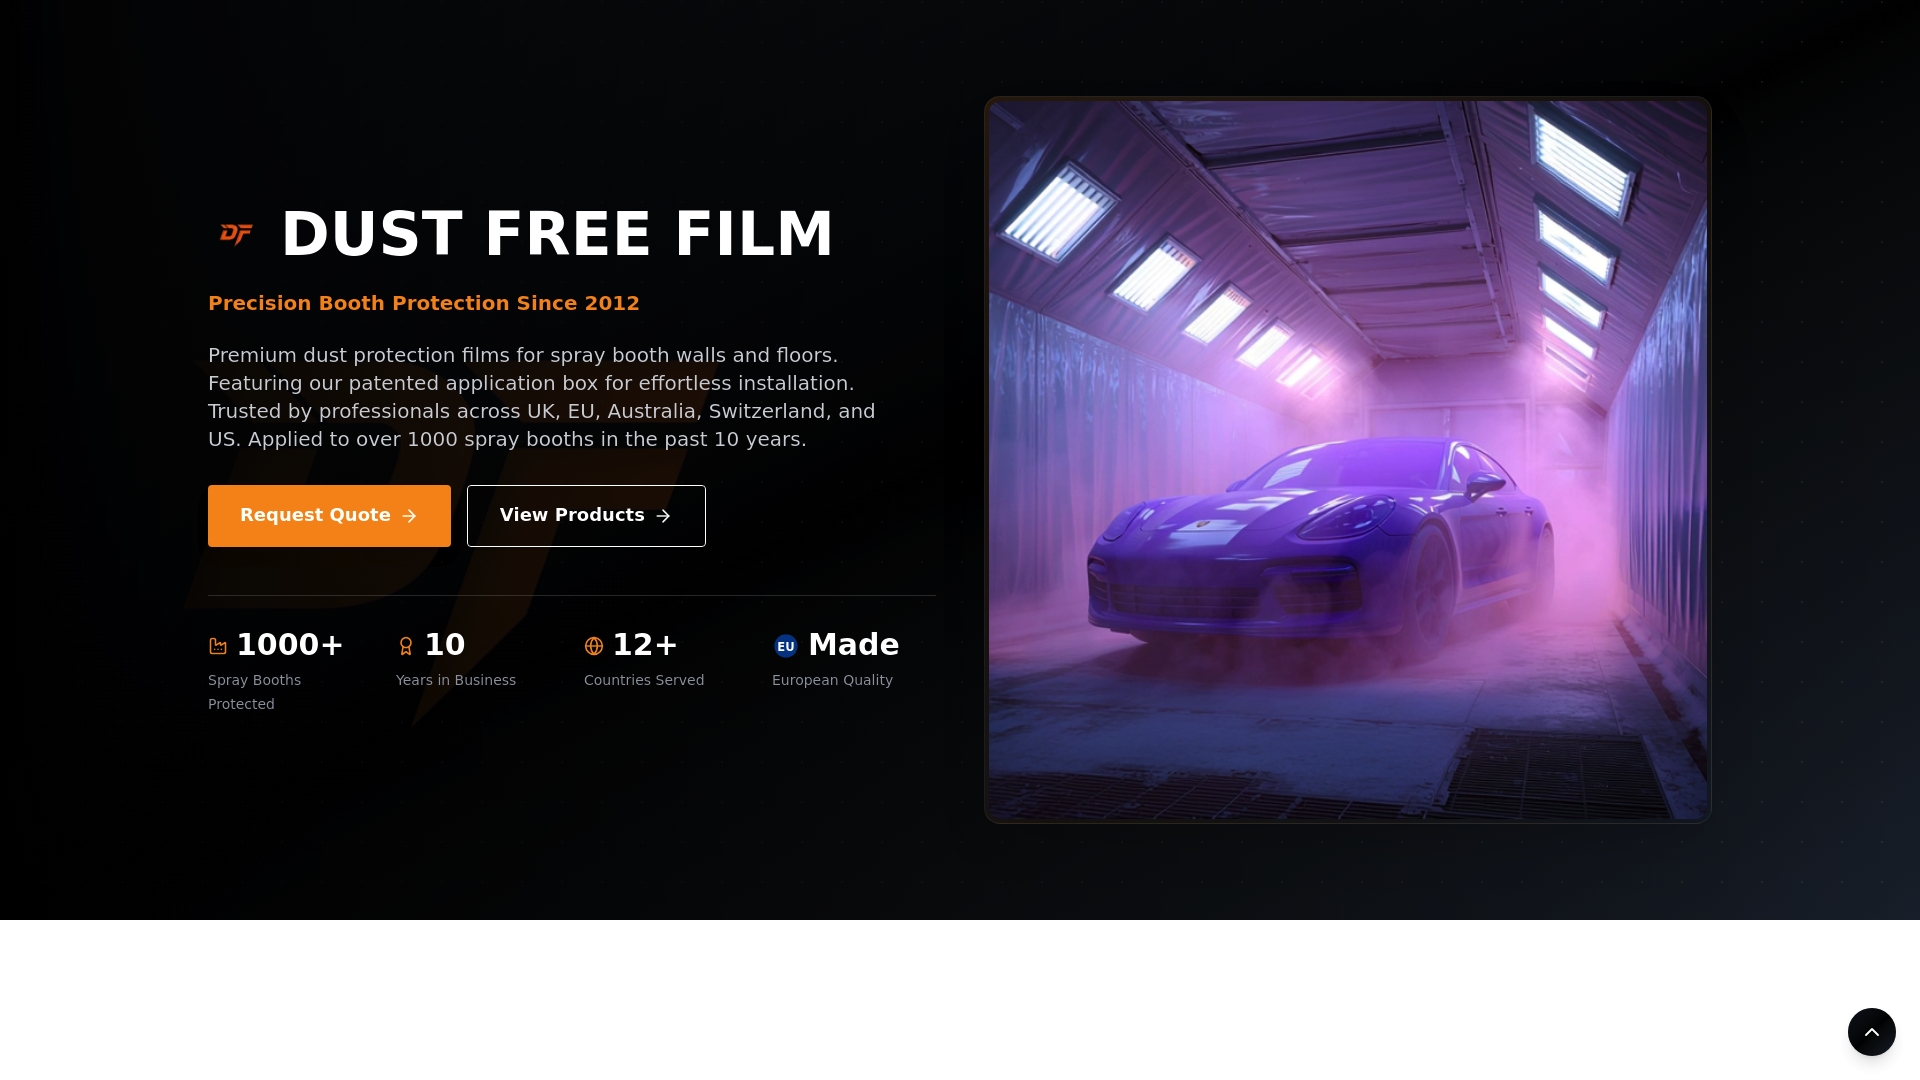
Dustfreefilm has manufactured electrostatic dust protection films for spray booths since 2012. The multi-layer film applies bubble-free from a patented dispenser box, clings to metal and fiberglass ceilings without tape, and peels off cleanly when loaded. Heat resistance is built in for cure-cycle environments, and the static-free surface won’t attract airborne dust between jobs.
For facility managers ready to act: gather your booth dimensions, light fixture types, and production cycle frequency before reaching out. That information lets Dustfreefilm’s team size the right roll configuration and confirm compatibility in one conversation. Request a sample roll or a quote directly at Dustfreefilm’s product page, or contact the team to schedule a dispenser demo for your facility.
Sources
- TSC Spray Booth Maintenance Guide 2025/2026 - Total Spraybooth Care
- Paint Booth Maintenance Schedule: Daily, Weekly & Monthly Tasks | PaintBoothDoctors
- 7 Handy Spray Booth Maintenance & Servicing Tips | DTC
- How to Clean a Spray Booth: Professional Maintenance Guide - MetroBooths
- Protect Your Investment: Spray Booth Maintenance Best Practices for Safety & Performance