
Dust contamination is one of the most frustrating and costly problems in automotive and industrial painting. You spend hours prepping a vehicle, mix the perfect coat, and then discover fish eyes, nibs, or embedded particles after the job is done. Rework eats time, wastes materials, and damages your shop’s reputation. The root cause is almost always inadequate booth preparation, not the paint itself. This guide walks you through every critical step, from gathering the right tools to verifying your booth is truly ready, so you can deliver flawless finishes consistently and stop losing money to preventable defects.
Table of Contents
- Essential tools and materials for paint booth preparation
- Setting up your prep and spray areas for minimal contamination
- Step by step paint booth preparation: The complete process
- Common mistakes and quality verification before painting
- A fresh perspective on booth prep: What really works in the field
- Upgrade your paint booth’s dust protection
- Frequently asked questions
Key Takeaways
| Point | Details |
|---|---|
| Prep area separation | Always separate prep and paint zones to minimize dust and achieve higher-quality finishes. |
| Critical supplies | Gather all materials, including protection films and vacuums, before you start for a smooth workflow. |
| Follow each prep step | Systematically prepare, clean, and inspect your booth to prevent costly errors and rework. |
| Verify before painting | Check all surfaces, airflow, and filters before spraying to guarantee a dust-free result. |
| Invest in routine | Consistent preparation and quality checks save more time and money than last-minute fixes. |
Essential tools and materials for paint booth preparation
Before any prep begins, it’s important to gather the right tools and materials. Walking back and forth to fetch supplies mid-prep is one of the fastest ways to track dust into a clean environment. Having everything staged and ready keeps your workflow tight and your booth cleaner.
Here’s what you need on hand before starting:
- Tack cloths (fresh, one per surface pass)
- Sanding vacuums with HEPA filtration
- Multi-layer floor and wall protection films
- Inlet and exhaust booth filters (spares included)
- Solvent-resistant mops and microfiber cloths
- Masking tape and paper for edges and fixtures
- Respiratory protection (half-face respirator minimum)
- Nitrile gloves and full-body coveralls
- Thermometer and airflow meter
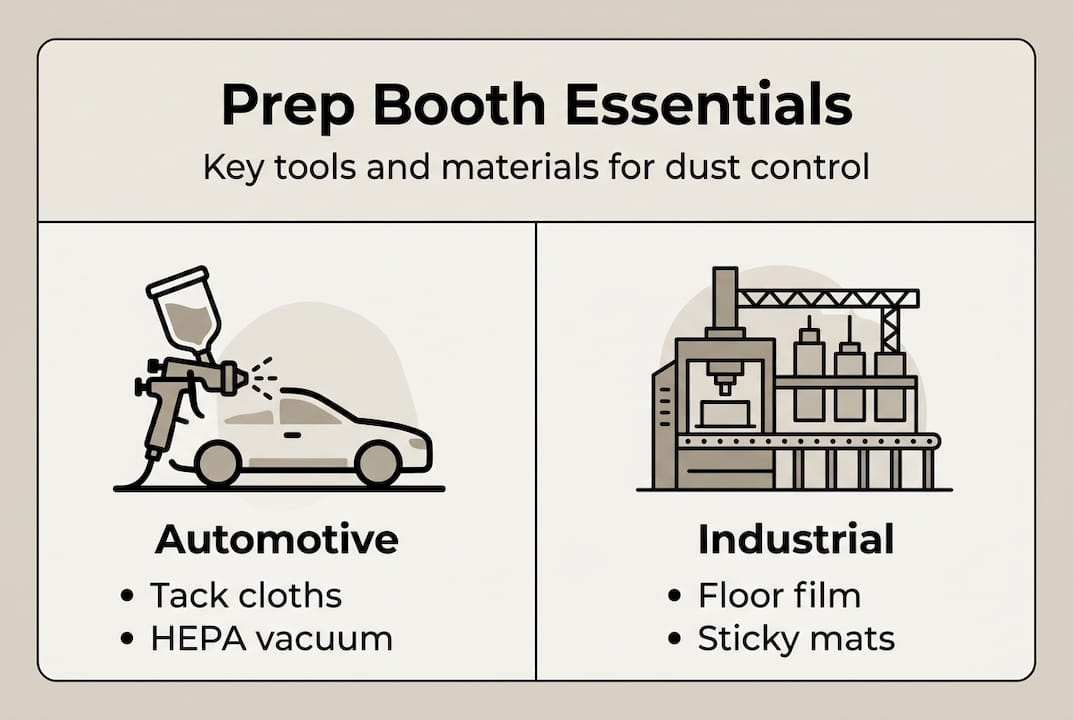
Not every item on this list applies equally to every operation. Automotive refinishing shops typically deal with smaller surface areas and tighter tolerances, so tack cloths and electrostatic wall films matter more. Industrial facilities painting large components face higher dust volumes and benefit most from heavy-duty floor films and industrial-grade vacuums.
| Item | Automotive use | Industrial use |
|---|---|---|
| Tack cloths | Essential | Recommended |
| HEPA sanding vacuum | Essential | Essential |
| Multi-layer floor film | Recommended | Essential |
| Wall protection film | Recommended | Essential |
| Full coveralls | Required | Required |
| Airflow meter | Recommended | Essential |
As 3M’s prep area guidance makes clear, separate prep areas from the booth and use sanding vacuums to minimize dust tracking. Following a solid paint booth setup guide before you touch a single panel saves far more time than it costs. Reviewing contamination prevention steps and cleanliness best practices rounds out your preparation knowledge before the physical work begins.
Setting up your prep and spray areas for minimal contamination
With supplies ready, the next step is organizing your environment for maximum dust control. The single biggest mistake shops make is treating the prep area and the spray booth as one continuous space. They are not. Each zone has a different contamination profile, and mixing them guarantees problems.
Here’s why separation matters so much. Sanding generates fine airborne particles that settle on every surface within range. Open prep work inside or directly adjacent to your spray booth means those particles land on your freshly cleaned walls, floors, and vehicle surfaces. Even after vacuuming, residual dust clings to clothing, shoes, and equipment.
Booth arrangement comparison:
| Setup type | Dust risk | Workflow efficiency |
|---|---|---|
| Combined prep and spray zone | Very high | Low |
| Adjacent zones, no barrier | High | Moderate |
| Separate rooms, dedicated airflow | Low | High |
| Separate rooms with entry matting | Very low | High |
Follow these steps to organize your workspace correctly:
- Designate a dedicated prep room or area at least 10 feet from the booth entrance.
- Install entry matting at every booth access point to trap particles from footwear.
- Set up directional airflow in the prep zone so dust moves away from the booth.
- Assign specific coveralls for booth use only. Never wear prep-area clothing inside the spray booth.
- Stage all masked and prepped vehicles outside the booth until the environment is verified clean.
Pro Tip: Place a sanding vacuum at the prep area exit and run it over clothing and surfaces before anyone enters the booth. It takes 30 seconds and eliminates a major contamination pathway.
For a deeper look at spatial planning, the spray booth prep steps resource covers zone layouts in detail. You can also find targeted strategies for dust reduction in spray booths that apply directly to high-volume operations.
Step by step paint booth preparation: The complete process
Once your workspace is set up, it’s time to move through the step-by-step process. Skipping steps or rushing through them is where even experienced operators lose quality. Treat this sequence as non-negotiable.
- Clear and clean all surfaces. Remove any loose debris, old masking tape, and overspray buildup from walls, floors, and fixtures. Use a solvent-resistant mop on floors and a damp microfiber cloth on walls. Work from ceiling to floor so falling debris gets captured last.
- Apply floor and wall protection films. Roll out multi-layer electrostatic floor film starting at the far end of the booth and working toward the door. Apply wall film from top to bottom using your dispenser system. Smooth out any bubbles immediately. These films trap residual dust and make post-job cleanup a matter of peeling rather than scrubbing.
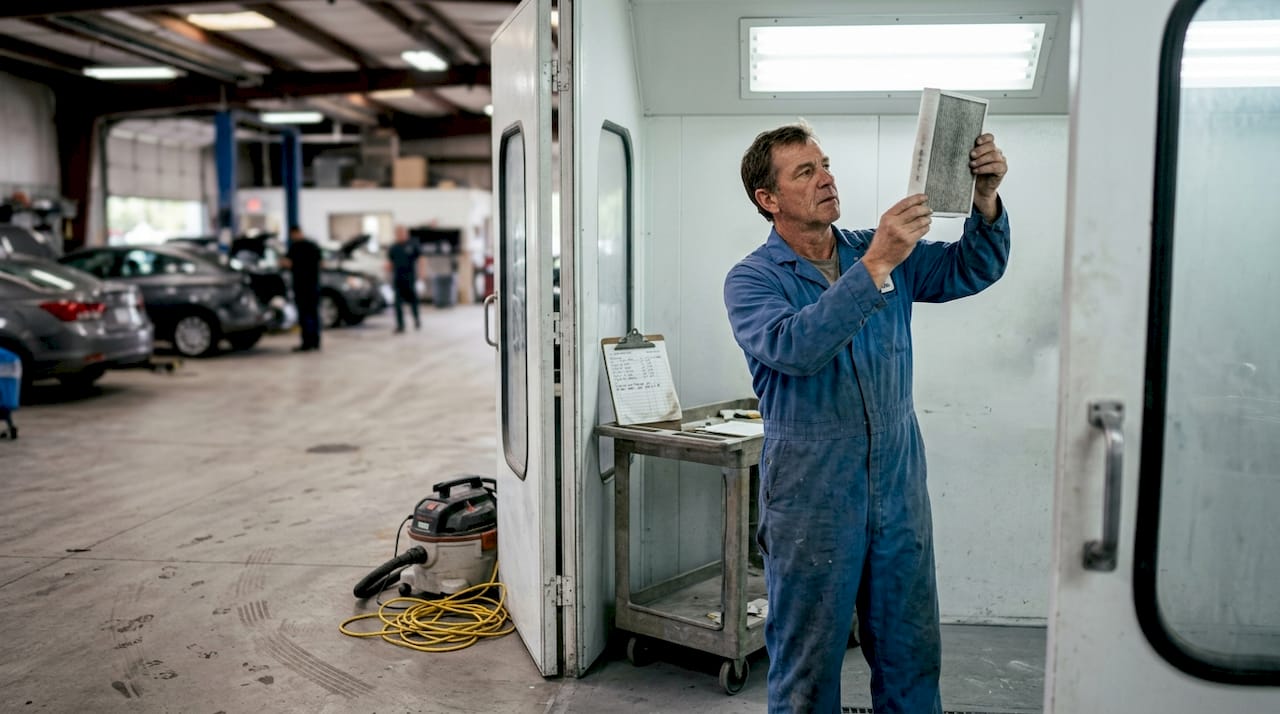
- Check and change booth filters. Inspect inlet filters for loading and replace if airflow is restricted. Check exhaust filters for paint buildup. A clogged filter doesn’t just reduce airflow; it creates turbulence that stirs settled dust back into the air.
- Set airflow and temperature. Confirm your booth is operating at the correct air change rate for the coating you’re applying. Set temperature to the manufacturer’s recommended range, typically 65 to 75 degrees Fahrenheit for most automotive coatings.
- Final tack and dry dust wipe. Use a fresh tack cloth on every painted surface. Work in overlapping passes and never reuse a cloth. Follow with a dry microfiber wipe on booth walls and floor film surfaces.
Pro Tip: Always allow wet-cleaned surfaces to dry completely before introducing primers or base coats. Moisture trapped under a coating causes adhesion failure and lifting, two defects that look like dust problems but are actually prep failures.
For additional dust control methods and a review of spray booth cleaning practices, those resources expand on each step with real-world examples.
Common mistakes and quality verification before painting
Even experienced operators can overlook finishing details or skip verification. The cost of a missed step shows up in the paint, not in the prep area, which makes it easy to blame the wrong cause.
Common mistakes to avoid:
- Reusing tack cloths after a single pass (they become dust spreaders, not dust collectors)
- Forgetting edges, corners, and door jambs during surface cleaning
- Skipping PPE because the job feels quick
- Performing last-minute body repairs inside the booth
- Leaving masking tape edges unsealed, which allows solvent migration
- Not replacing filters before a long spray session
Critical warning: Even a single gram of airborne dust in a spray booth can ruin an entire panel’s finish. The cost of rework, including labor, materials, and customer delays, far exceeds the time investment of thorough pre-paint verification. Never skip the final check.
Use this pre-paint verification table before every spray session:
| Check item | Method | Pass condition |
|---|---|---|
| Filter status | Visual and airflow meter | No restriction, full airflow |
| Surface cleanliness | White glove swab test | No visible residue |
| Airflow pattern | Smoke test at booth center | Laminar, no turbulence |
| Floor film condition | Visual inspection | No tears, fully adhered |
| Wall film condition | Visual inspection | No gaps or loose edges |
| Temperature | Thermometer | Within coating spec range |
As 3M’s prep area research confirms, minimizing dust tracking through separation and vacuum use is the foundation of consistent quality. The dust-free booth workflow and booth cleaning guide resources offer structured checklists you can adapt for your specific operation.
A fresh perspective on booth prep: What really works in the field
Here’s something most training manuals won’t tell you: the majority of dust defects don’t happen during painting. They happen in the 20 minutes before the gun ever fires. Busy shifts create pressure to cut corners, and the first things that get skipped are always the final verification steps and the tack wipe.
The shops that consistently produce clean finishes aren’t using better paint or more expensive equipment. They’ve built simple, repeatable routines and assigned clear ownership. One person is responsible for booth prep sign-off before every job. That accountability changes behavior faster than any checklist.
Contrarian advice worth considering: stop thinking of booth prep as a cost and start treating it as your quality control system. Batch prepping multiple vehicles before a spray session, letting floors fully dry, and doing real-time quality checks between coats costs almost nothing extra in time. It eliminates the rework cycle that quietly destroys shop profitability.
Simplicity and routine beat exotic technology every time. The real-world prep guide reinforces this point with practical shop-floor examples that reflect what actually happens under production pressure.
Upgrade your paint booth’s dust protection
Now that you know what works, make long-term improvement easy. Consistent booth prep becomes significantly faster when your surfaces are already protected. Multi-layer floor protection film and wall protection film from Dust Free Film eliminate the need for repeated deep cleaning between jobs. You peel a layer, and the surface beneath is clean and ready.
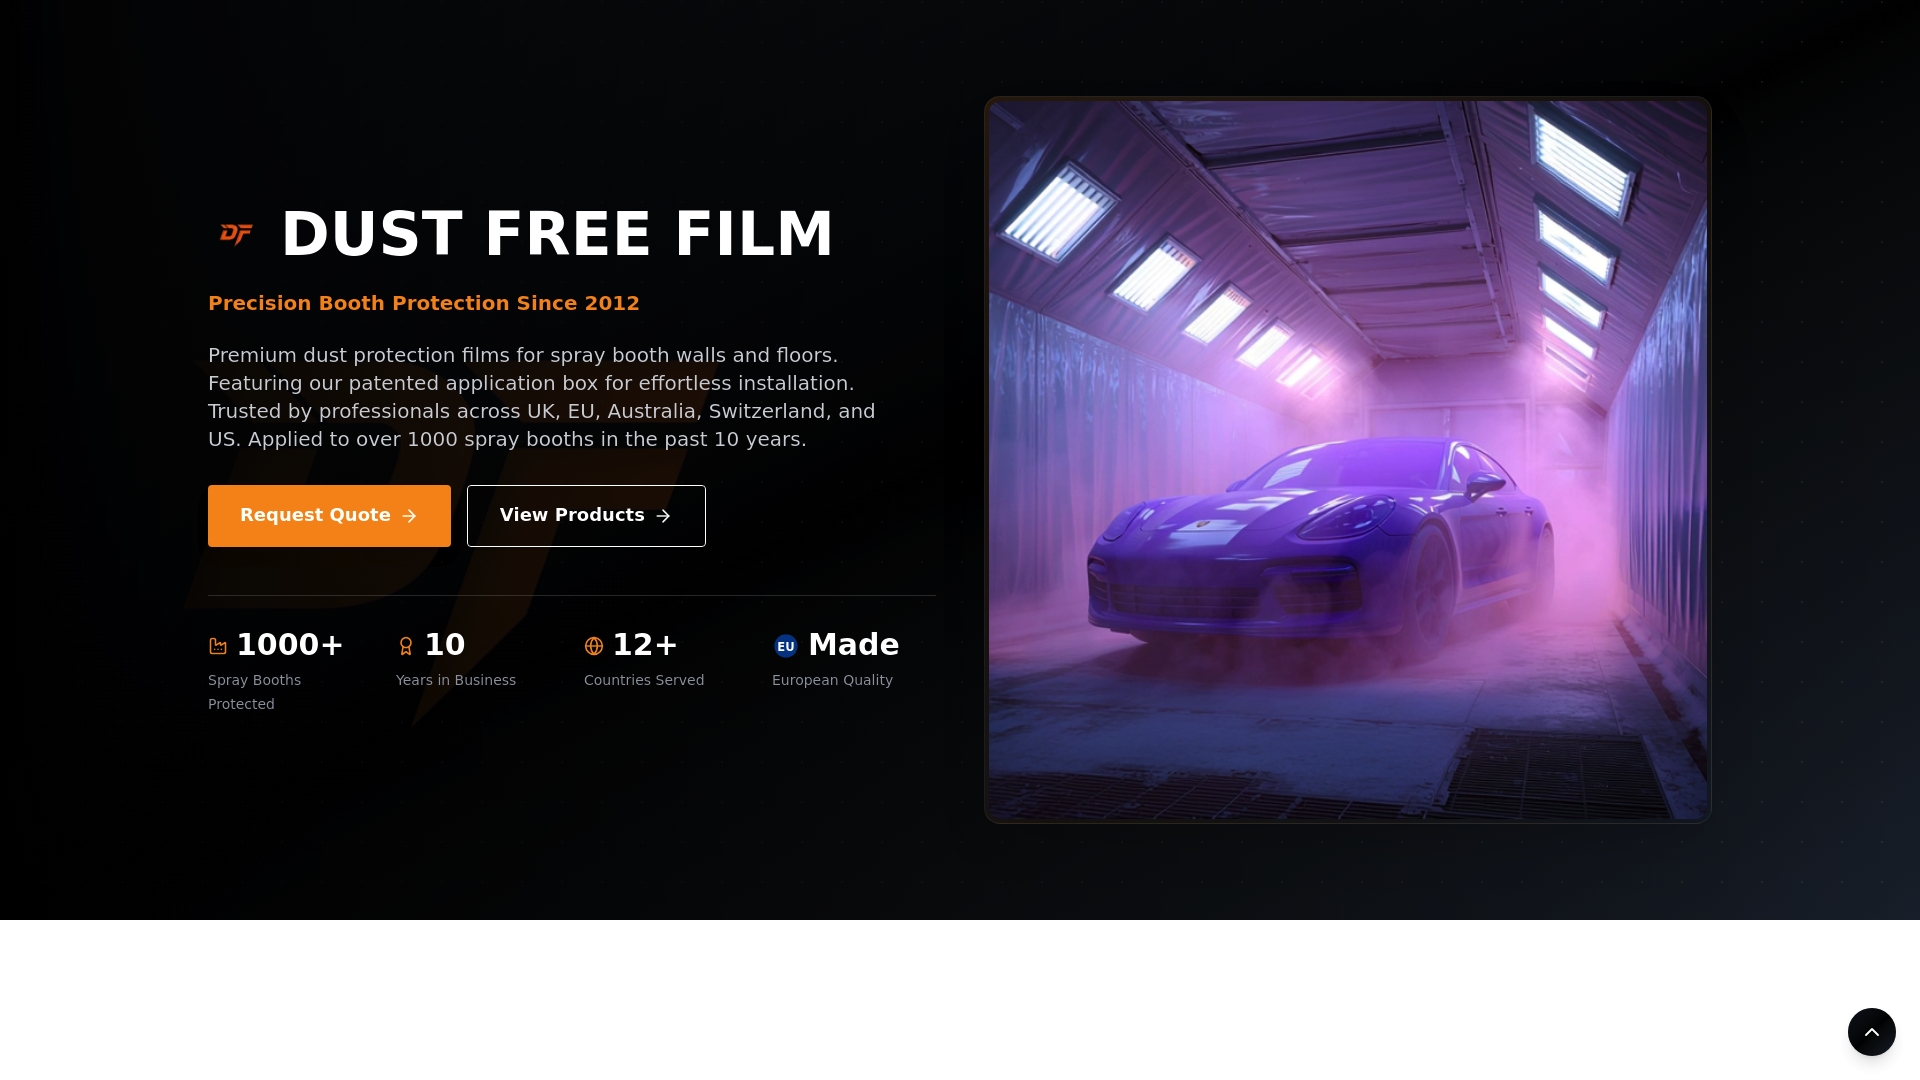
Dust Free Film’s patented dispenser system makes application quick and bubble-free, so your team spends less time on setup and more time on productive work. Whether you run a single-bay auto body shop or a large industrial coating facility, our protection products are built to handle high-traffic environments without compromising finish quality. Request a quote today and see how much time your team can recover every single week.
Frequently asked questions
What is the most important step in paint booth preparation?
Separating prep areas from the spray booth and using dedicated sanding vacuums is the single most impactful step, as it eliminates the primary source of dust contamination before it can enter the booth.
How often should paint booth filters be checked or replaced?
Inspect booth filters before every spray session and replace them when airflow drops or according to the manufacturer’s schedule, whichever comes first.
Can I combine prep and painting in the same booth?
Combining prep and painting in one space greatly increases dust risk and contamination, making it very difficult to achieve a clean finish consistently.
What PPE is required during booth preparation?
At minimum, wear a half-face respirator, nitrile gloves, and full-body coveralls to prevent both personal exposure and surface contamination from skin particles and clothing fibers.
How do I check if a booth is ready before painting?
Run a white glove swab test on key surfaces, verify filter airflow with a meter, and use a smoke source at the booth center to confirm laminar, turbulence-free airflow before loading any vehicle.